Configuring Zoho CRM to Send Webhook Events
Step 1: Configure webhook
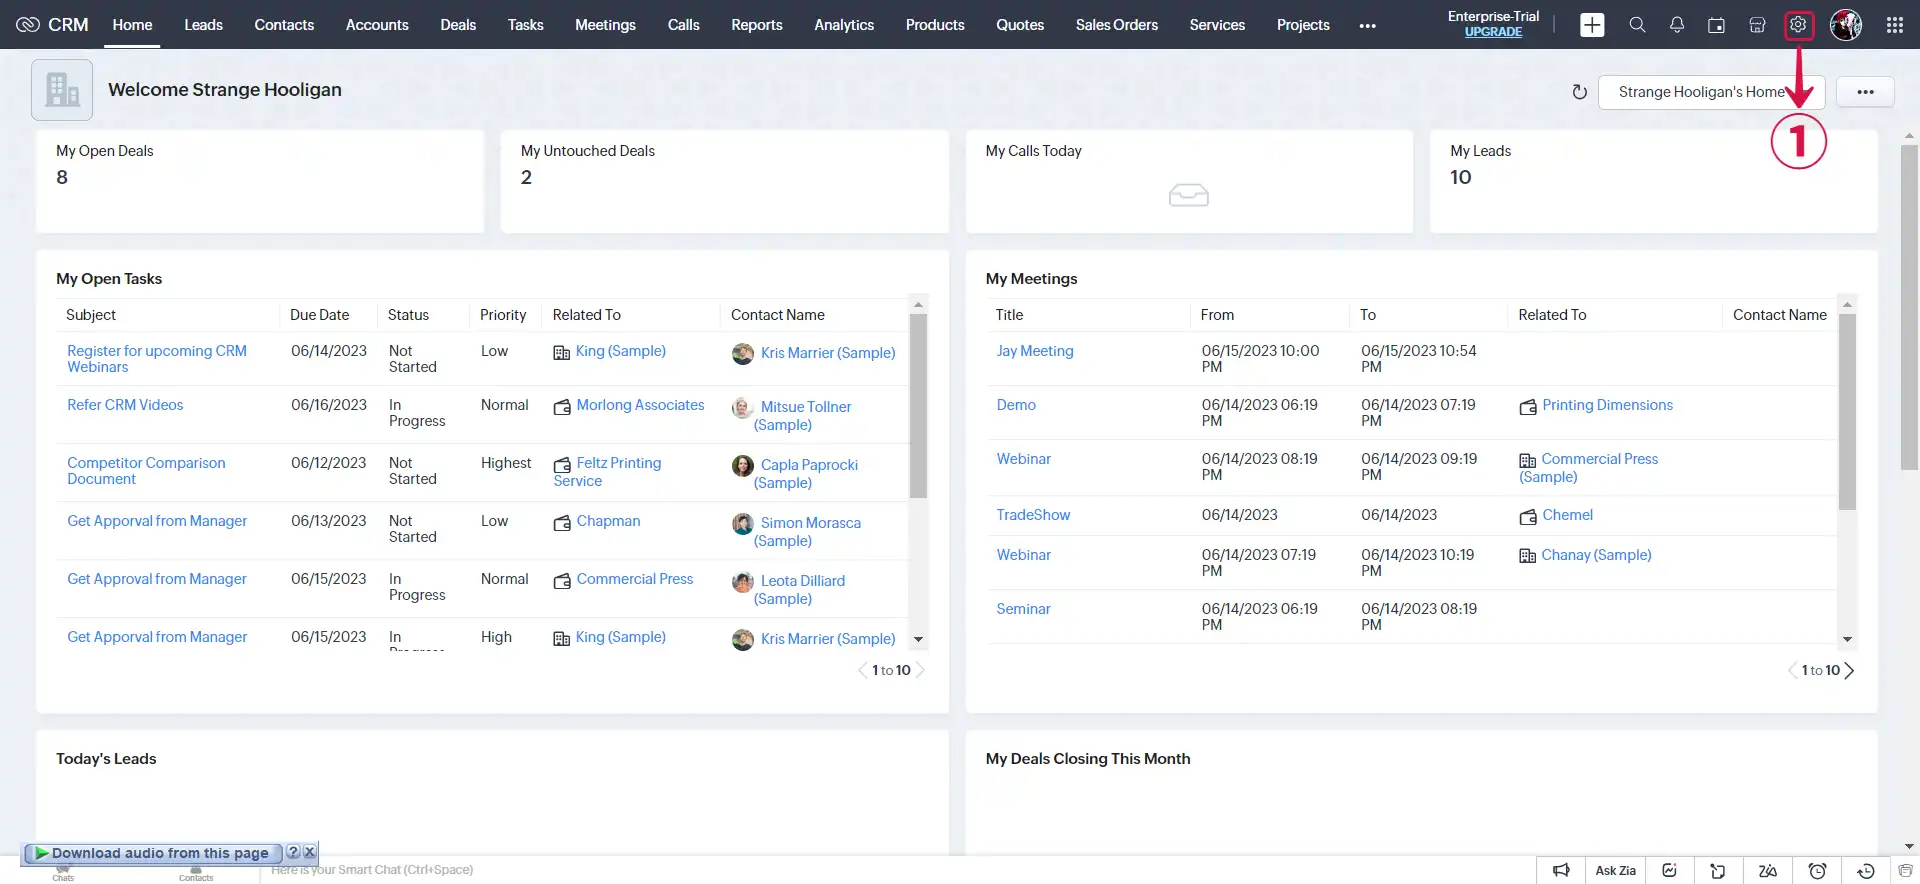
Log in to your Zoho CRM account
Navigate to the Setup page by clicking on the gear icon①.
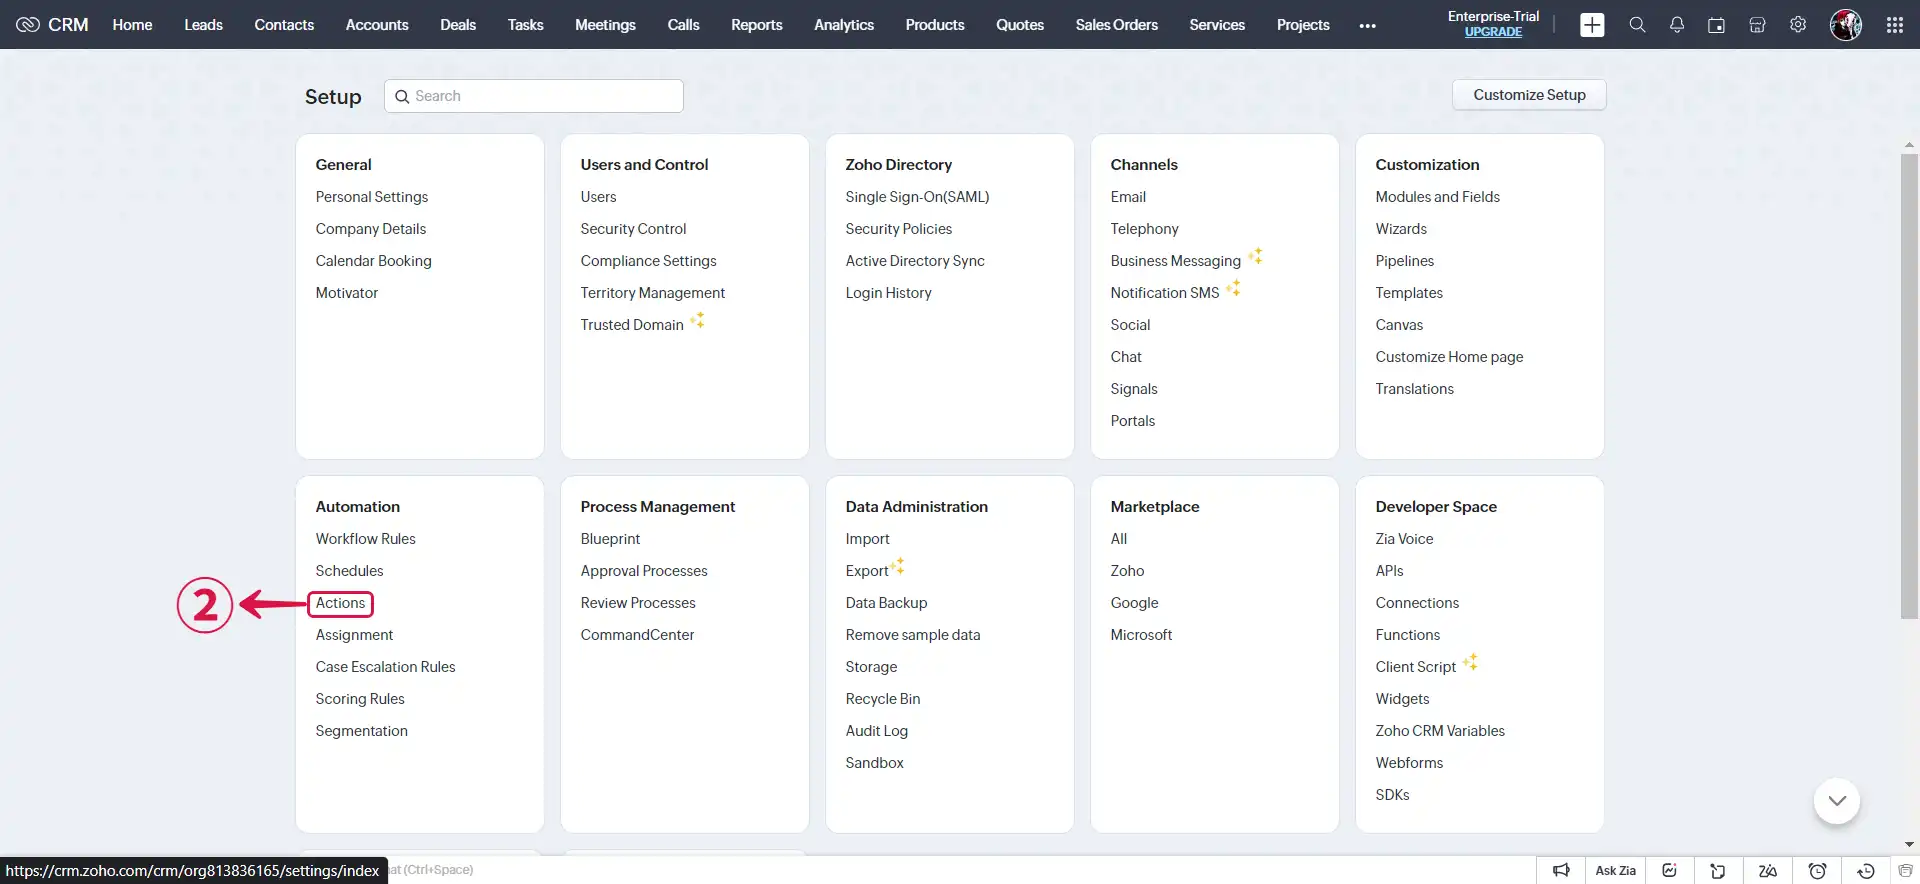
- Click on Actions②.
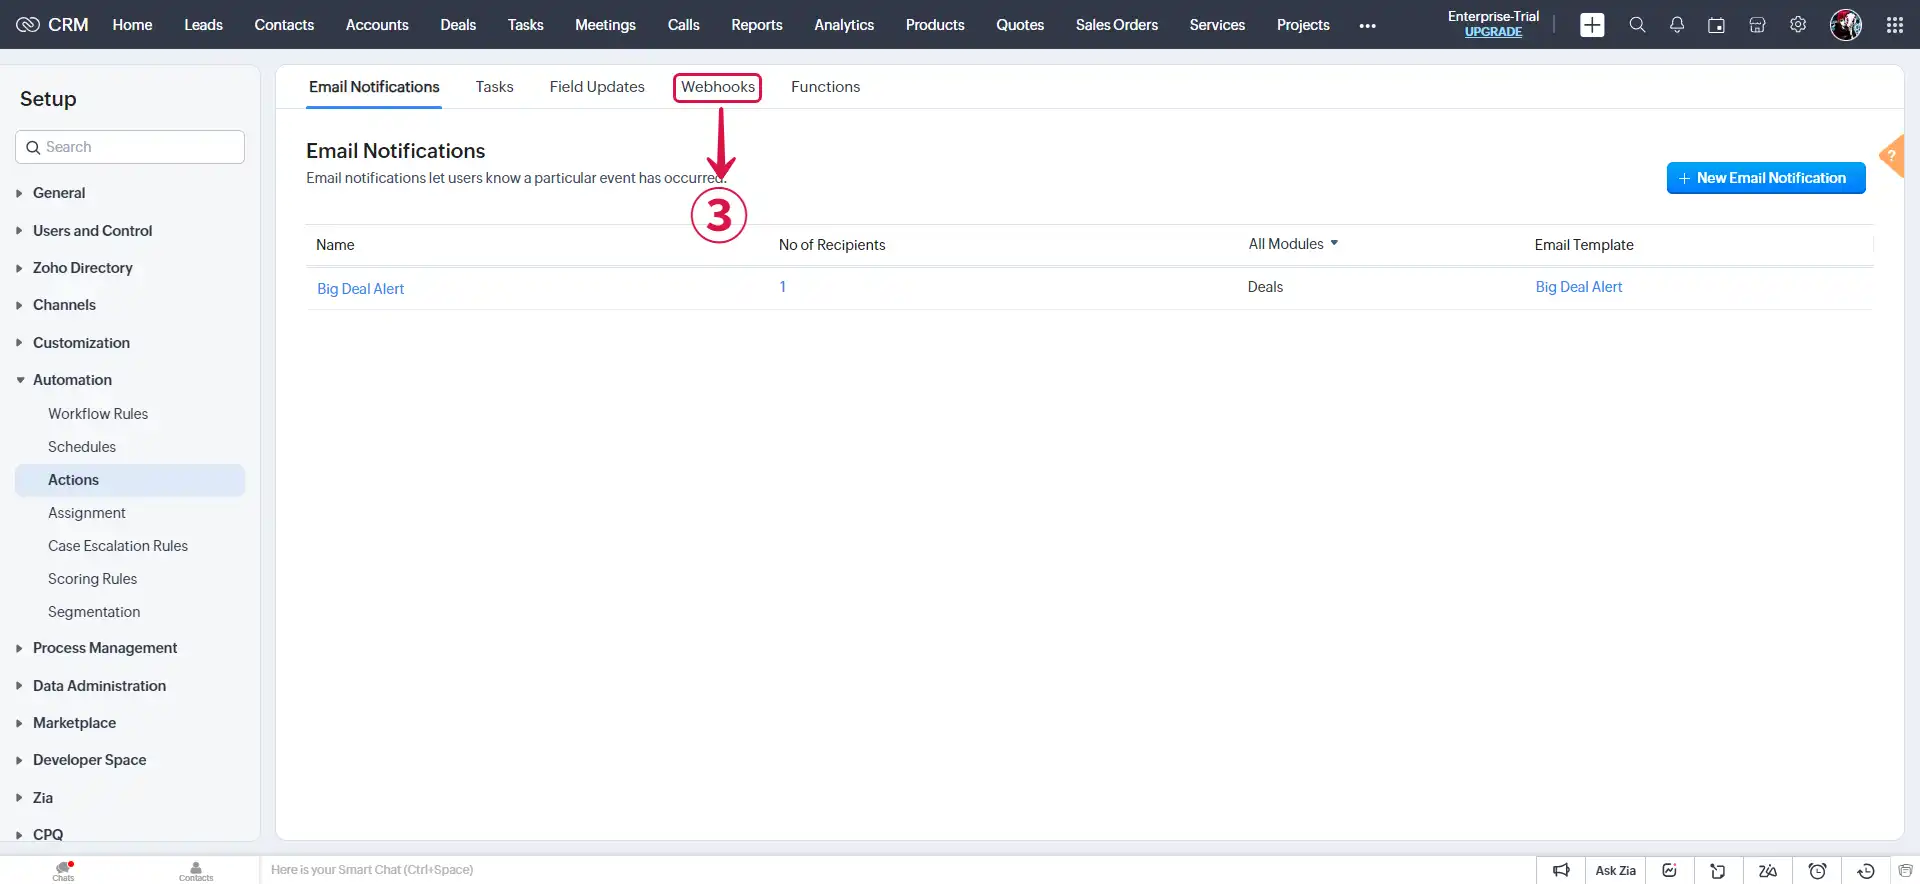
- Click on Webhooks③.
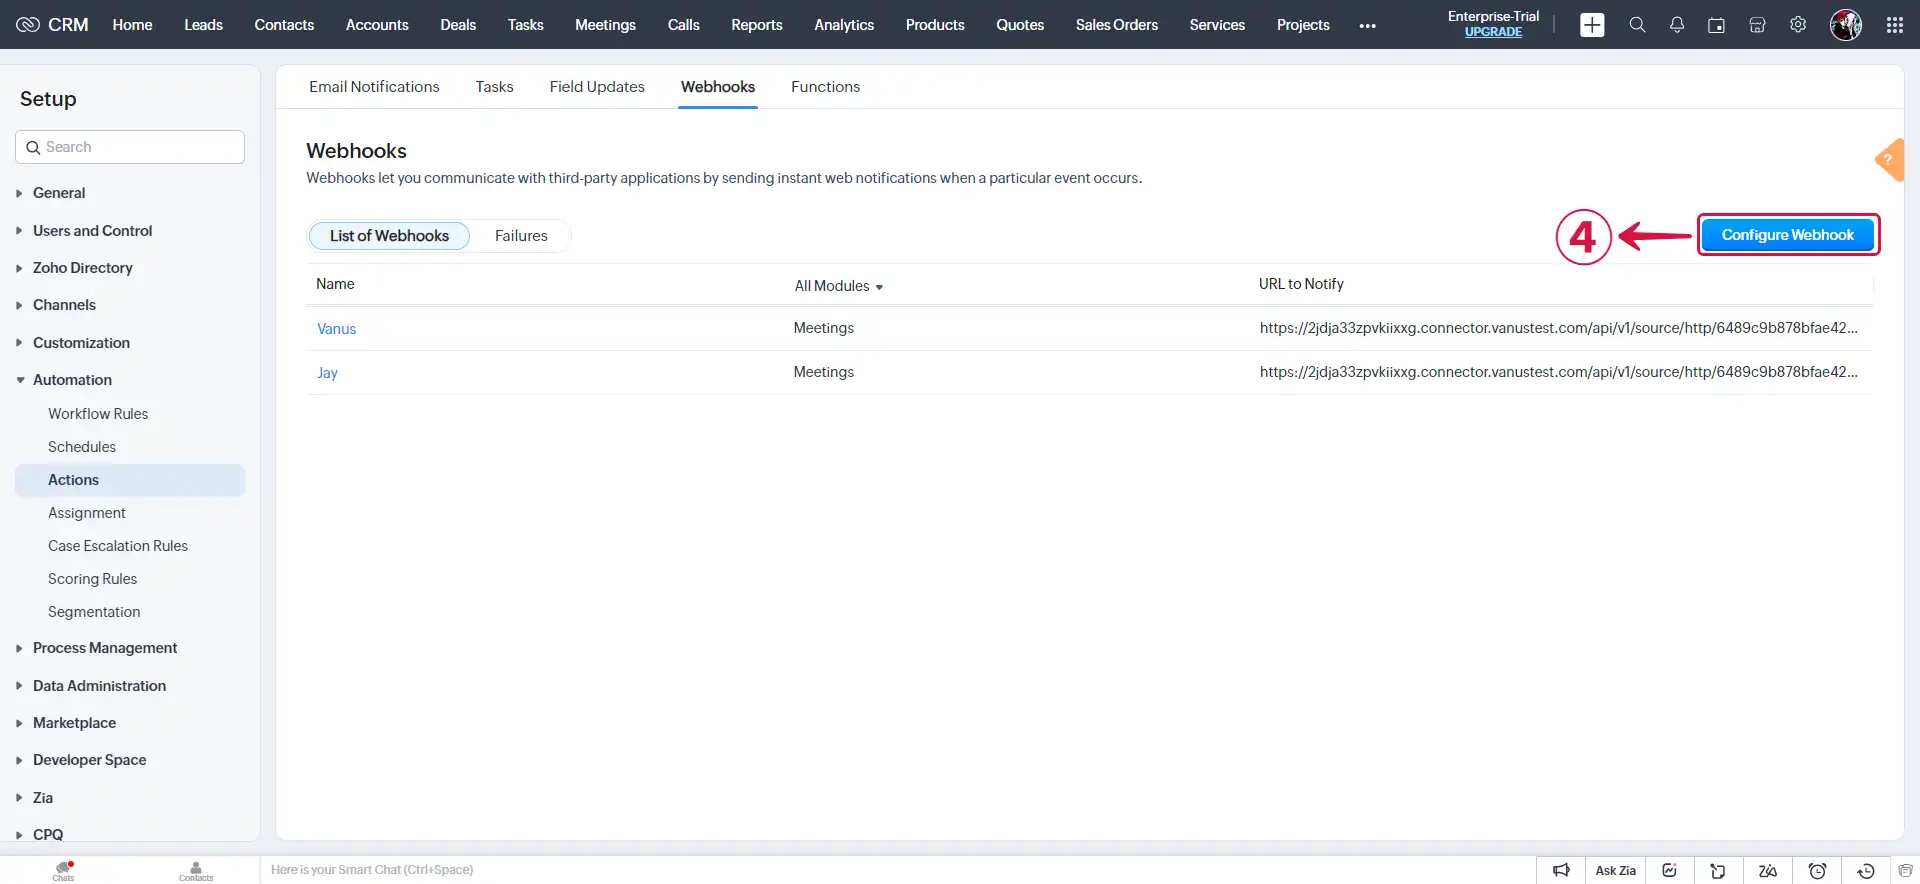
- Click on the Configure Webhook④ button.
- Name⑤ your Webhook, paste the payload URL retrieved from Vanus Connect into the URL to Notify⑥ field, and make your Module⑦.
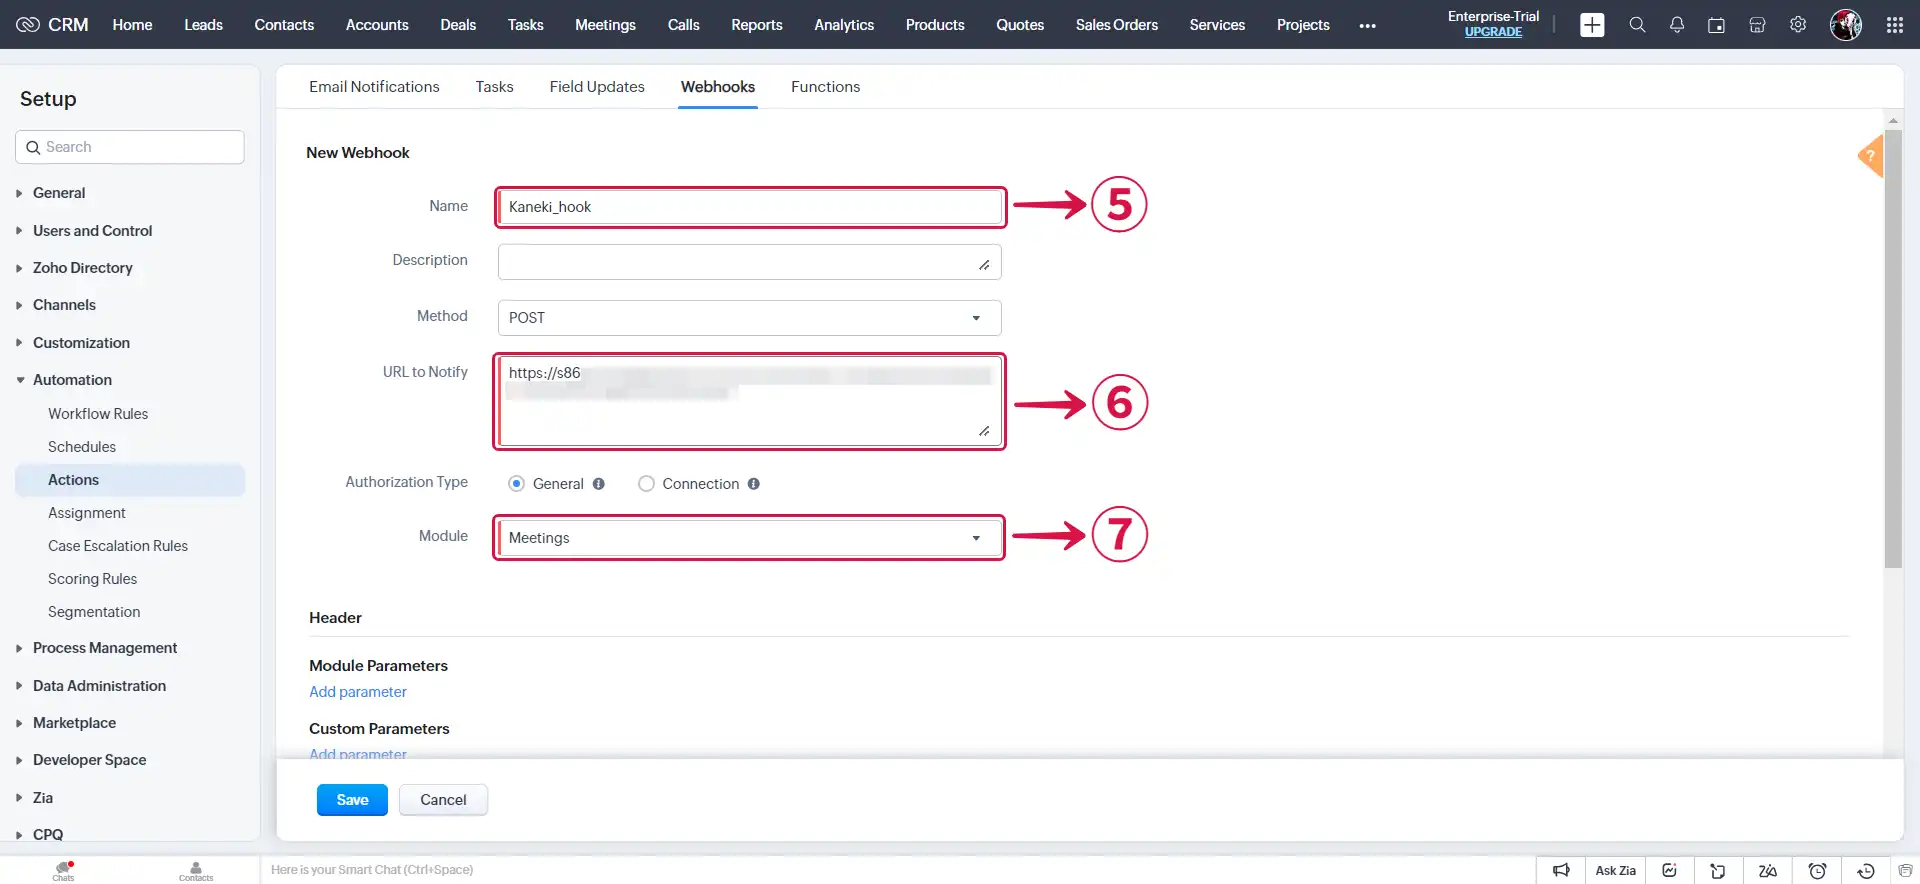
- Click on Add parameter⑧ to specify the necessary parameters.
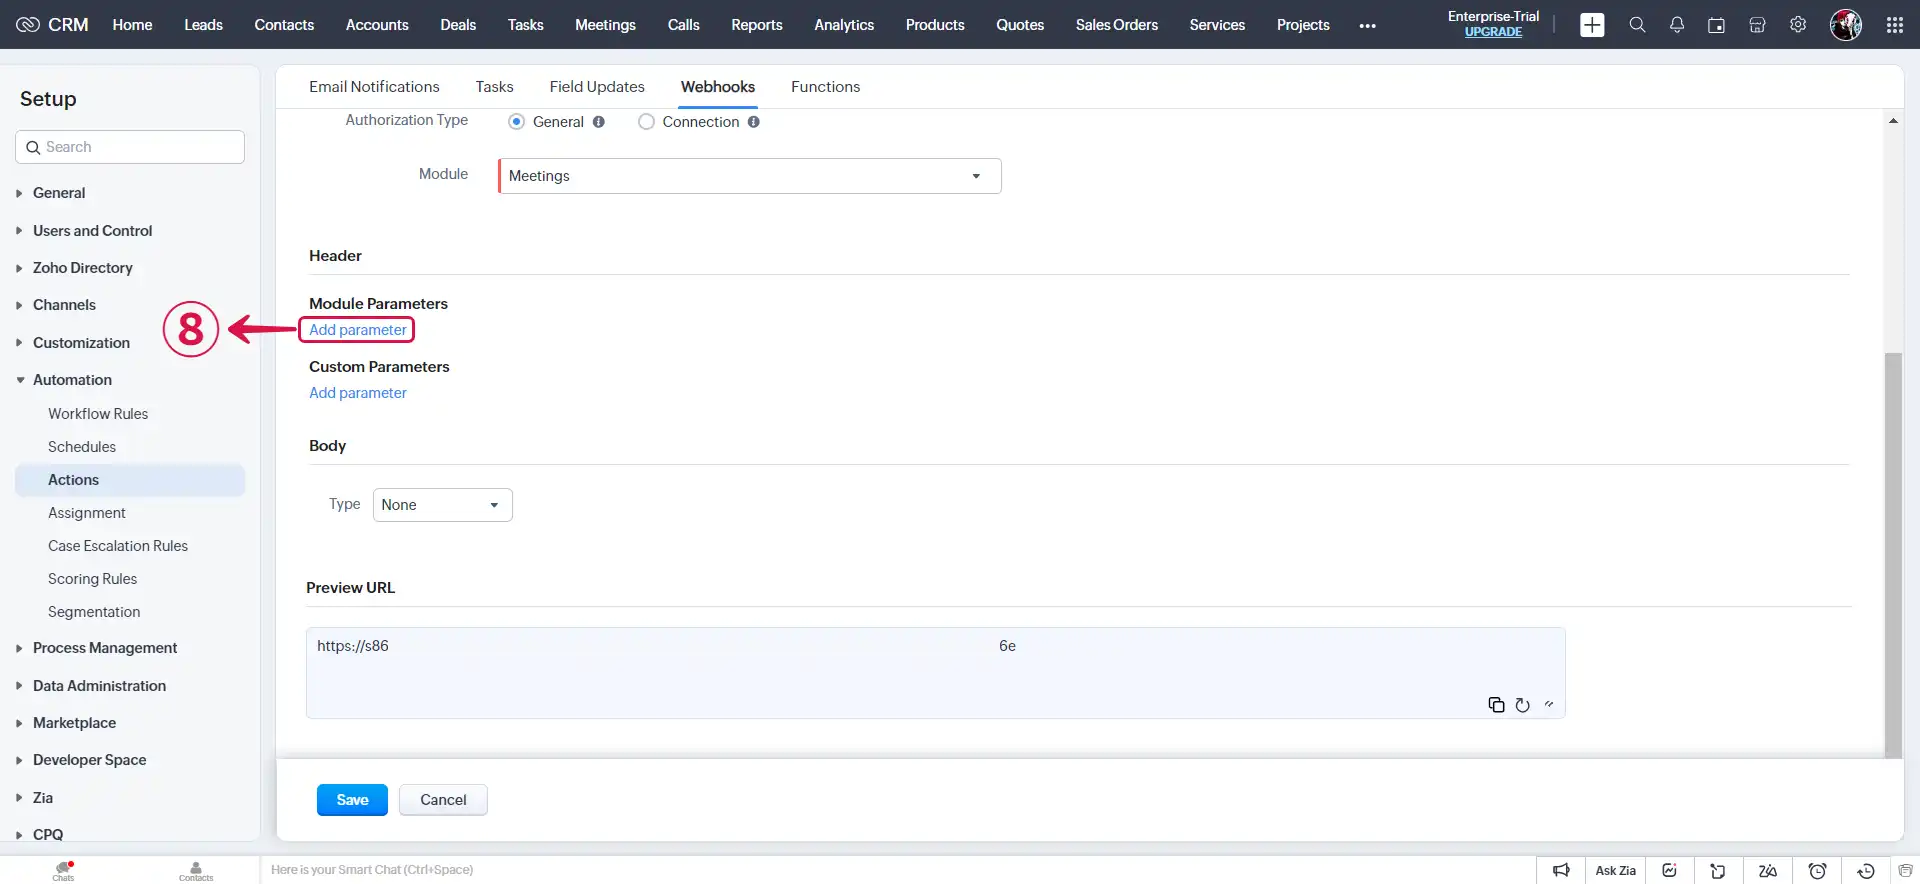
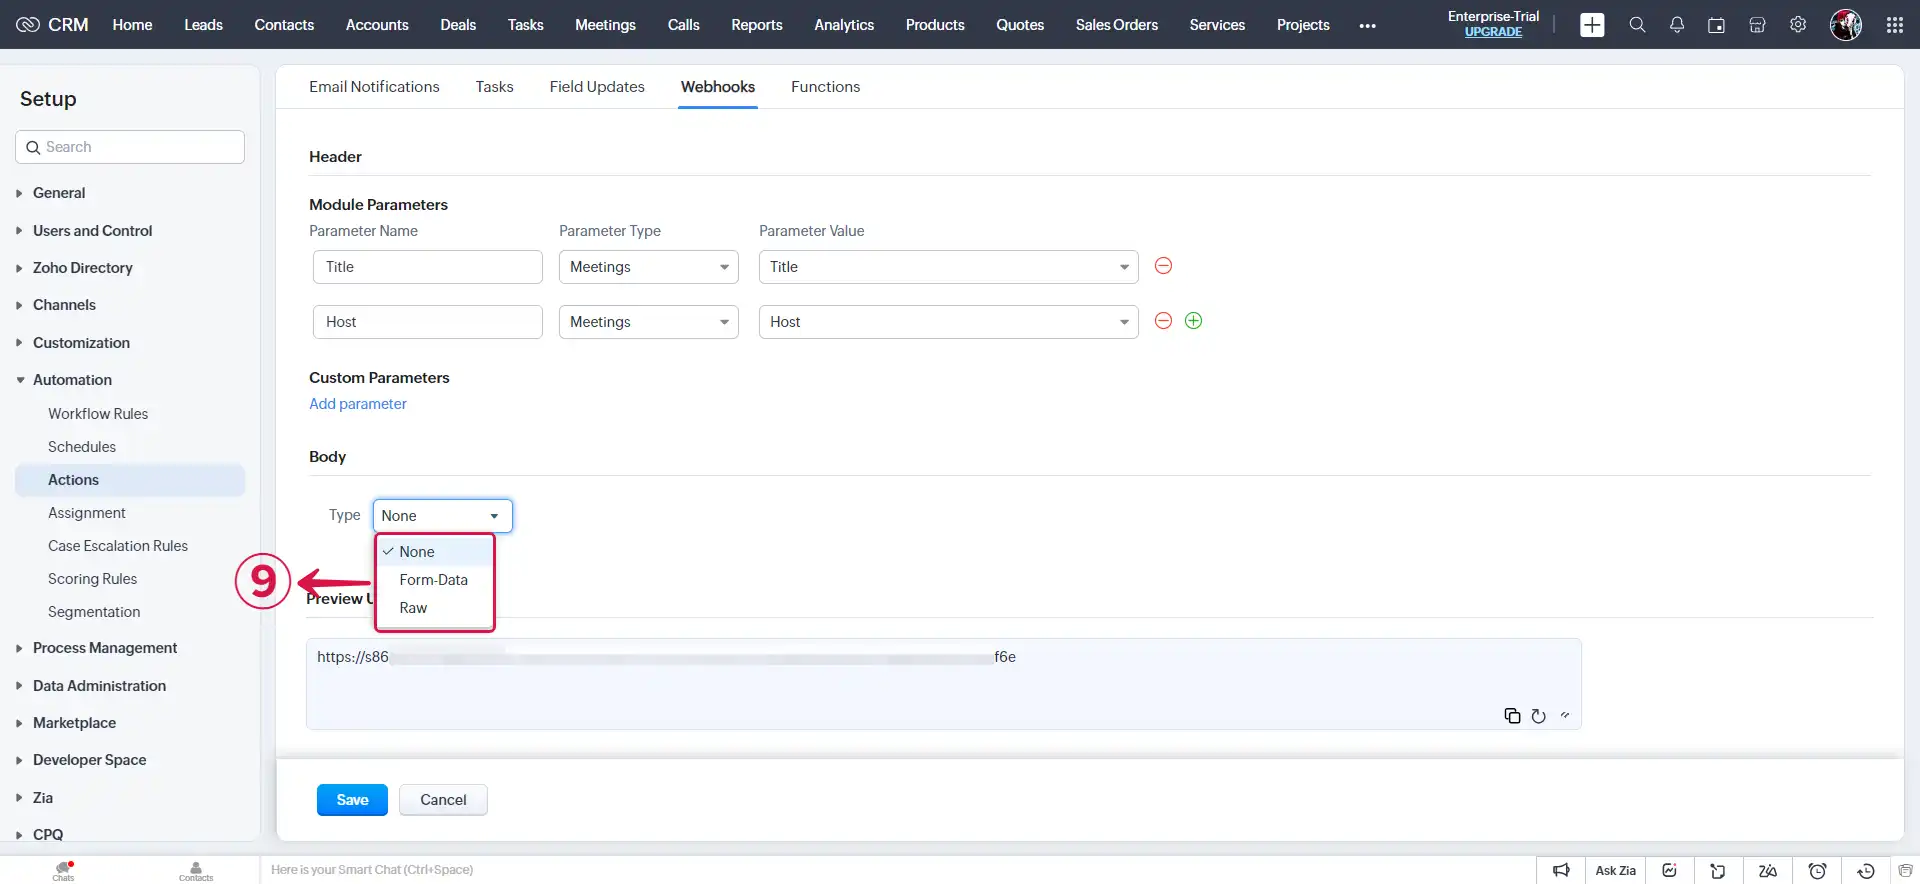
- Specify the Body Type⑨.
note
You can choose to use Form-Data or Raw from the picklist, to configure the body session.
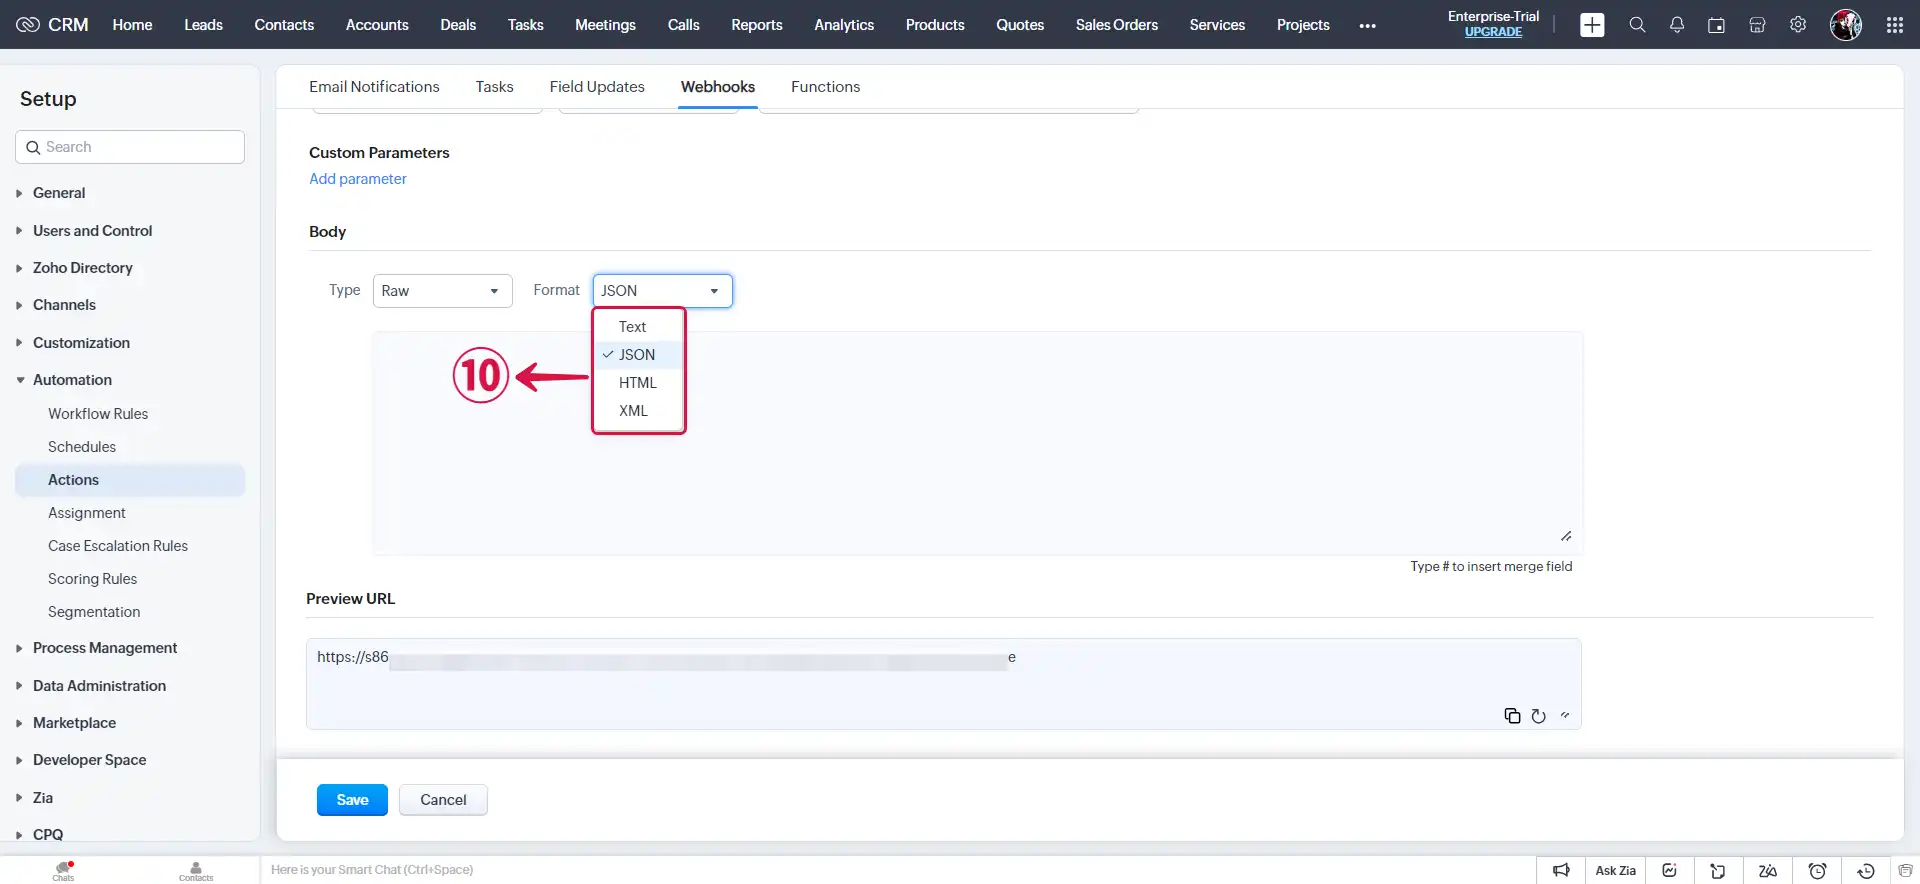
- Raw: If you choose the Raw Data option as the body type in the text editor, you have the flexibility to write your own data values. You can input data in various Format⑩ such as XML, JSON, HTML, or plain text. Additionally, you can utilize the # merge field feature to reference specific field values within the script.
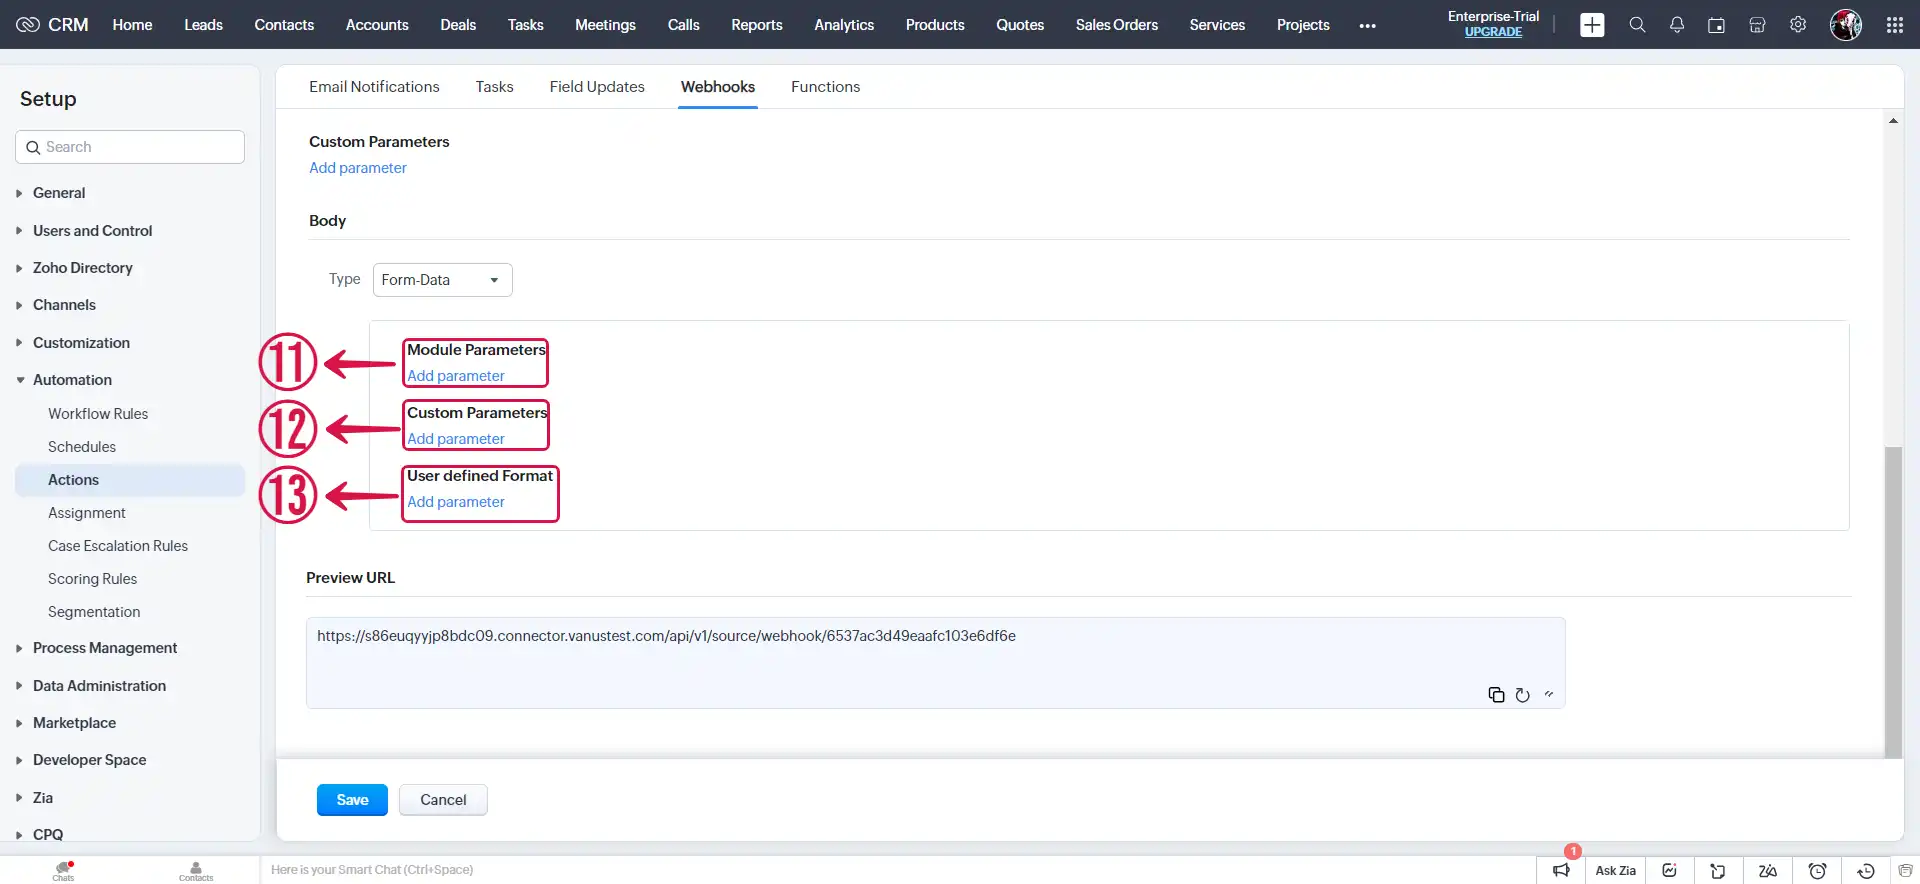
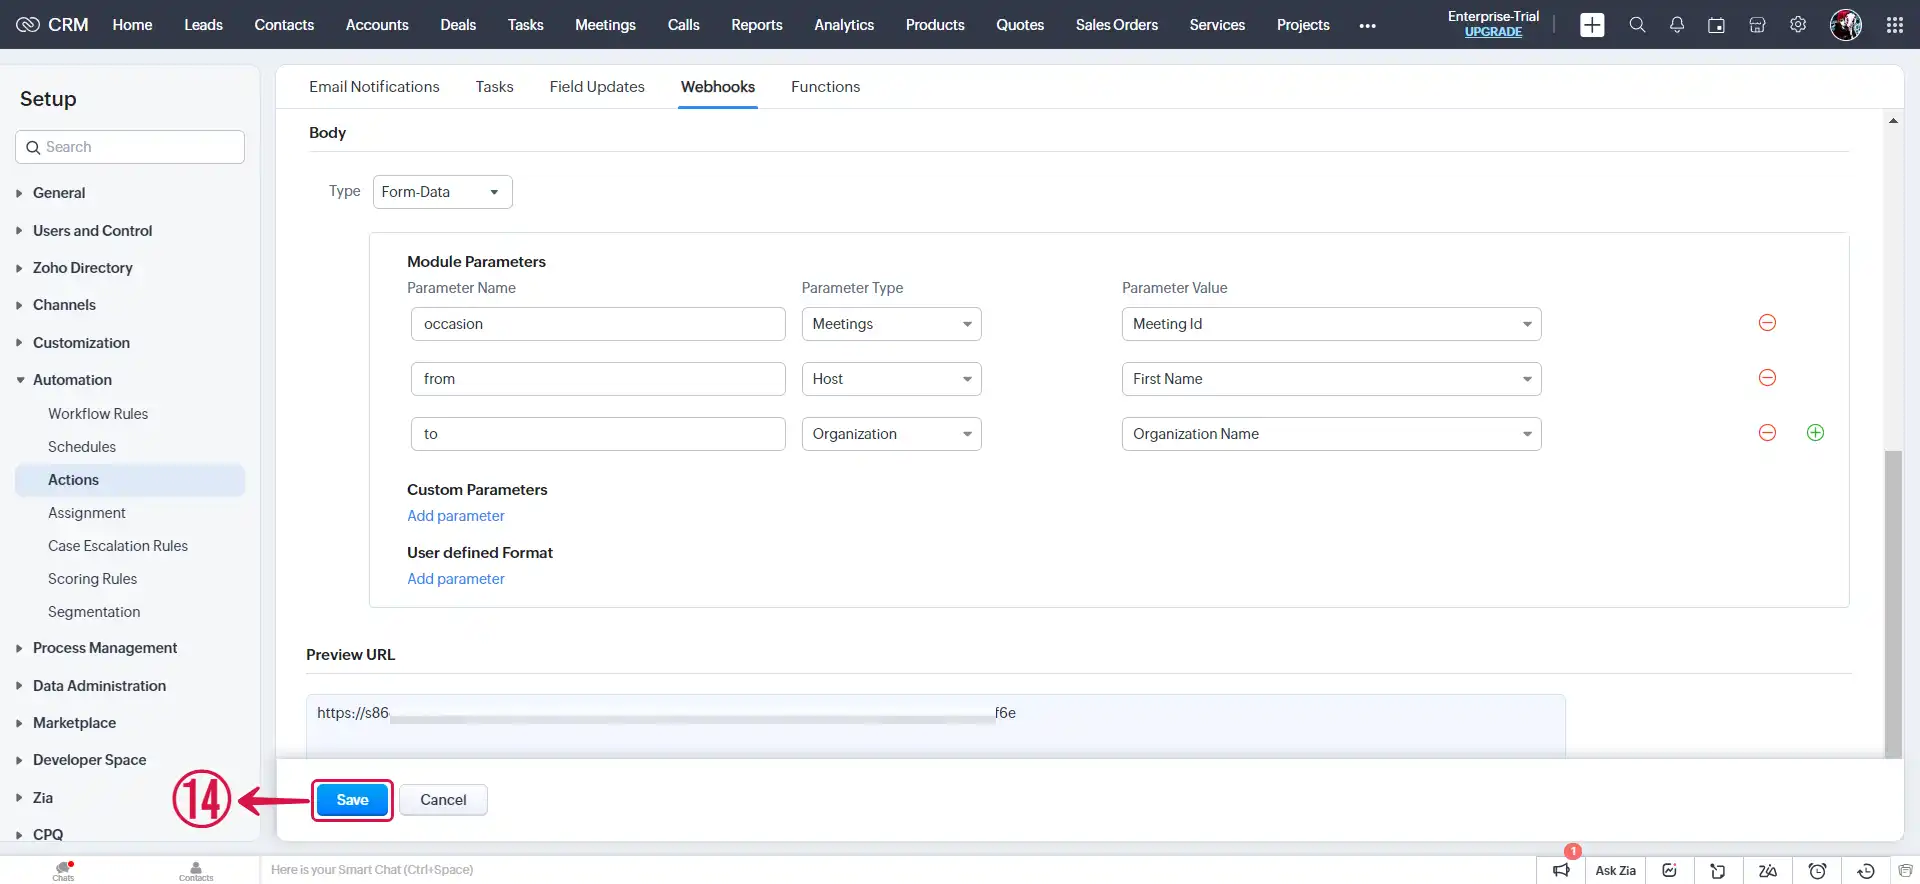
- Form Data: This feature enables you to construct the body section of the URL by seamlessly appending the parameter name, parameter type, or parameter value. You can create Form-Data in three distinct ways: Module Parameters⑪, Custom Parameters⑫, and User defined Format⑬.
- Once you have configured your settings, remember to Save⑭ them.
Step 2: Associate webhook to a workflow rule
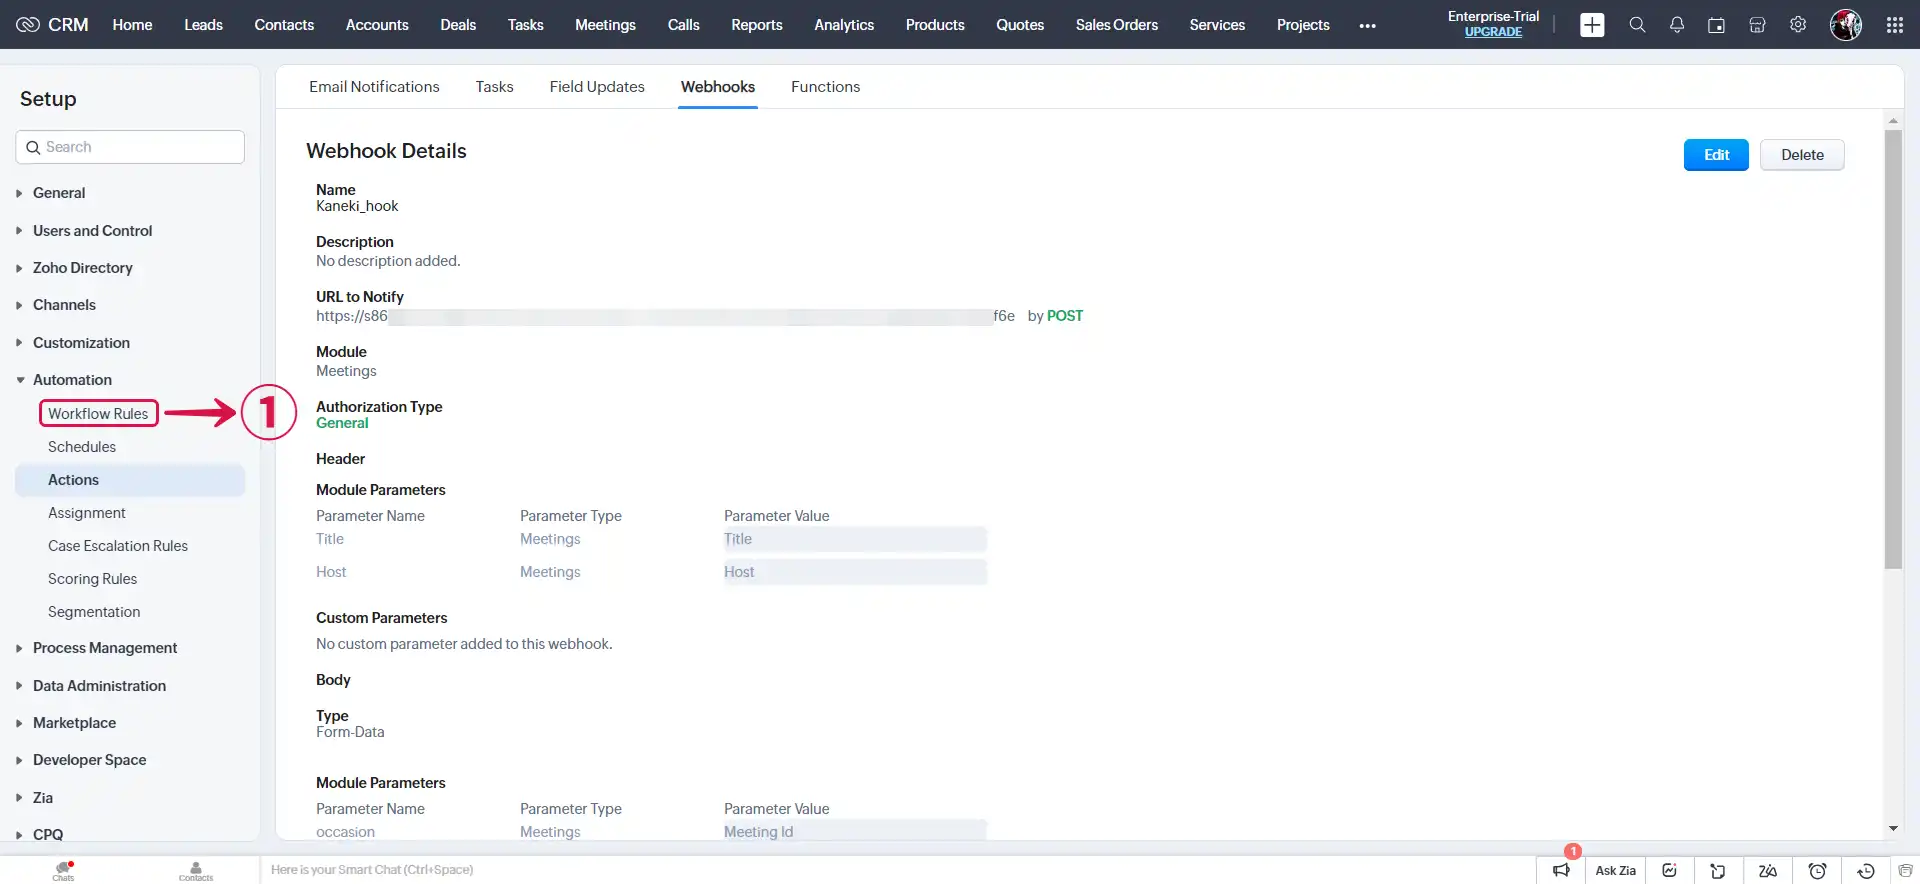
- Select Workflow Rules①.
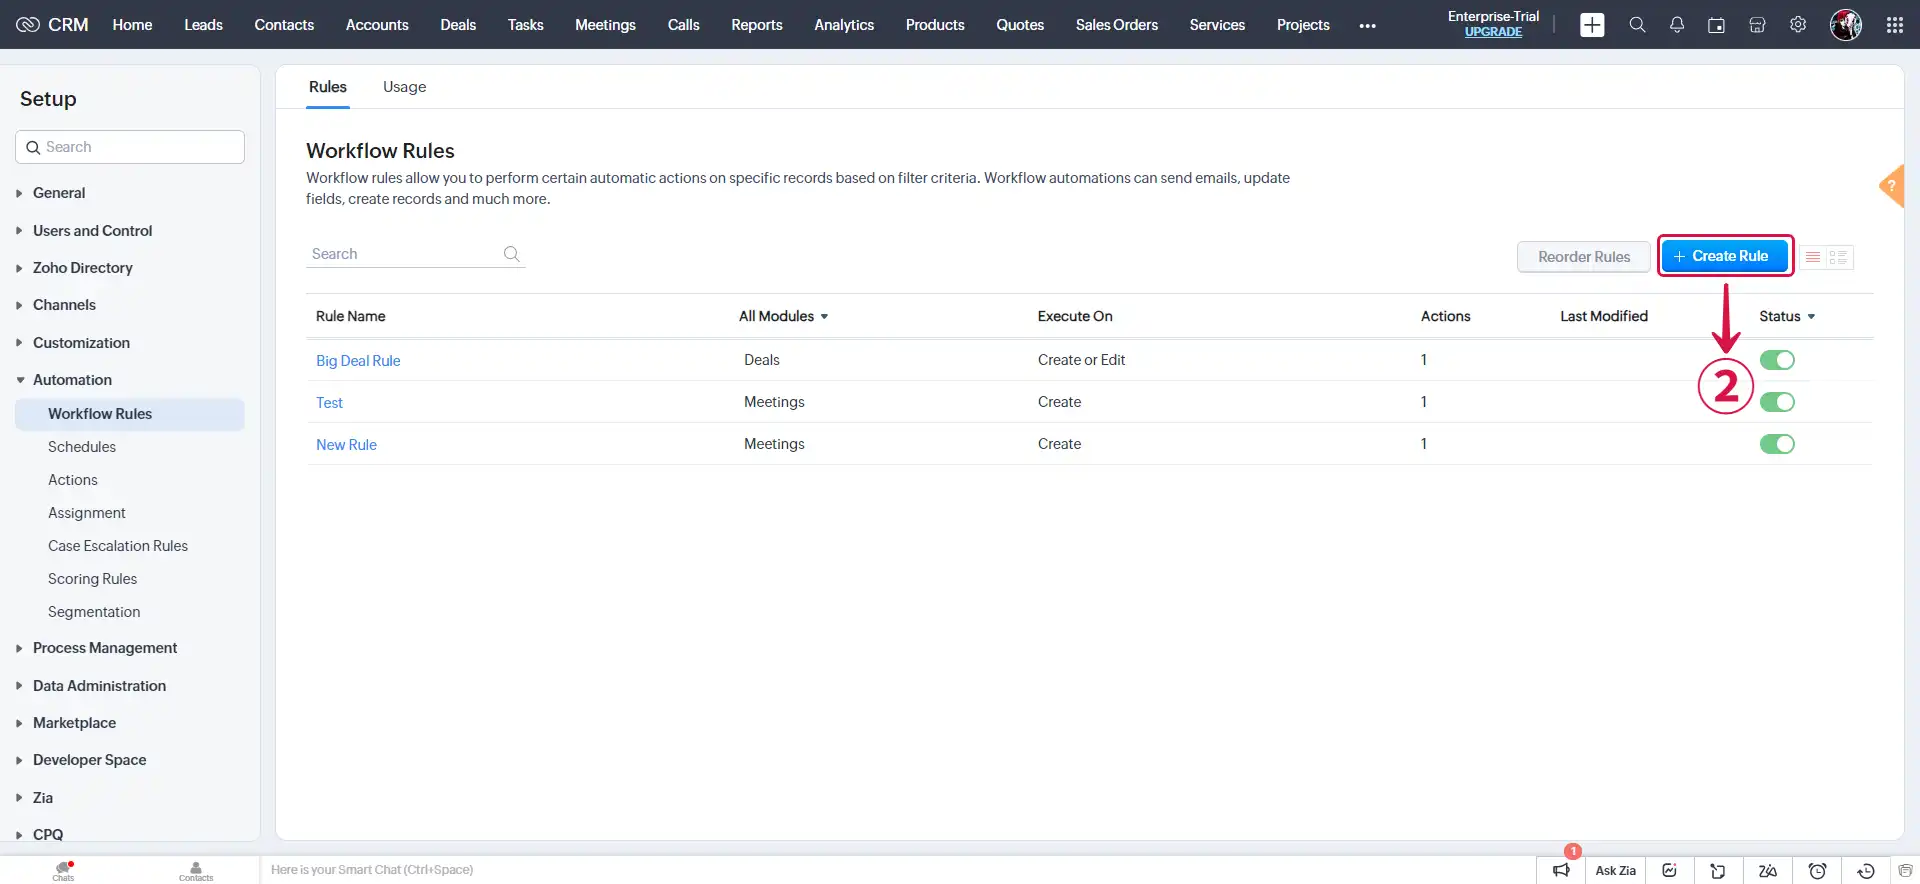
- Click on Create Rule②.
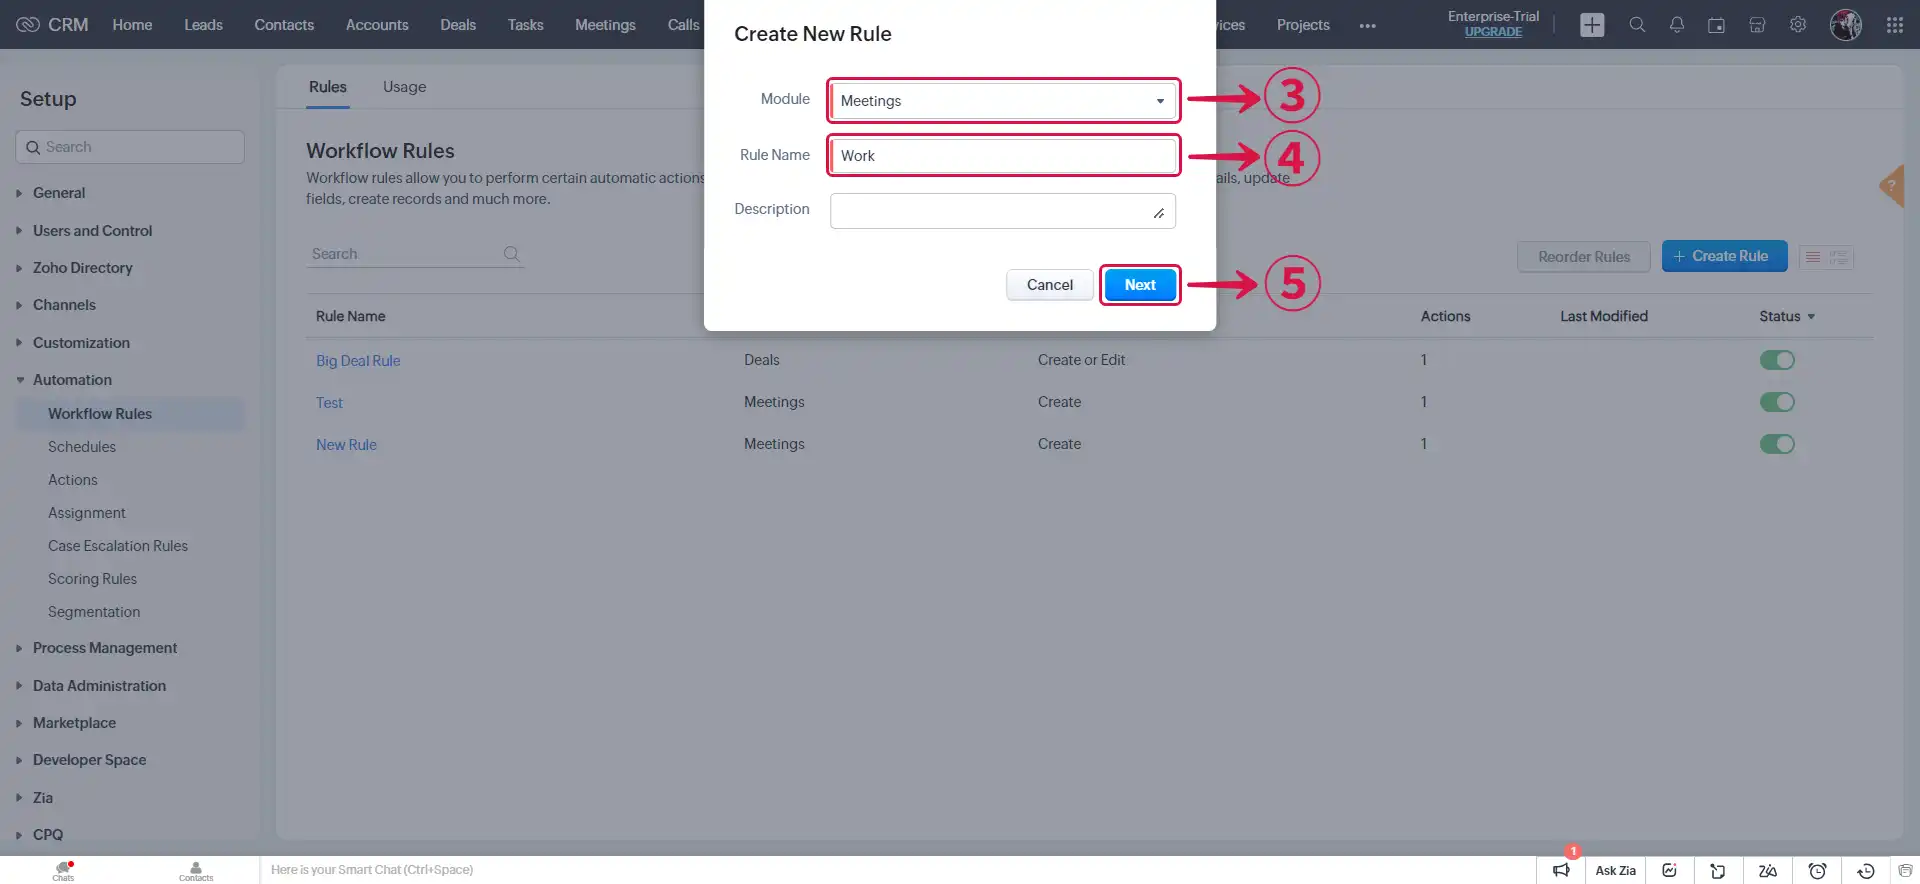
- Choose your Module③, provide a Rule Name④, and proceed by selecting Next⑤.
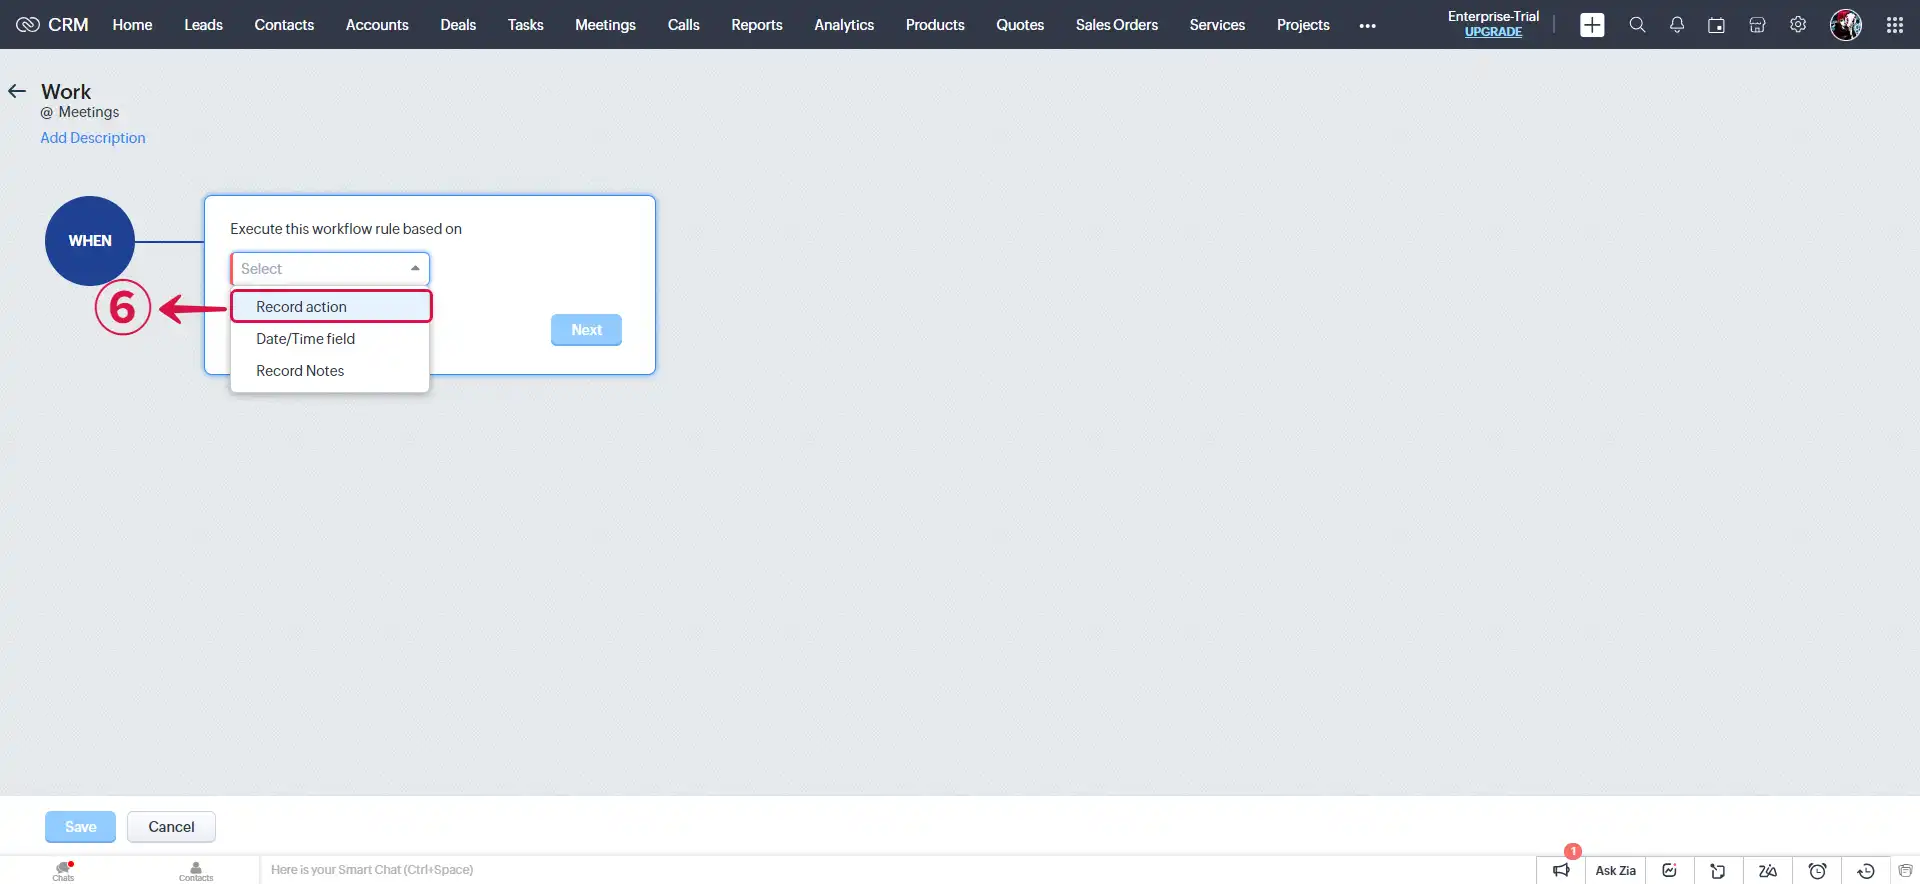
- Select Record action⑥.
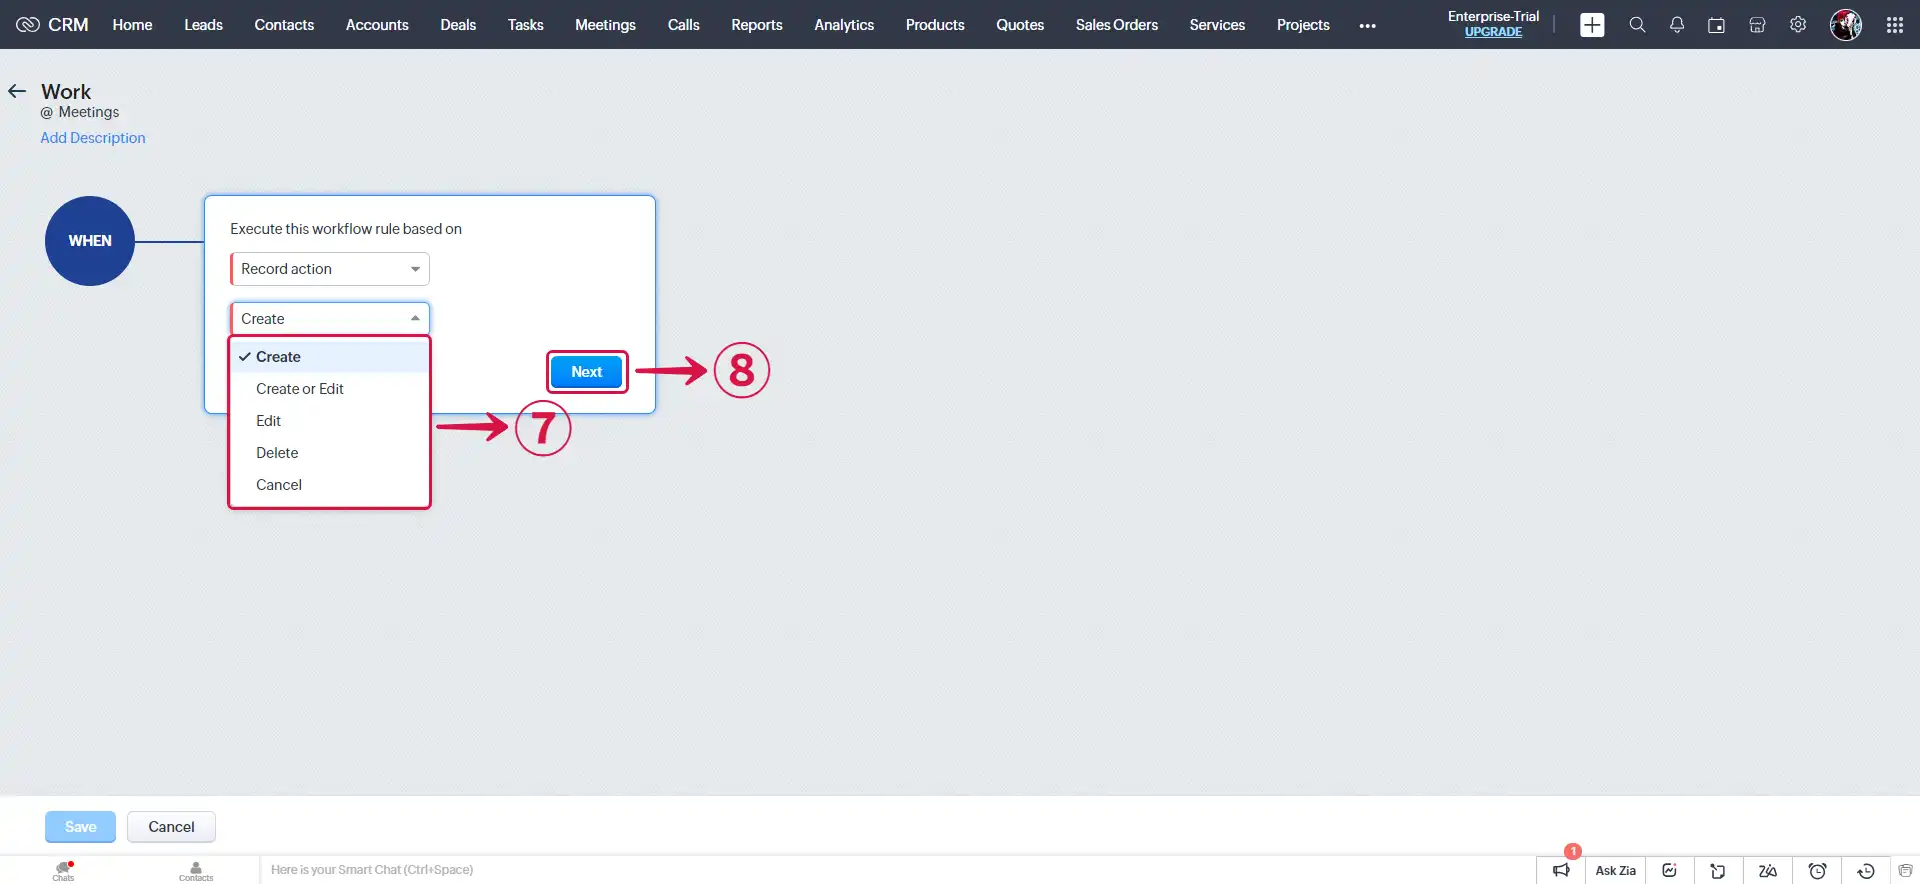
- Select the action⑦ to record and click Next⑧.
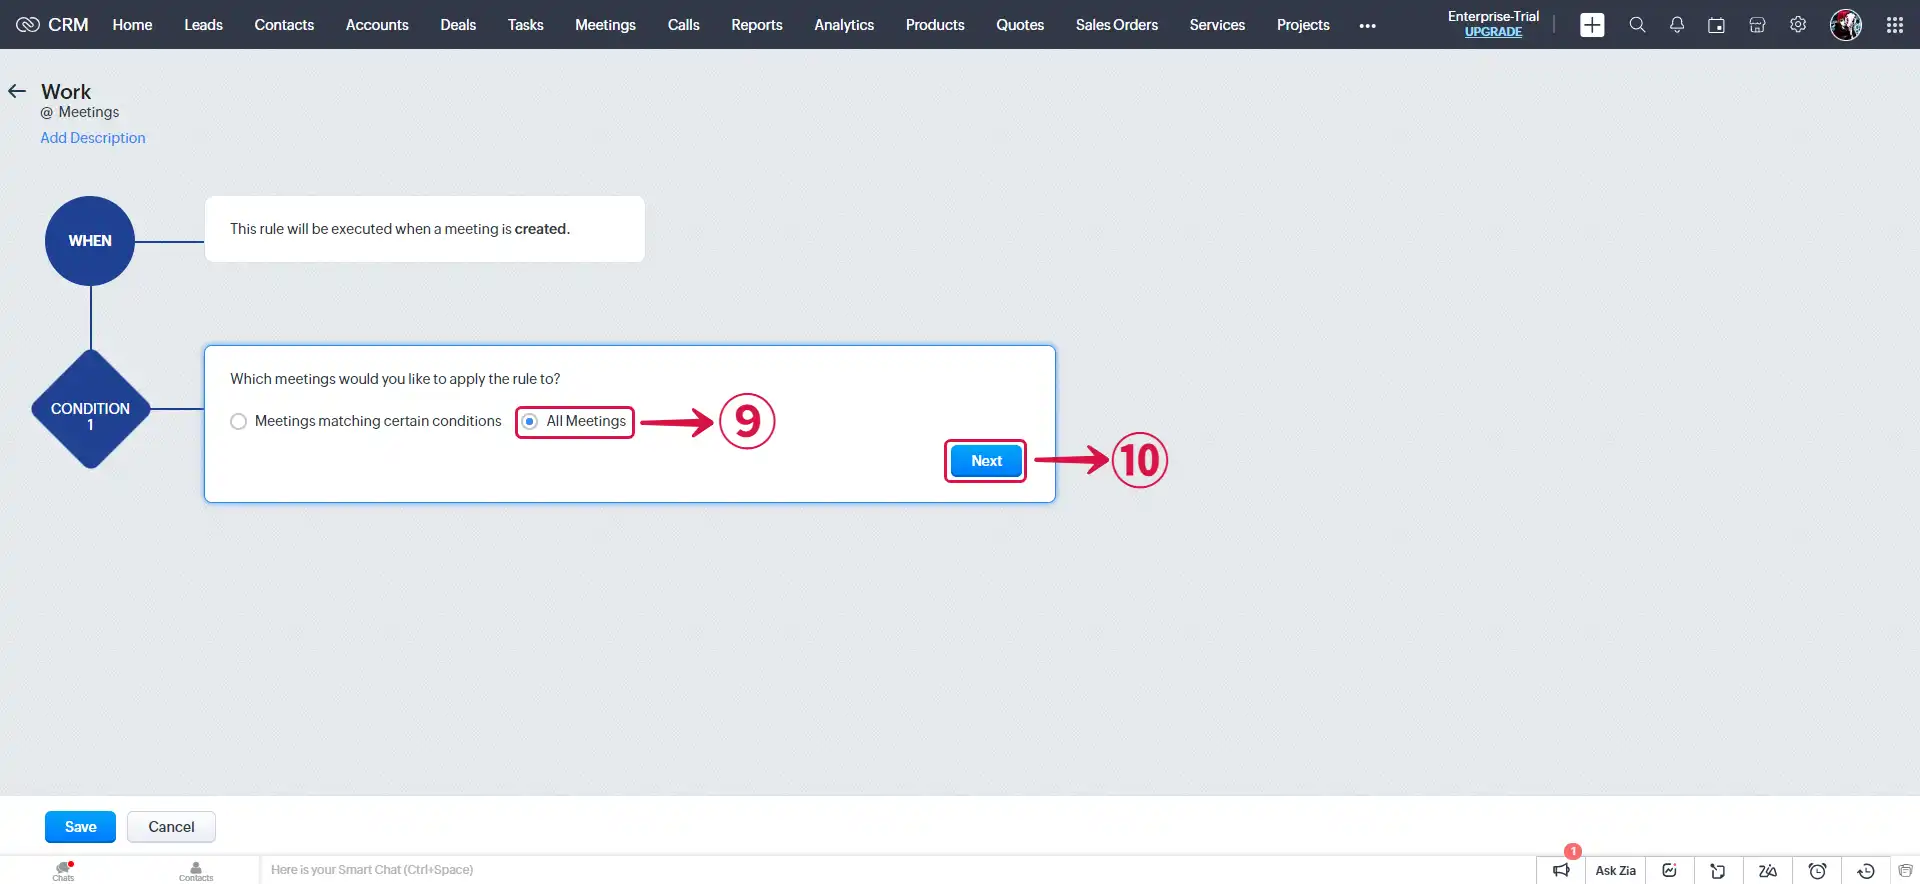
- Specify the CONDITION⑨ to be met for the event to be triggered, and then click Next⑩.
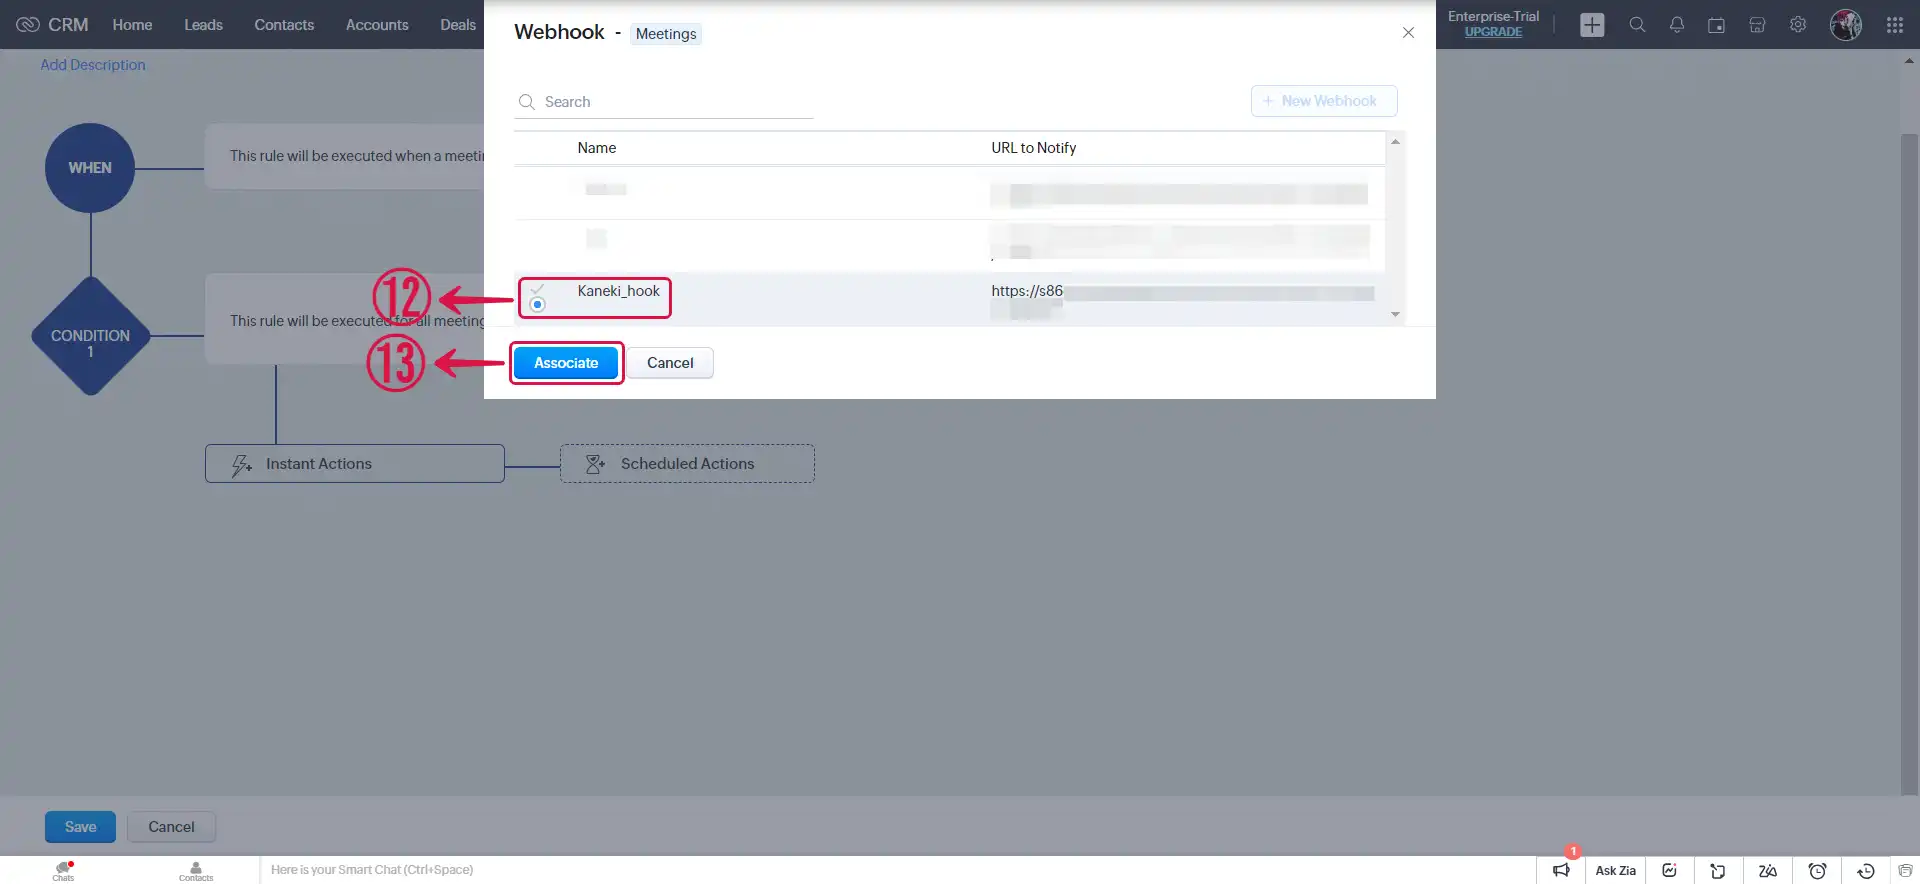
- Select Webhook⑪.

- Select⑫ the created webhook and click on Associate⑬.
- Click Save⑭.
