Table of Contents
When it comes to low-traffic websites, storing logs on the web server may not cause any issues. However, for high-traffic websites such as e-commerce sites that receive millions of requests per day, storing such a massive amount of logs can pose some challenges. Firstly, it can require more resources to handle the logs, which can increase the cost of maintaining the website. Additionally, if there is a problem with the server, the log files may not be accessible, which can make troubleshooting difficult.
Amazon Simple Storage Service (Amazon S3) provides is an object storage service that provides performance, security, and scalability that are unmatched in the market. For a variety of use cases, including data lakes, websites, mobile applications, backup and restore, archives, business applications, IoT devices, and big data analytics, customers of all sizes and sectors may use Amazon S3 to store and preserve any quantity of data. To meet your unique business, organizational, and compliance needs, Amazon S3 offers management options that allow you to optimize, organize, and configure access to your data.
A client sends an HTTP request to a named host on a server. Accessing a server resource is the purpose of the request.
The client uses parts of a URL (Uniform Resource Locator), which contains the information required to access the resource, to submit the request. URLs are explained by looking at their constituent parts.
The following components are found in a properly constructed HTTP request:
A line for requests. A number of header fields or HTTP headers. A message body, if required.
In this tutorial, I will show you how you can use Vanus connect to build a highly available and persistent log stream from HTTP requests made to your web server and store them in Amazon S3 bucket.
- Have a container runtime (i.e., docker).
- An Amazon S3 bucket.
- AWS IAM Access Key.
- AWS permissions for the IAM user:
Now, l will show you a step-by-step guide on how to build your own persistent log stream.
For this tutorial, we will be using the Vanus Playground; An online Kubernetes environment.

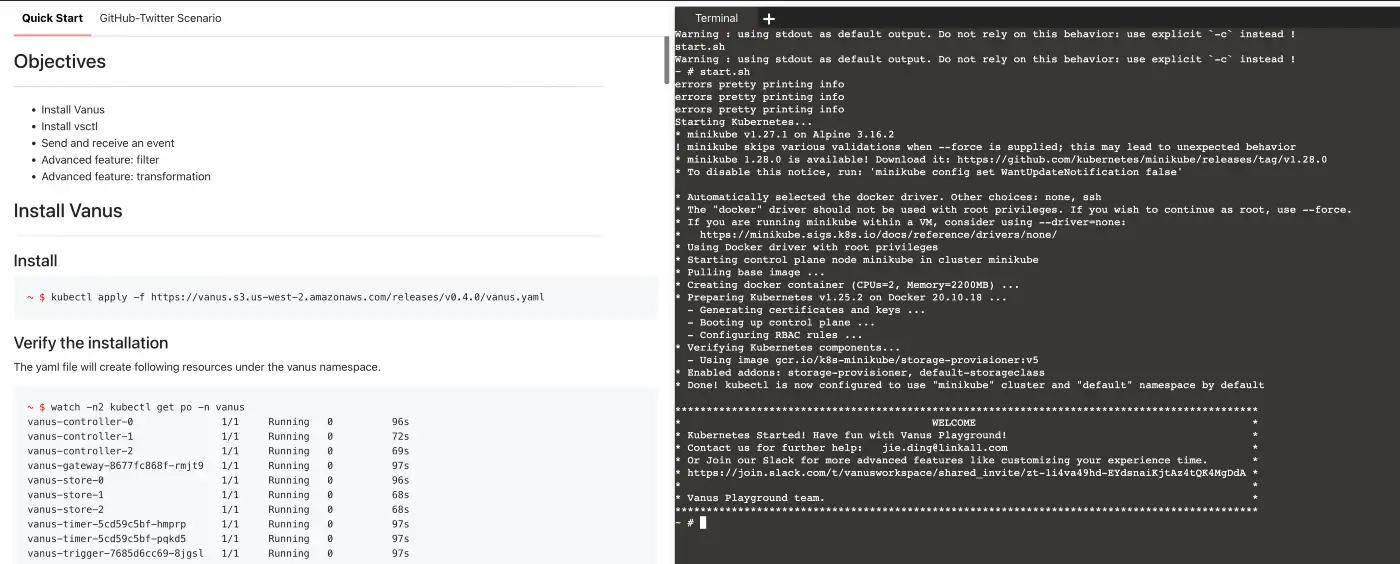
- Wait for preparing the K8s environment (usually less than 1 min). The terminal is ready when you see something like:

- Install Vanus by typing following command:
kubectl apply -f https://dl.vanus.ai/all-in-one/v0.6.0.yml
- Verify if Vanus is deployed successfully:
 $ watch -n2 kubectl get po -n vanus
vanus-controller-0               1/1     Running   0          96s
vanus-controller-1               1/1     Running   0          72s
vanus-controller-2               1/1     Running   0          69s
vanus-gateway-8677fc868f-rmjt9   1/1     Running   0          97s
vanus-store-0                    1/1     Running   0          96s
vanus-store-1                    1/1     Running   0          68s
vanus-store-2                    1/1     Running   0          68s
vanus-timer-5cd59c5bf-hmprp      1/1     Running   0          97s
vanus-timer-5cd59c5bf-pqkd5      1/1     Running   0          97s
vanus-trigger-7685d6cc69-8jgsl   1/1     Running   0          97s
- Install vsctl (the command line tool).
curl -O https://dl.vanus.ai/vsctl/latest/linux-amd64/vsctl
chmod ug+x vsctl
mv vsctl /usr/local/bin
- Set the endpoint for vsctl.
export VANUS_GATEWAY=192.168.49.2:30001
- Create an Eventbus to store your events.
vsctl eventbus create --name http-s3
+----------------+------------------+
|     RESULT     |      EVENTBUS    |
+----------------+------------------+
| Create Success | http-s3          |
+----------------+------------------+
- Make HTTP Source Directory
cat << EOF > config.yml
target: http://192.168.49.2:30002/gateway/http-to-s3
port: 31081
EOF
- Use docker run to run the HTTP Source config.yml file
docker run -it --rm --network=host \
  -v ${PWD}:/vanus-connect/config \
  --name source-http public.ecr.aws/vanus/connector/source-http &
Note: I ran this in the Background of my terminal, if you wish to see the outputs, remove the ampersand (&) at the end
cat << EOF > config.yml
port: 8080
aws:
  access_key_id: your_access_key
  secret_access_key: your_secret_key
region: "your_region"
bucket: "your_bucket_name"
scheduled_interval: 10
EOF
- Usedocker run to run the S3 sink config.yml file
docker run -it --rm \
  -p 8082:8080 \
  -v ${PWD}:/vanus-connect/config \
  --name sink-aws-s3 public.ecr.aws/vanus/connector/sink-aws-s3 &
Note: I ran this in the Background of my terminal, if you wish to see the outputs, remove the ampersand (&) at the end
- The Subscription is a relationship established between a Sink and an Eventbus. The Subscription reflects the Sink's interest in receiving events and describes the method for how to deliver those events. To create a subcription, use
vsctl subscription create --name http \
  --eventbus http-to-s3 \
  --sink 'http://ip10-1-39-4-cecpi79ajm80o97dfdug-8082.direct.play.linkall.com'
The sink URL (http://ip10-1-39-4-cecpi79ajm80o97dfdug-8082.direct.play.linkall.com) is different for different users. To obtain your unique URL, you have to follow these steps:
Go to Vanus Playground, and click “Continue with GitHub”

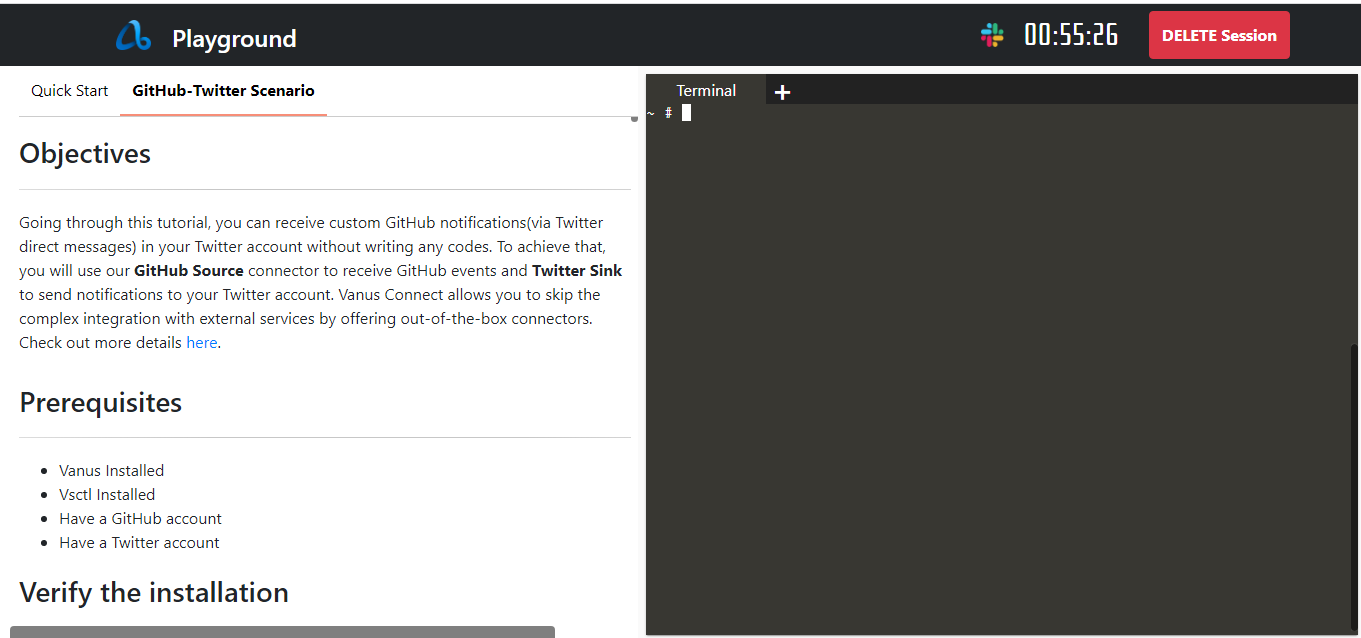
Click on the GitHub-Twitter Scenario Tab

Scroll down and look for Payload URL

Copy the Payload URL and paste it into the Sink URL
Make a request using CURL
curl --location --request POST 'localhost:31081' \
--header 'Content-Type: application/cloudevents+json' \
--data-raw '{
     "id": "53d1c340-551a-11ed-96c7-8b504d95037c",
    "source": "quickstart",
    "specversion": "1.0",
    "type": "quickstart",
    "datacontenttype": "application/json",
    "time": "2022-10-26T10:38:29.345Z",
    "data": {
        "myData": "Hello S3 Bucket!"
    }
}'
Check your S3 bucket, you will see a folder containing files have been uploaded

We can now see that our S3 bucket was able to pull the request when we used CURL. The S3 sink supports partitioning; files can be pulled on an hourly or daily basis.
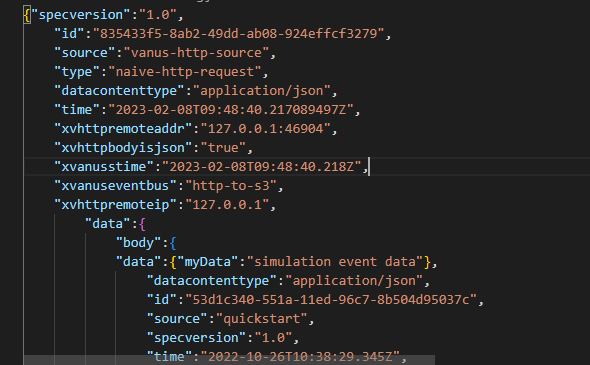
We can inspect our file and see the data received by our S3 bucket.

In this tutorial, I have shown how you how you can use Vanus connect to build a highly available and persistent log stream from HTTP requests made to your website and store them in Amazon S3 bucket.


