Discord
This documentation will teach you how to integrate your AI into Discord.
Integration is a paid user feature. Therefore, only users with professional subscriptions and above can use integrations.
How to Setup a Discord Integration
Prerequisites:
Have a Discord account.
Have a Vanus AI account.
Step 1: Create an AI Application
- Navigate to Vanus AI and sign in with Github, Google, Microsoft Account① or click Sign up②.

- Initiate a new AI App by hitting the Create App③ button.

- Input an App Name④, select an App Model⑤, upload to the Knowledge Base⑥, then click Create⑦.
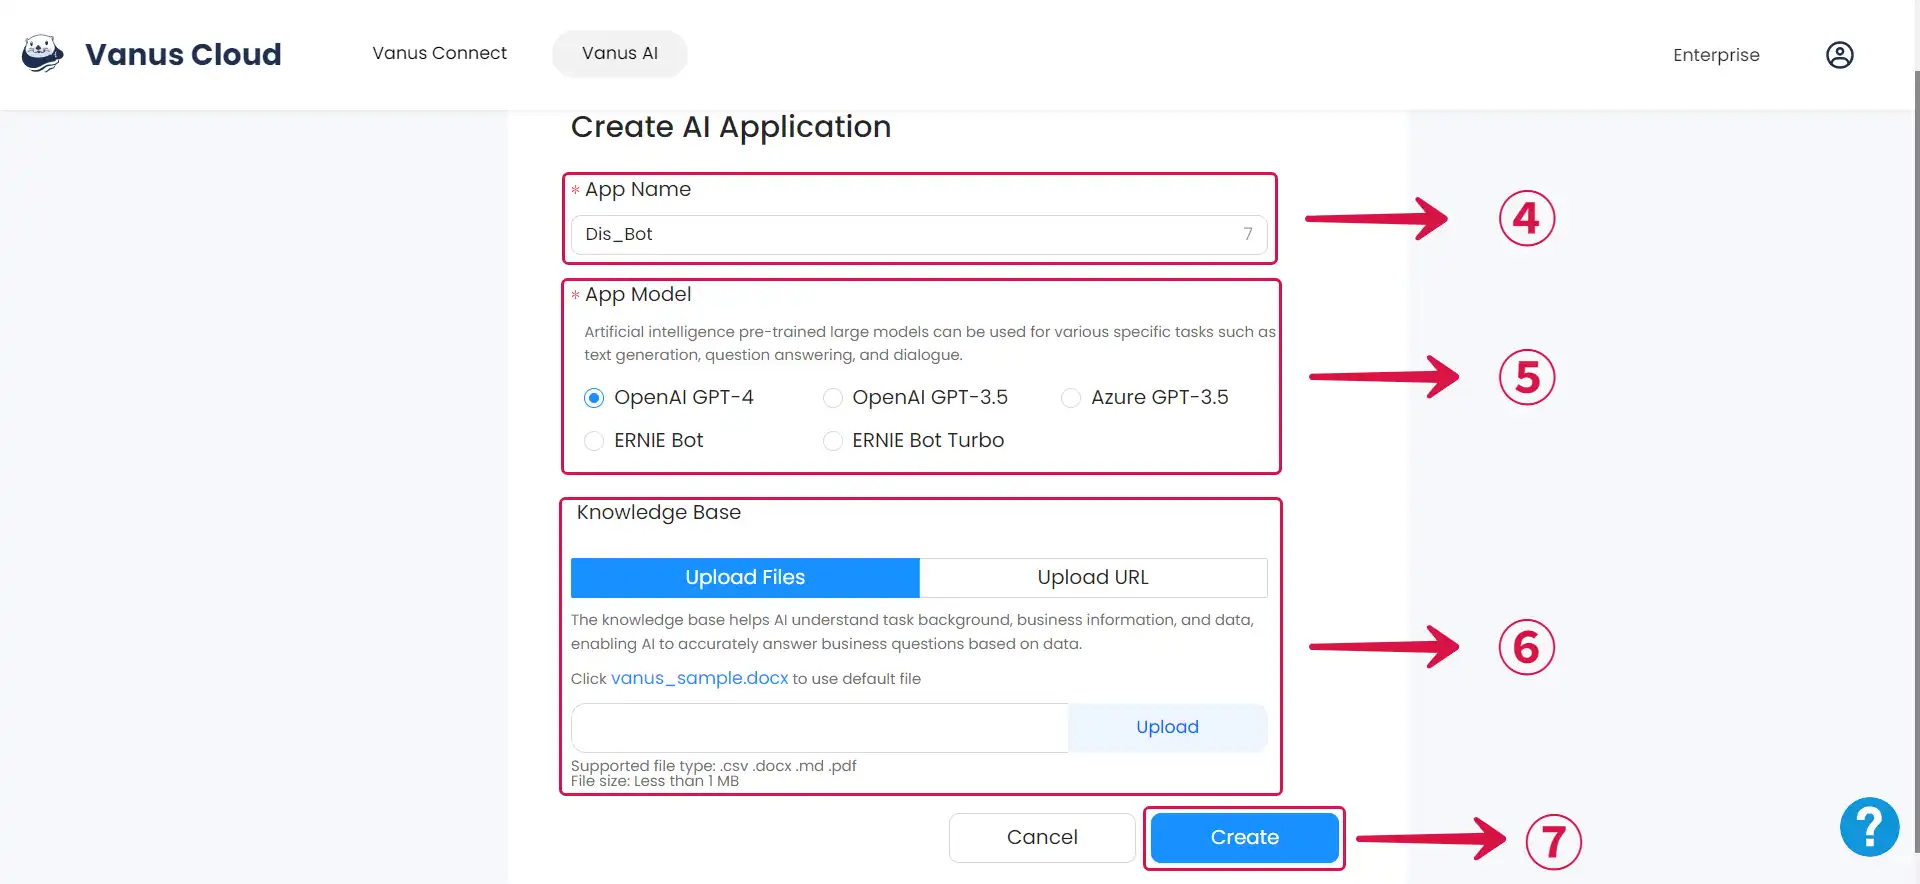
If you find yourself uncertain about which app model to select, please refer to the Large Language Models (LLM) Documentation for clear guidance on choosing the most suitable LLM for your requirements.
In the next steps, we will go to the Discord website or Application to create our Discord Server and get the required credentials to make the connection.
Step 2: Create a Discord Server
Access the Discord App or Webpage at Discord.
After signing in, you can press the
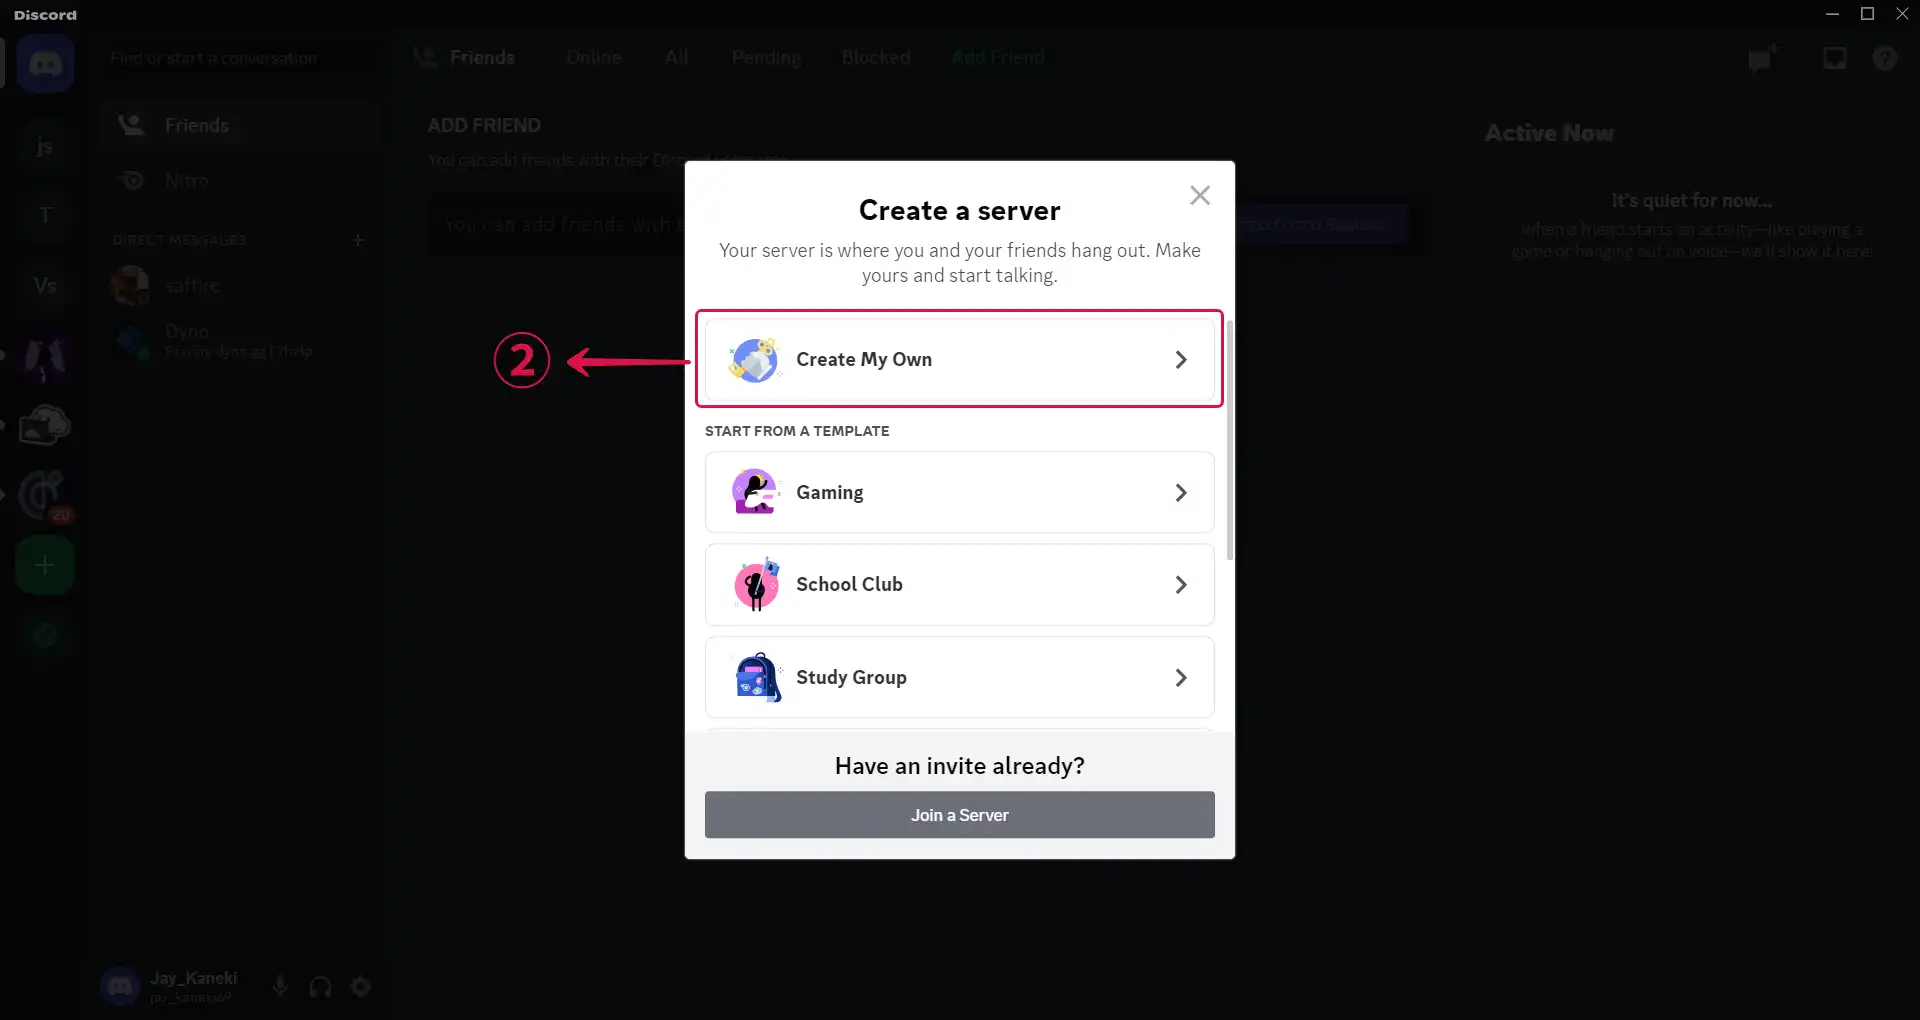
+button to establish a new channel①.
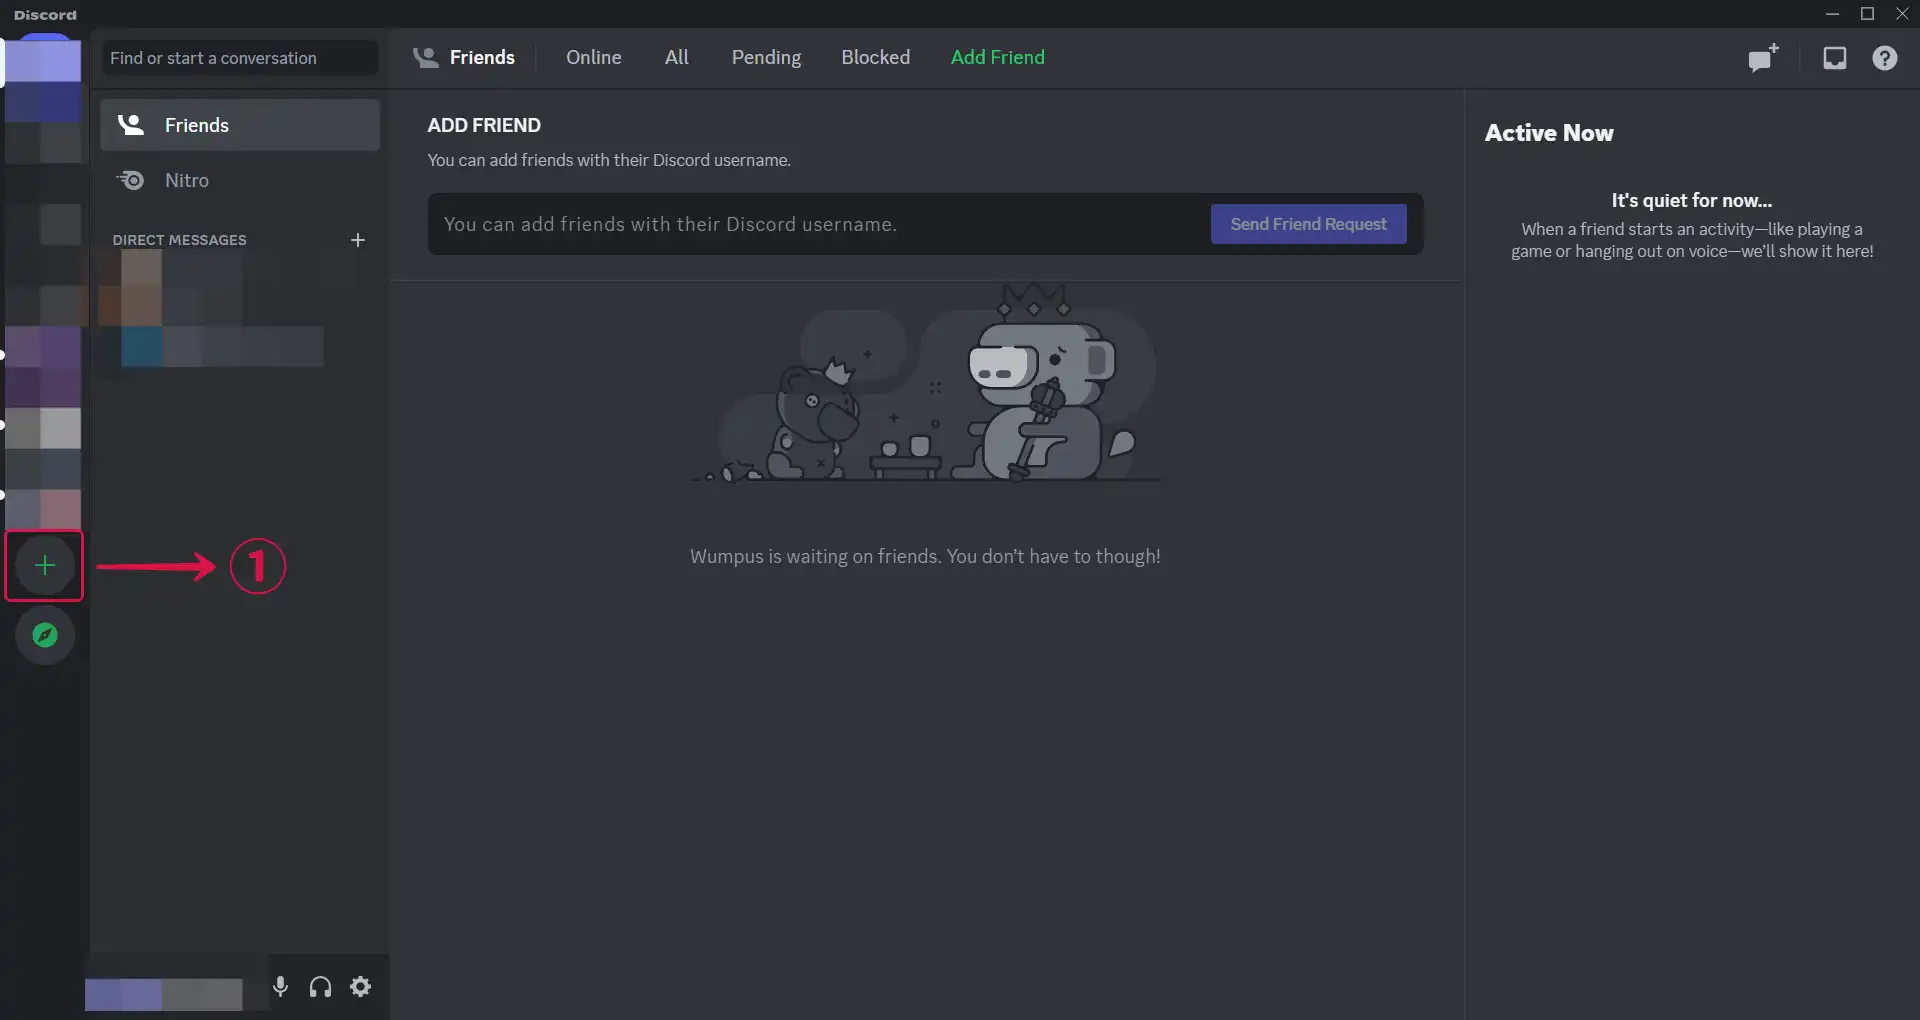
- Hit Create My Own②.
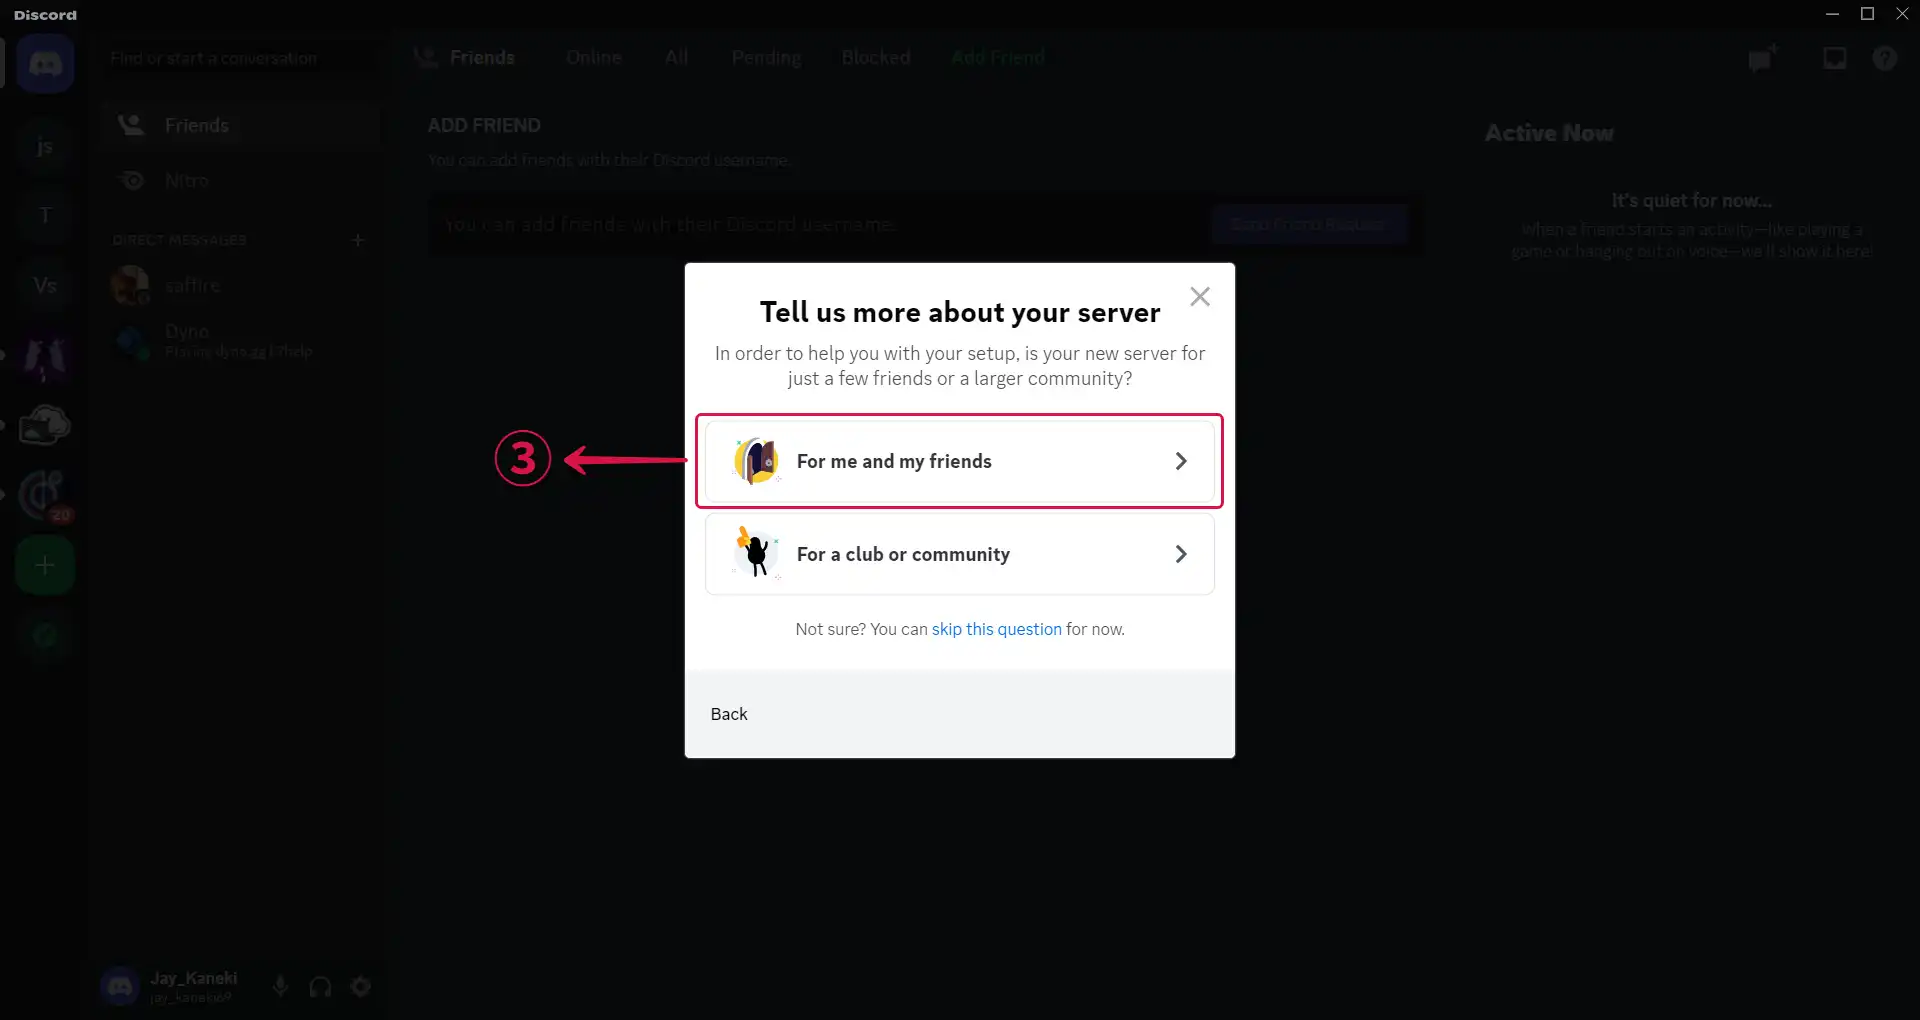
- Select For me and my friends③.
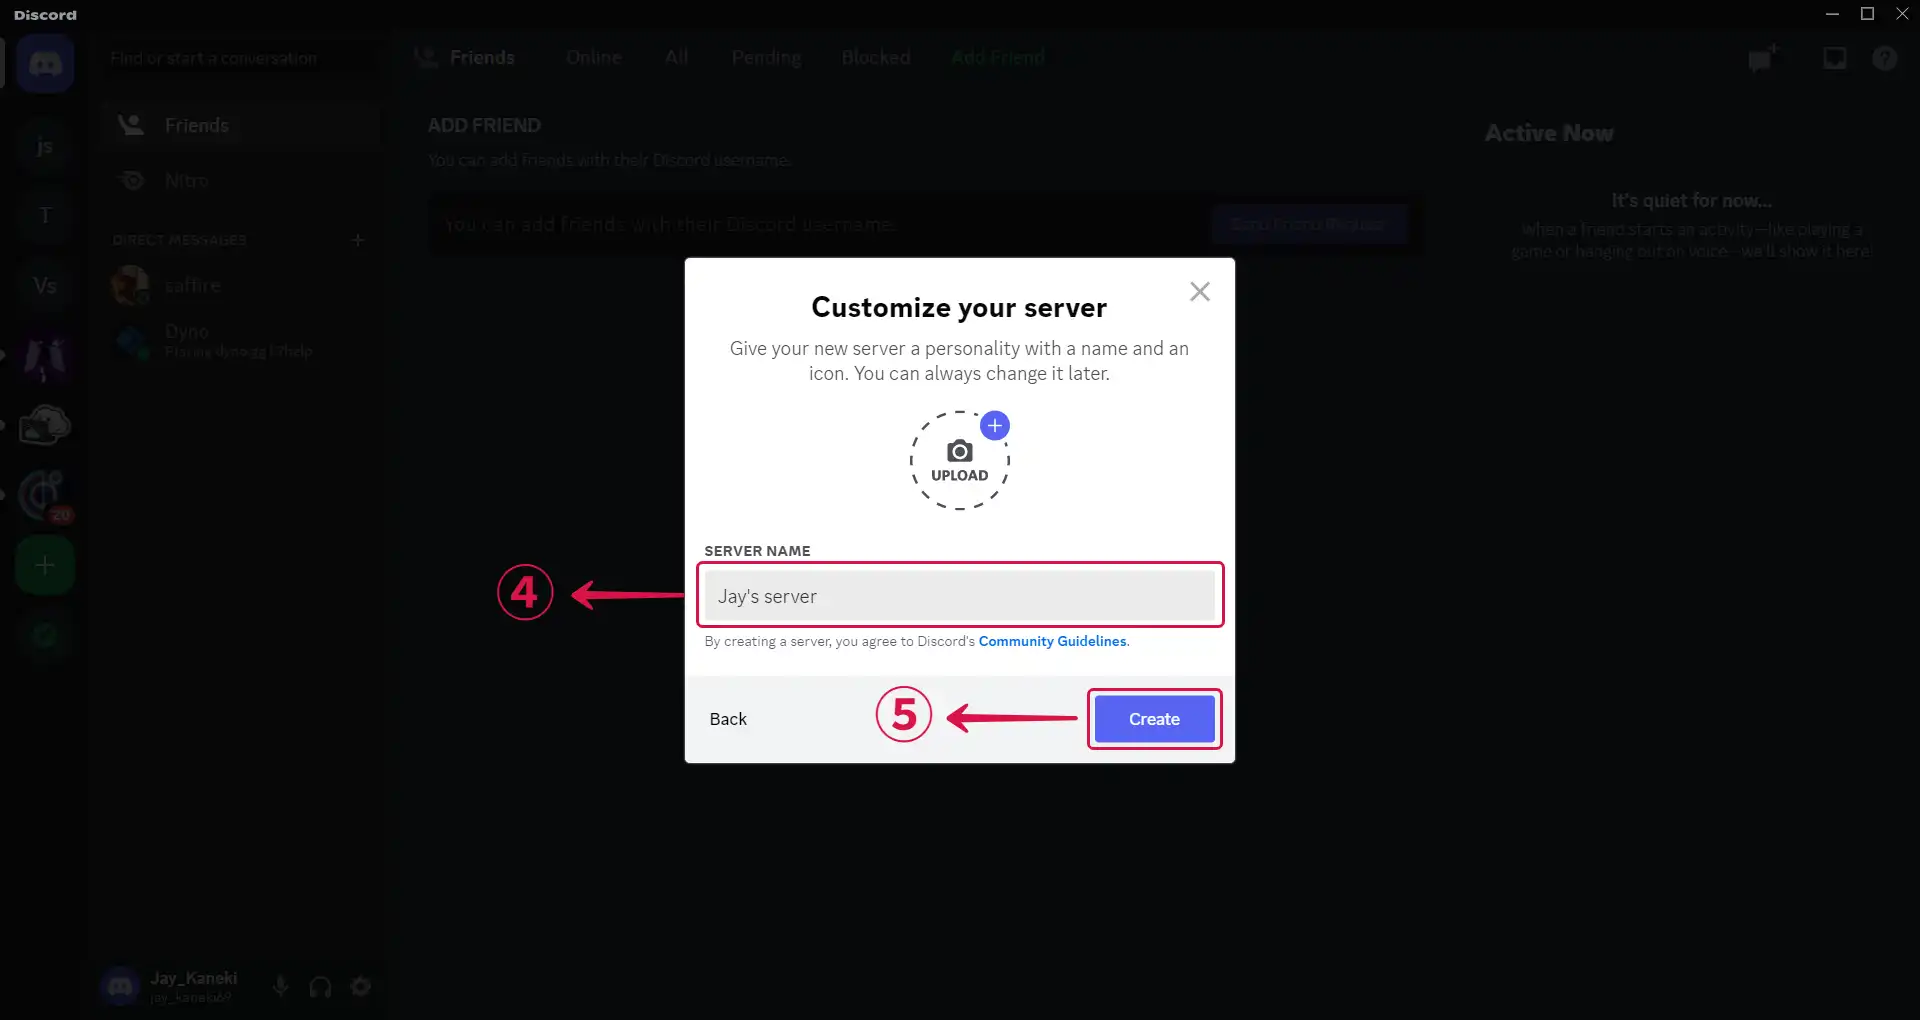
- Input a SERVER NAME④ and click Create⑤.
Step 3: Develop a Discord Application
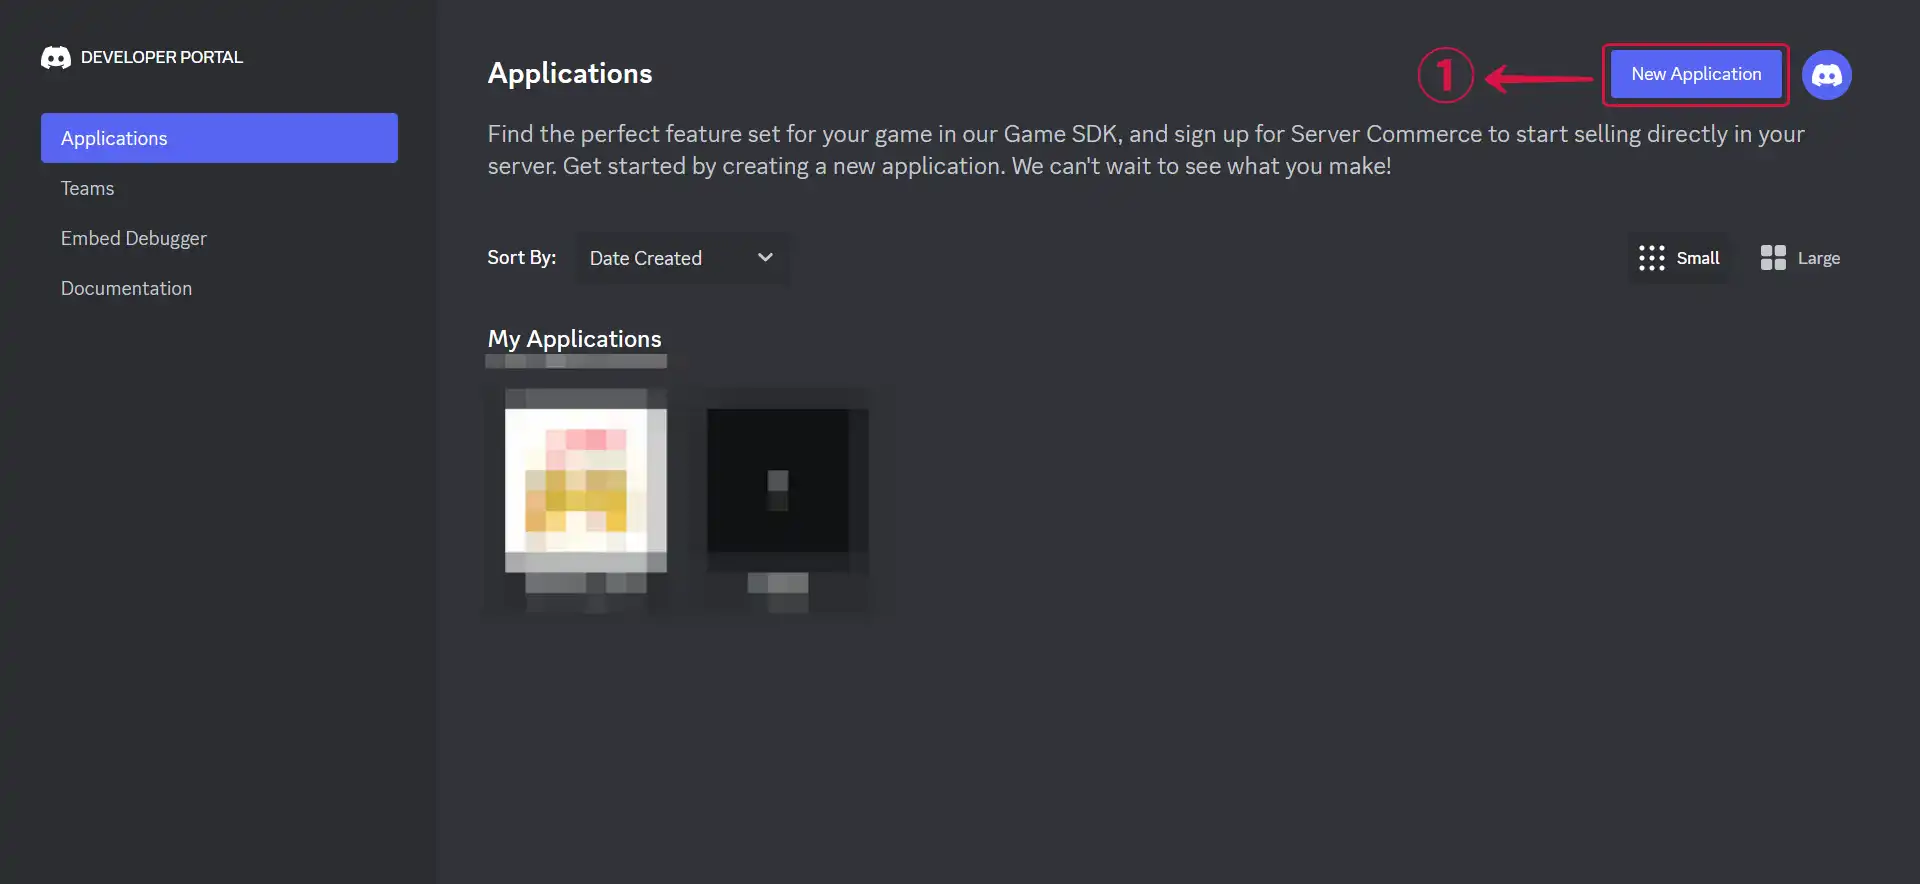
Go to the Discord Developer Portal.
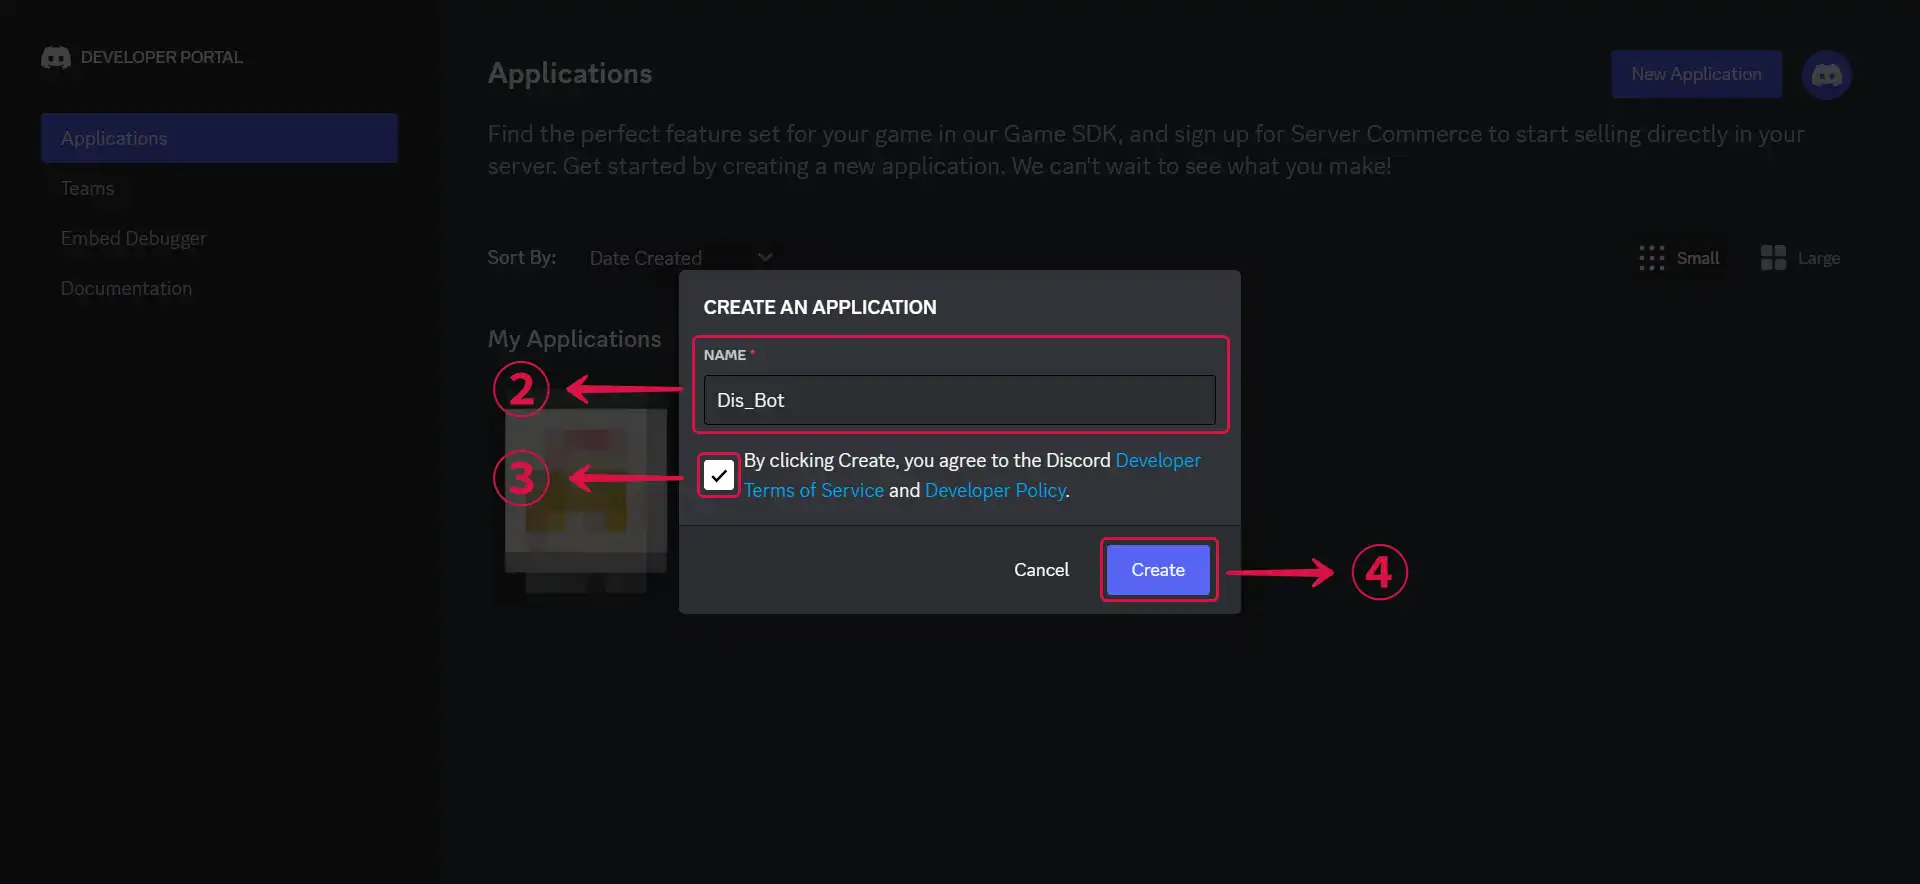
Press New Application①.
- Assign a NAME② to your bot, agree to the Developer Terms of Service and Developer Policy③, then hit Create④.
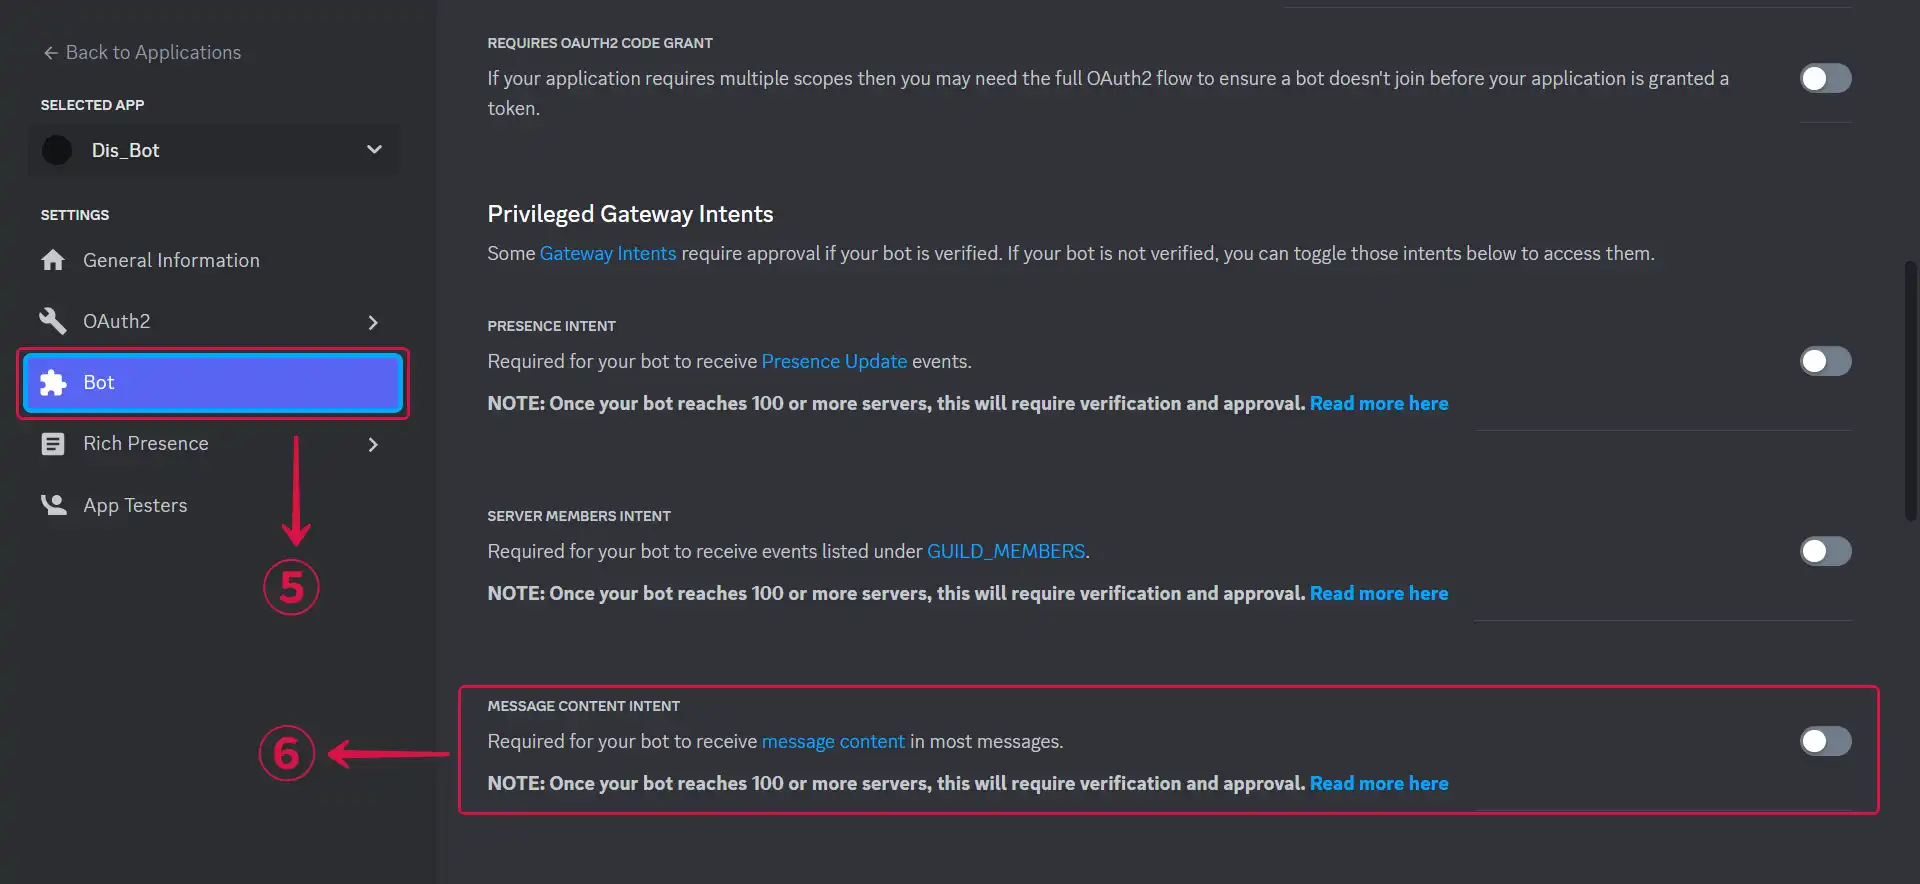
- From the sidebar menu, select Bot⑤, and under Privileged Gateway Intents, enable MESSAGE CONTENT INTENT⑥.
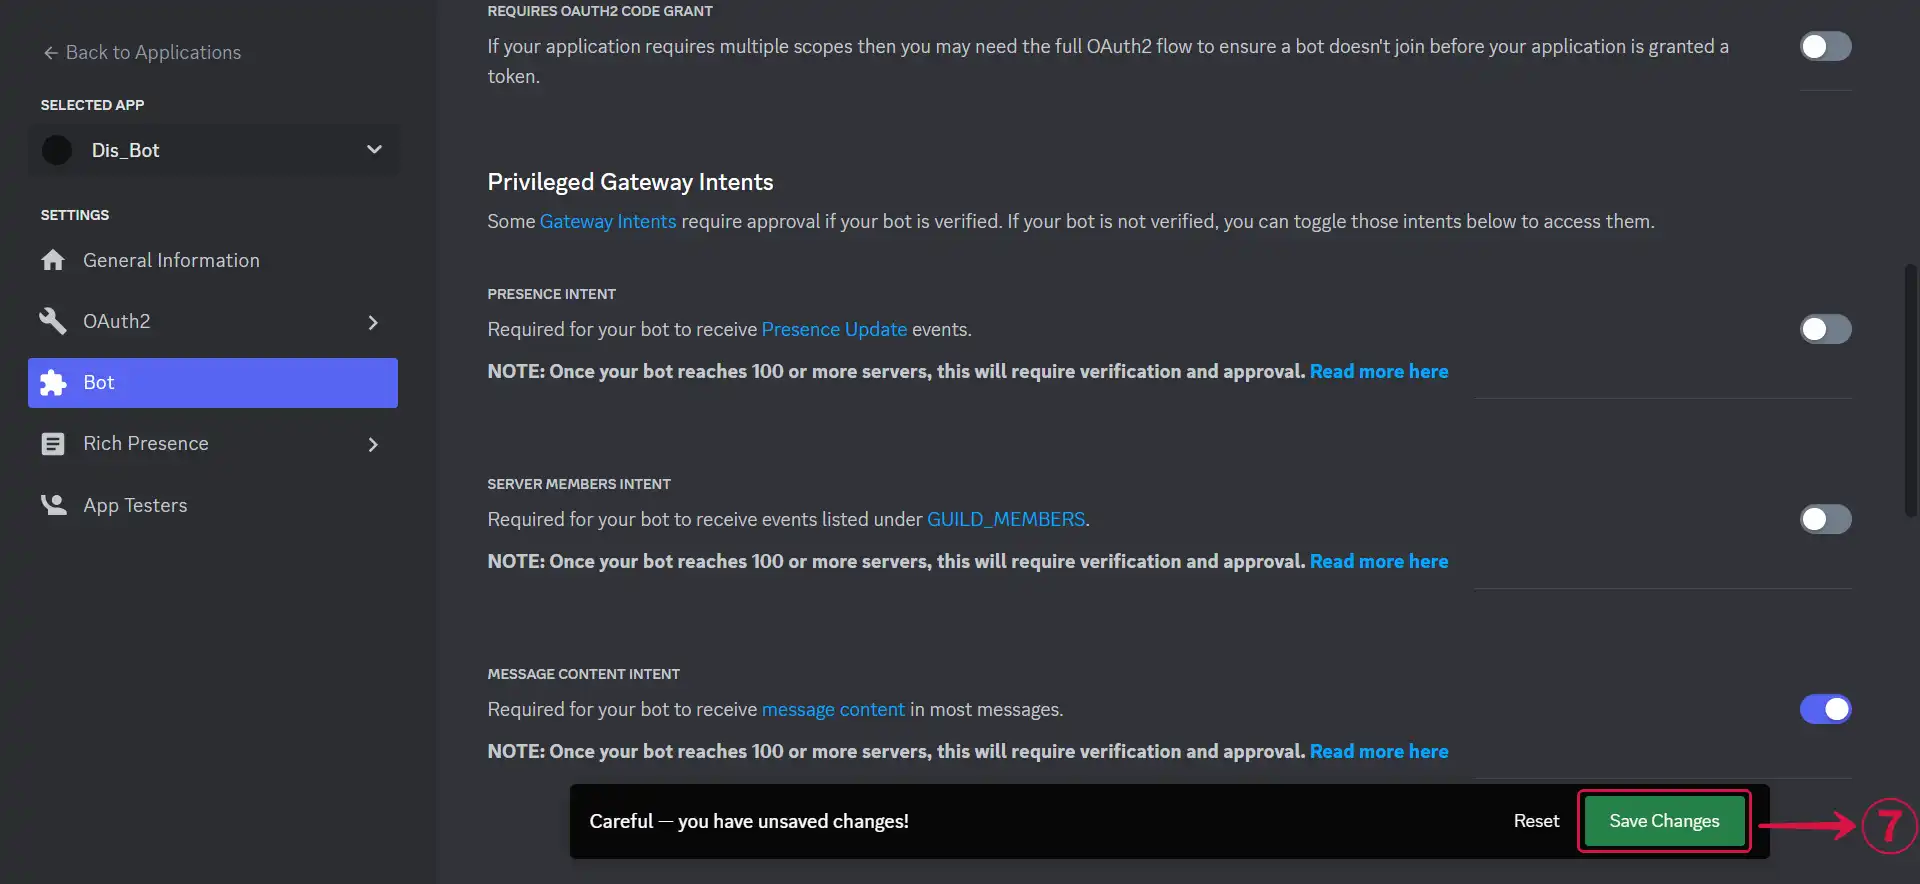
- Click on Save Changes⑦.
- Press Reset Token⑧.
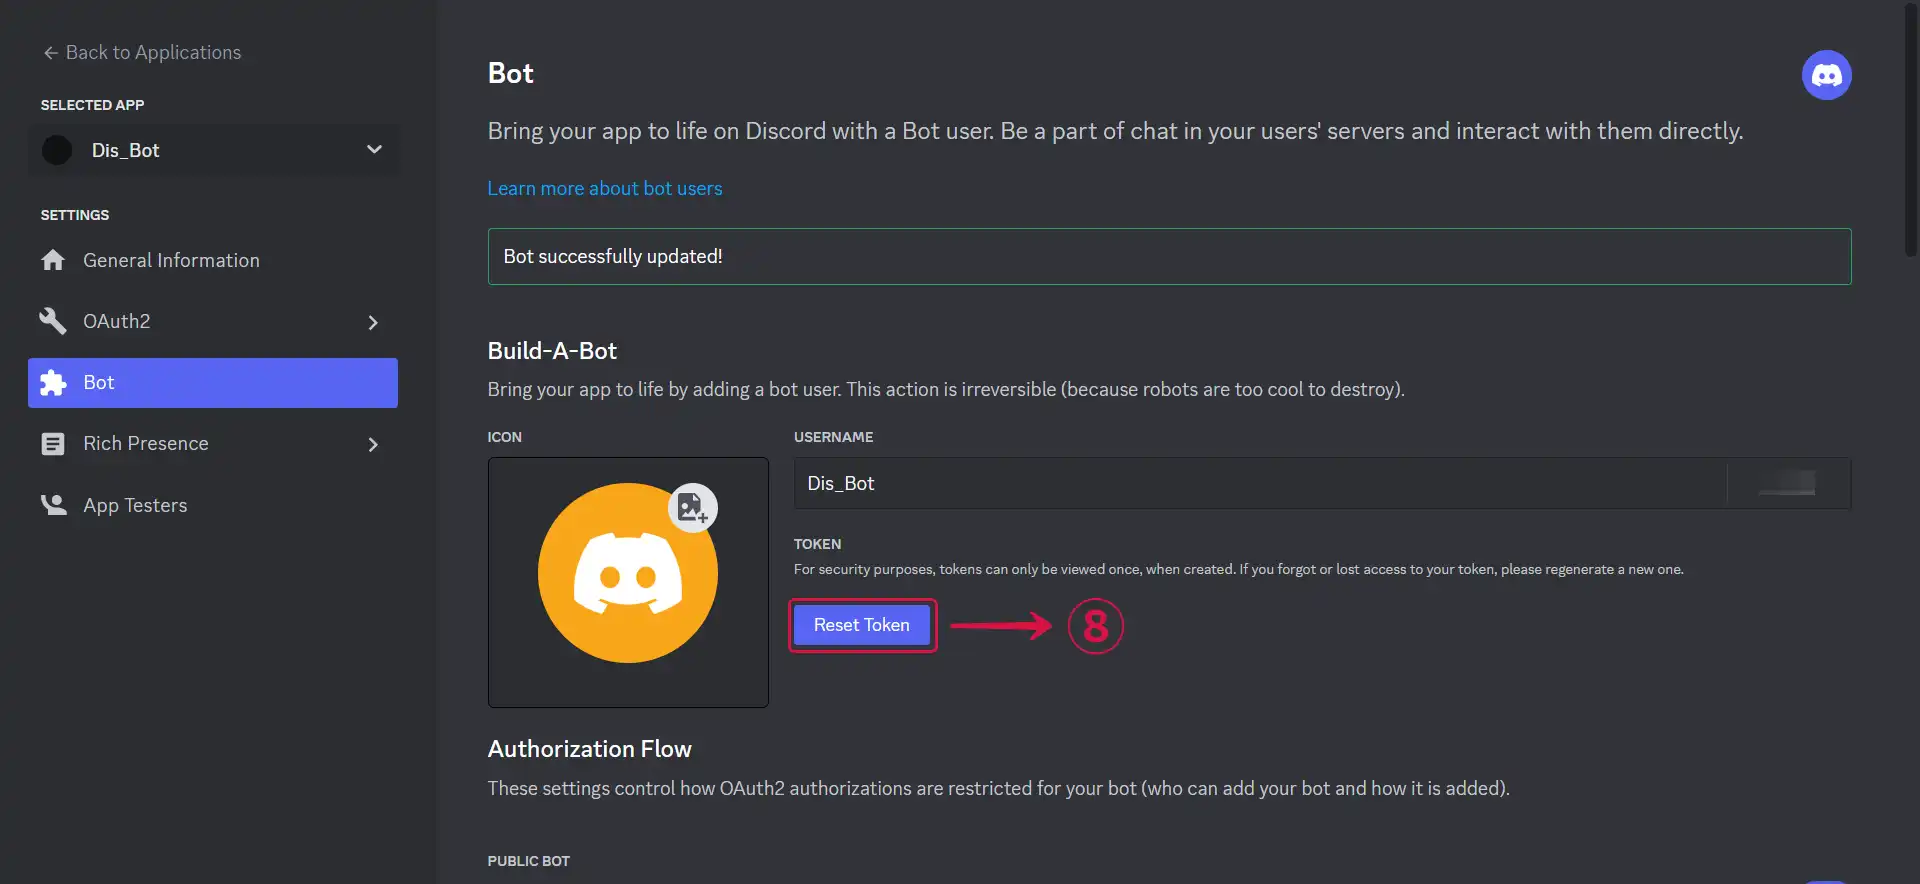
- Copy⑨ the generated token.

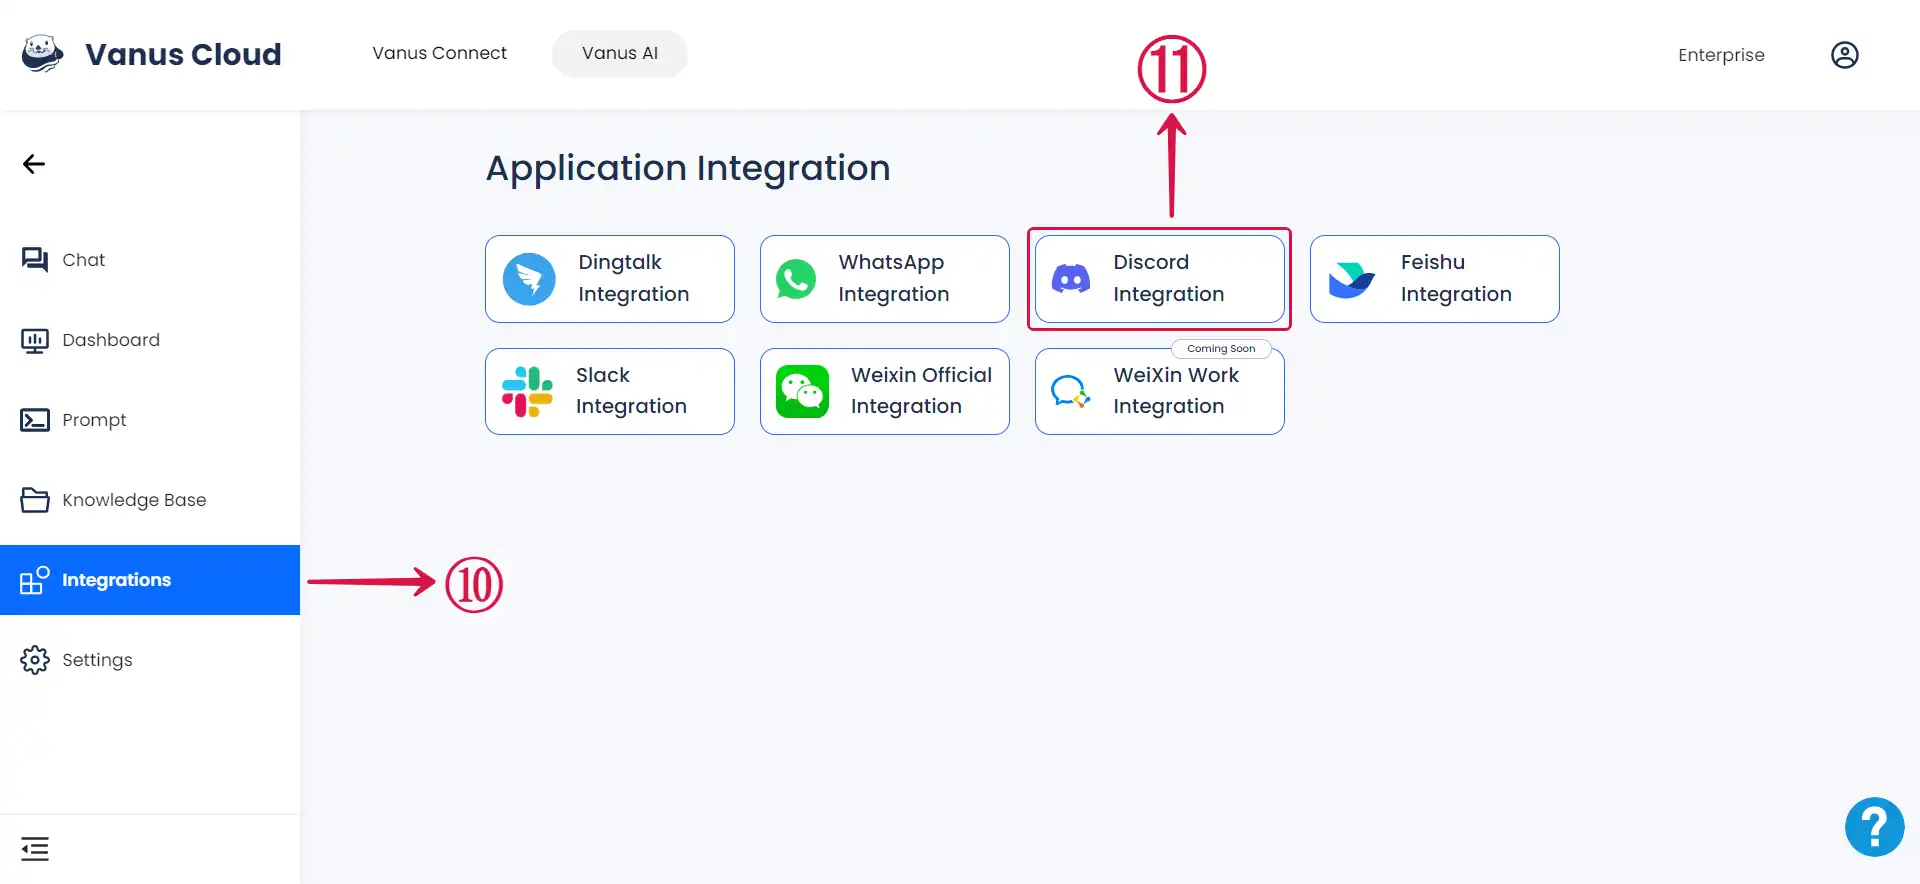
- Return to Vanus AI, click on the Integrations⑩ tab and select Discord Integration⑪.
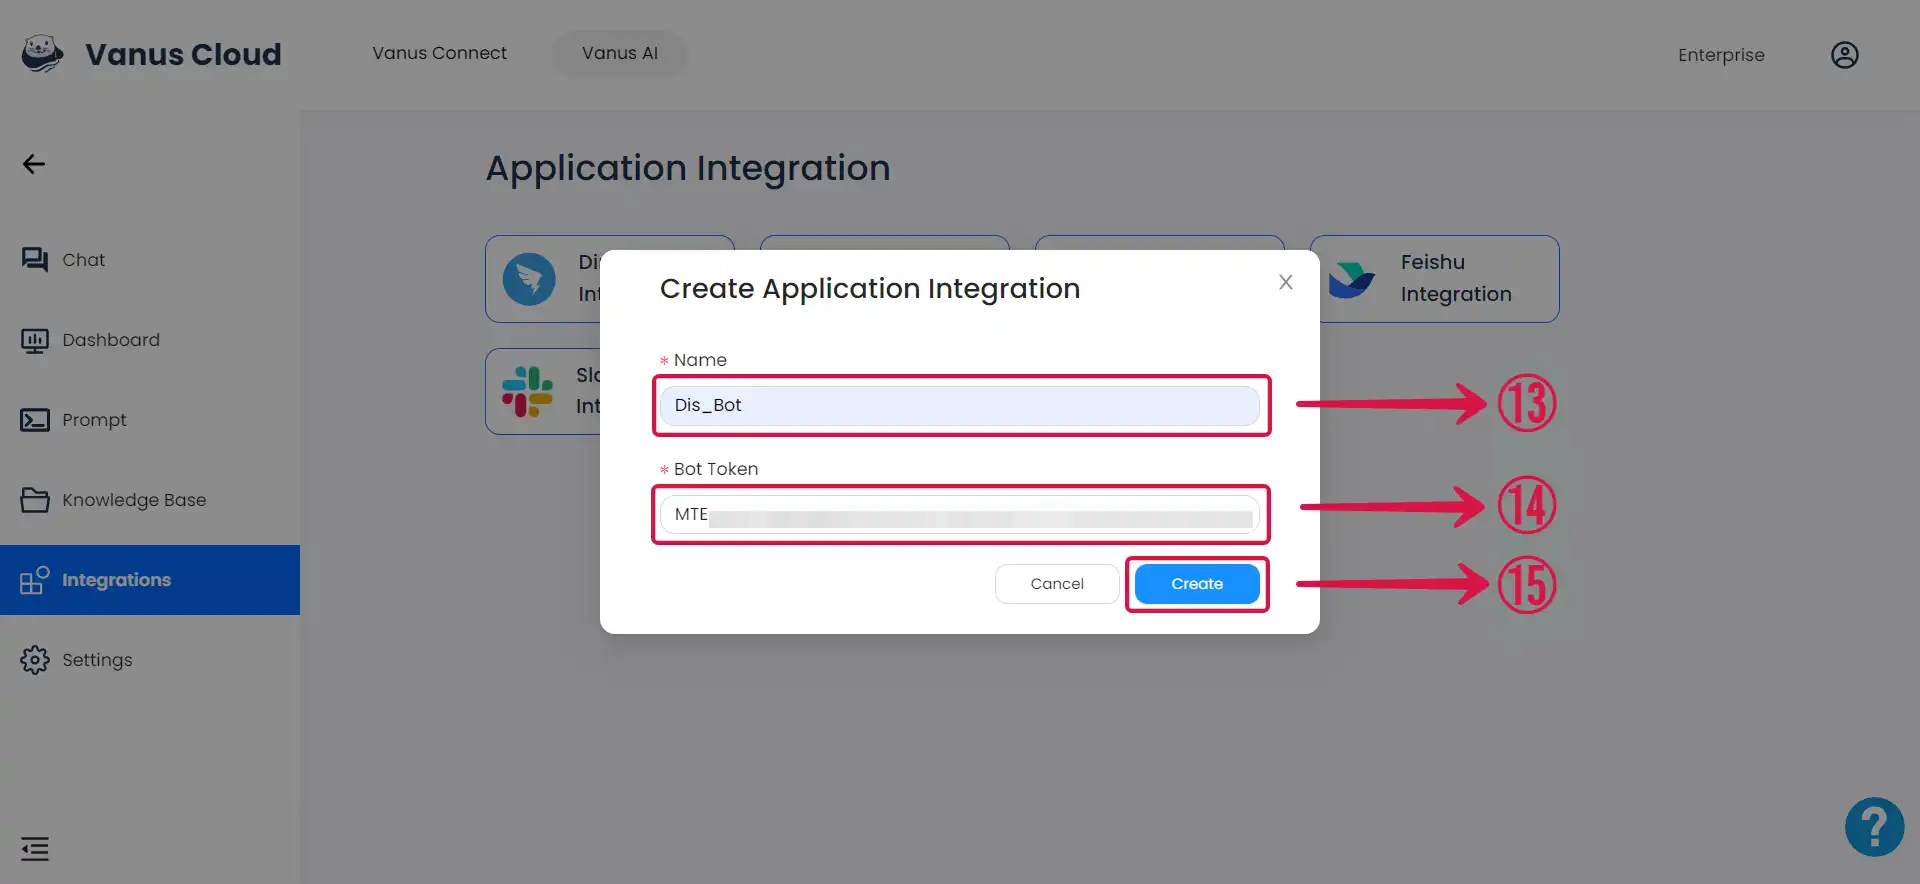
- A dialog box⑫ will be displayed on the screen, featuring two blank fields: for a Name and Bot Token.

- Name⑬ the integration, paste the Bot Token⑭, and hit Create⑮.
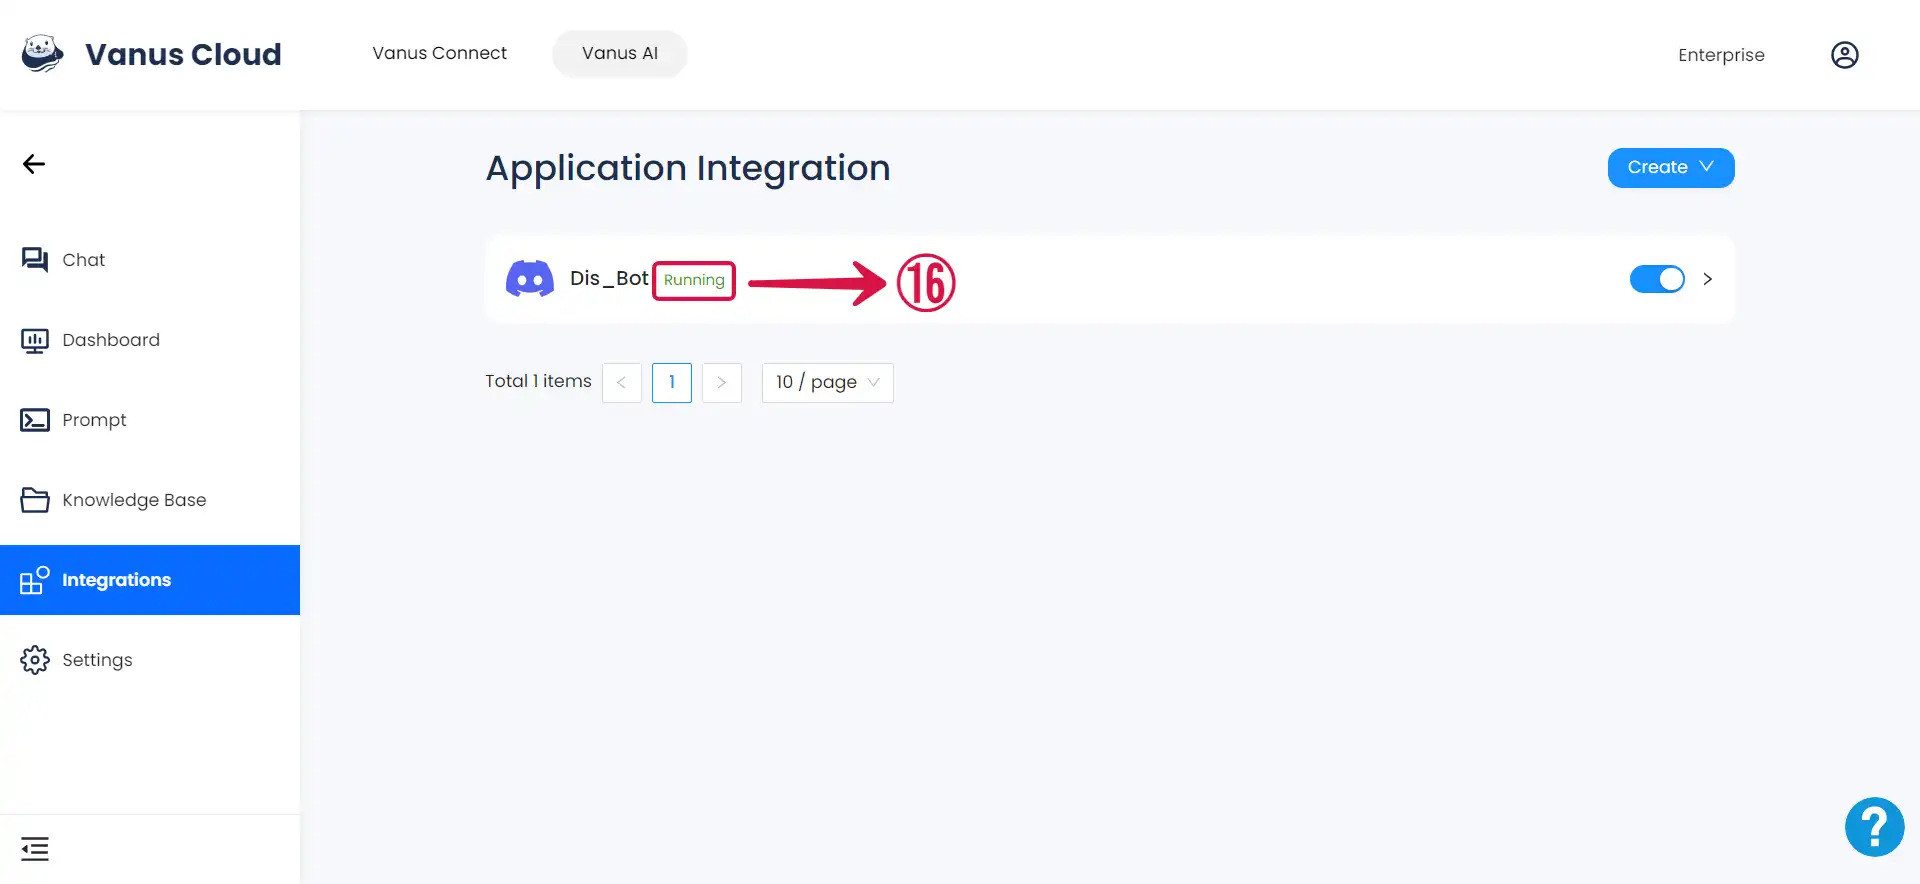
- Your integration has been successfully created and is now Running⑯.
Finally, to add an AI bot to a channel, return to the application within the developer portal.
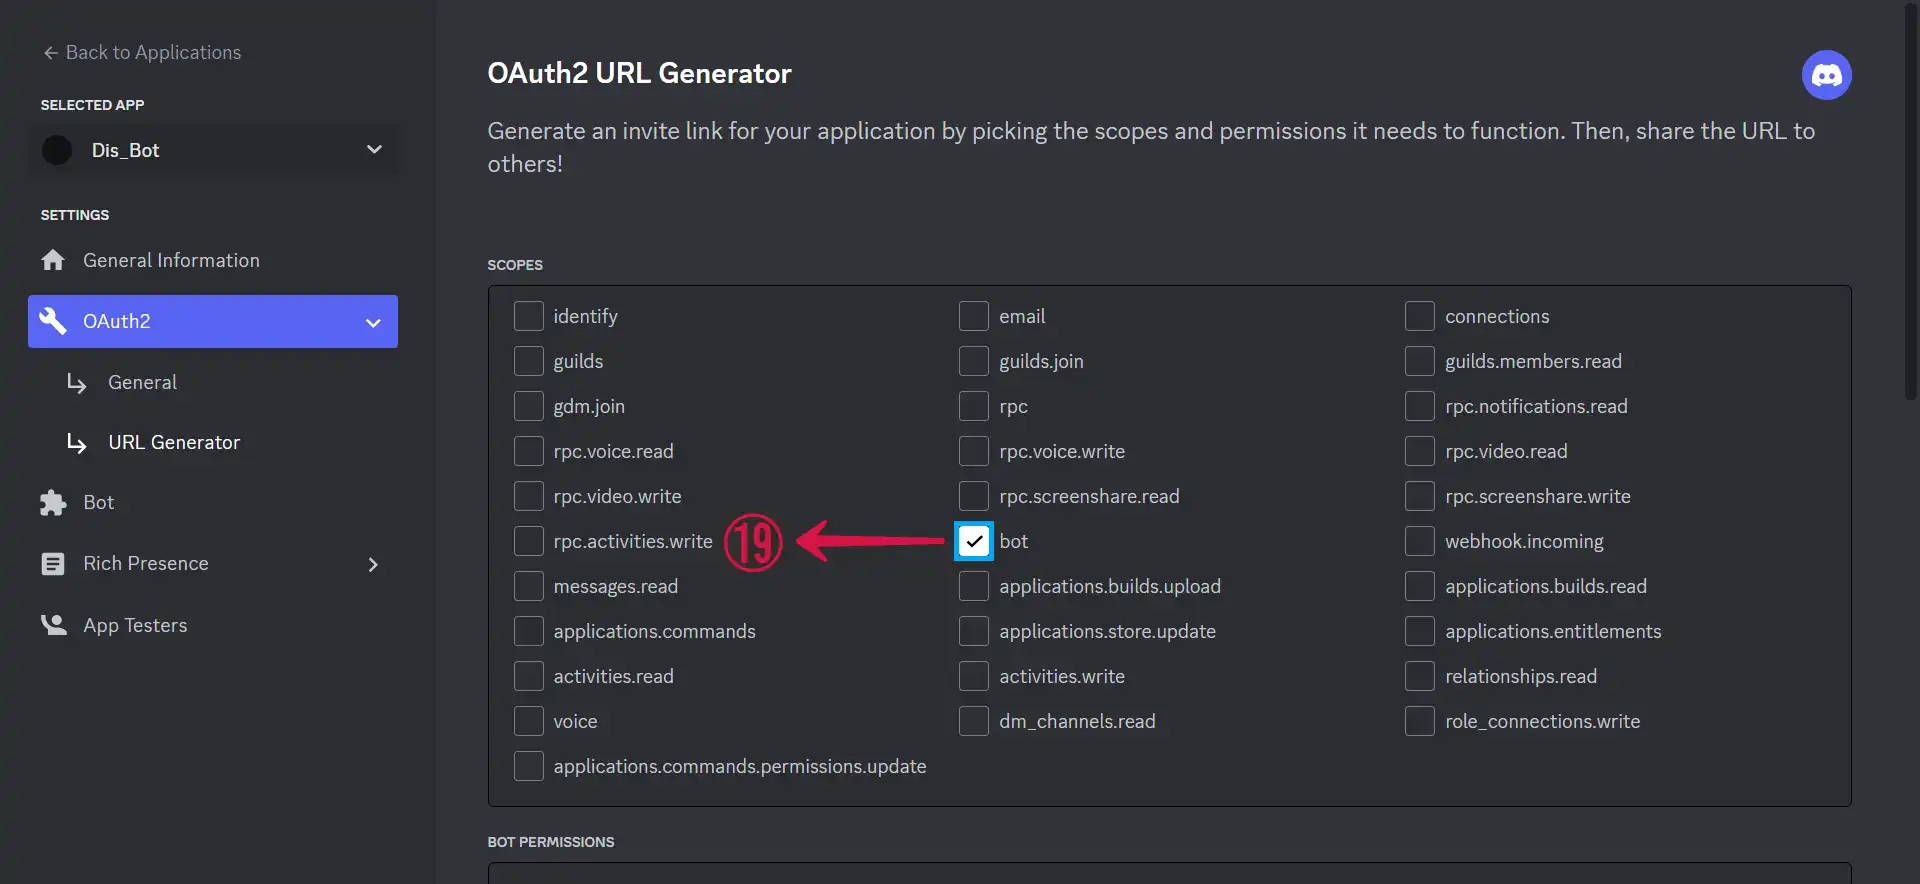
In the sidebar menu, find OAuth2⑰ and URL Generator⑱.
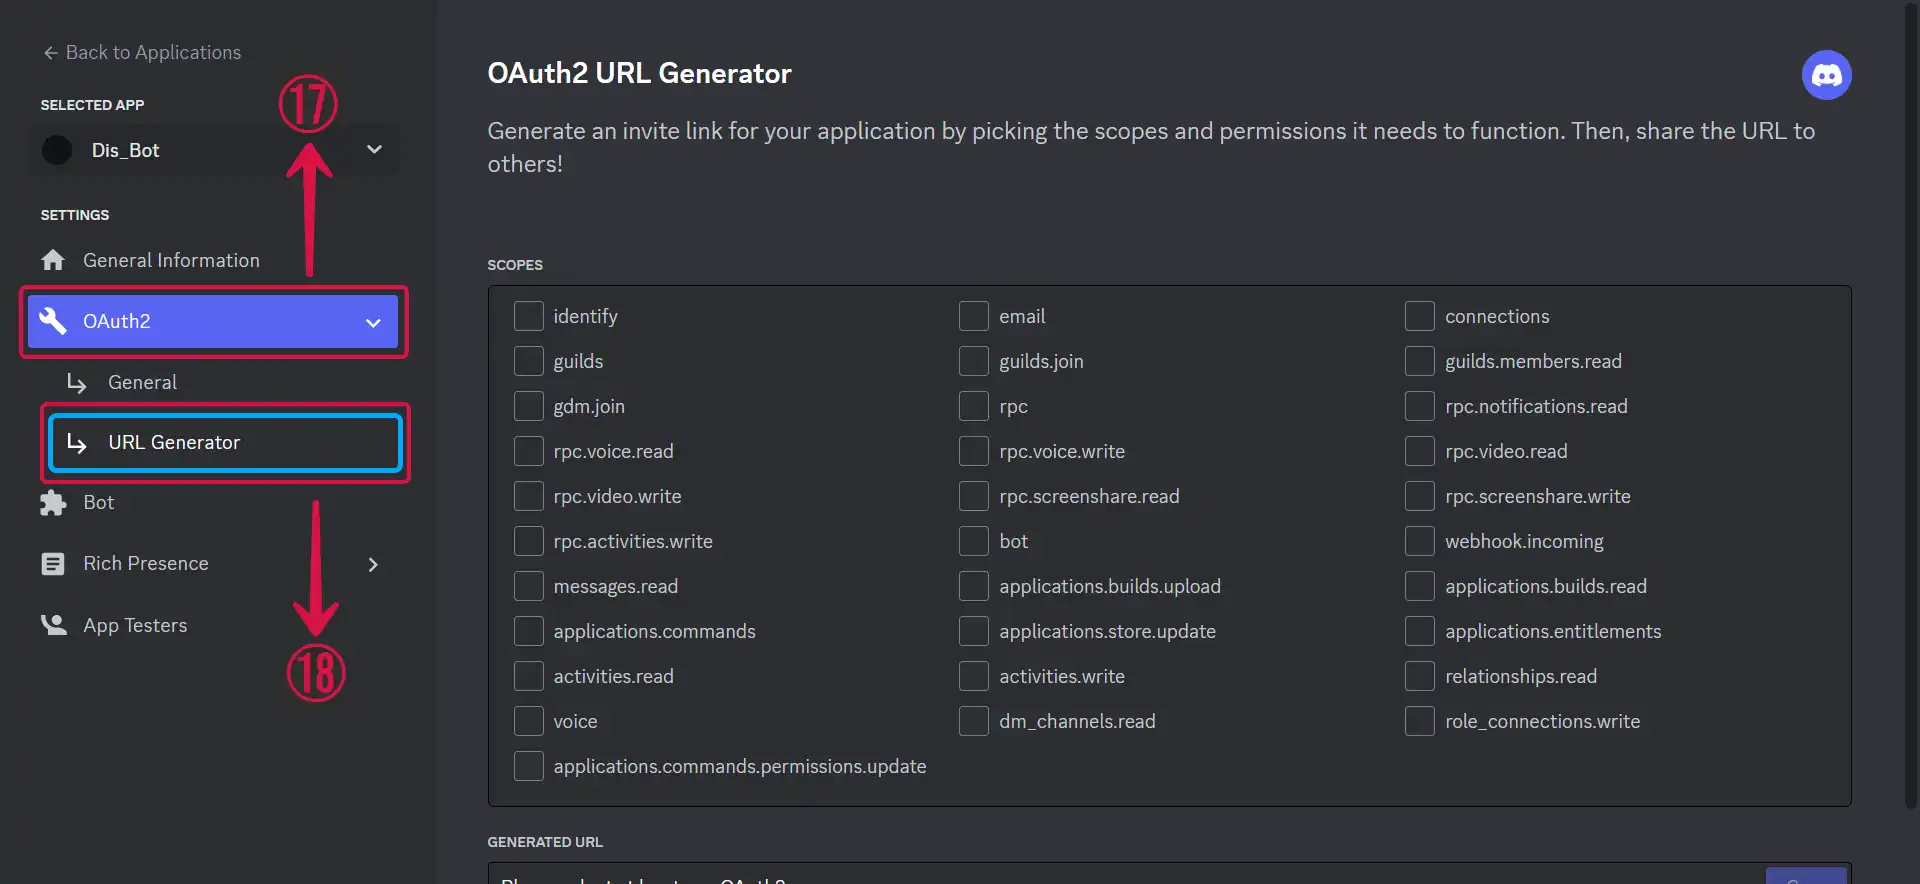
- Choose bot⑲ under SCOPES.
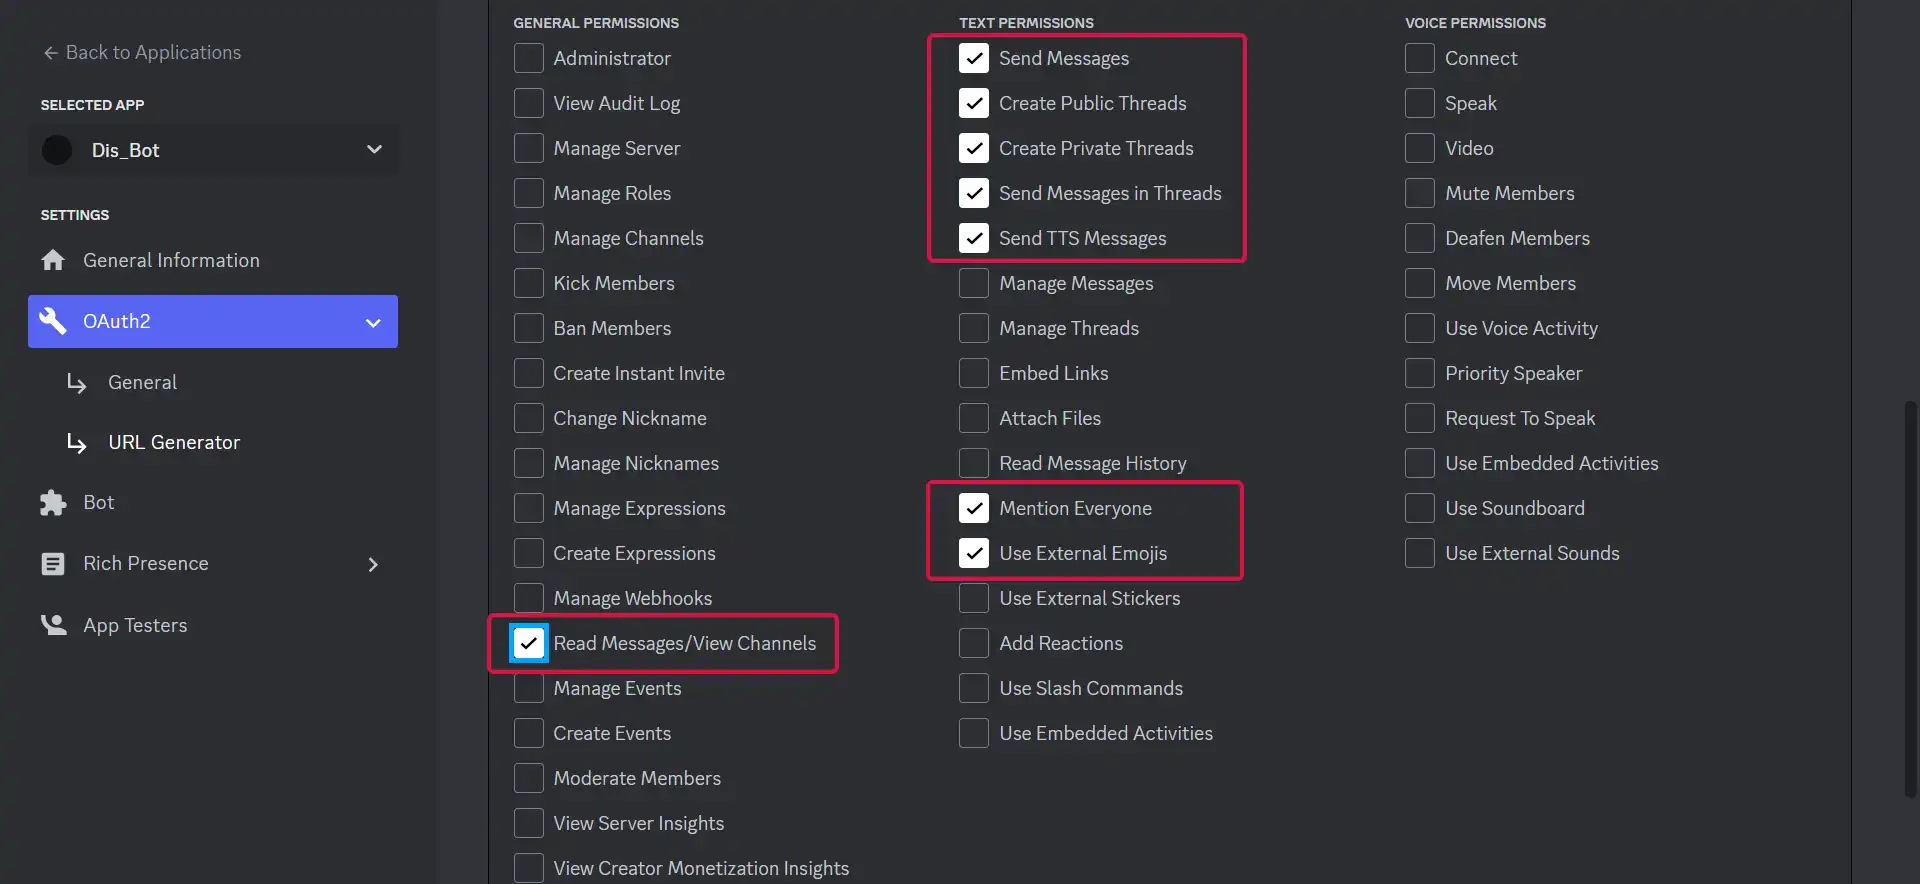
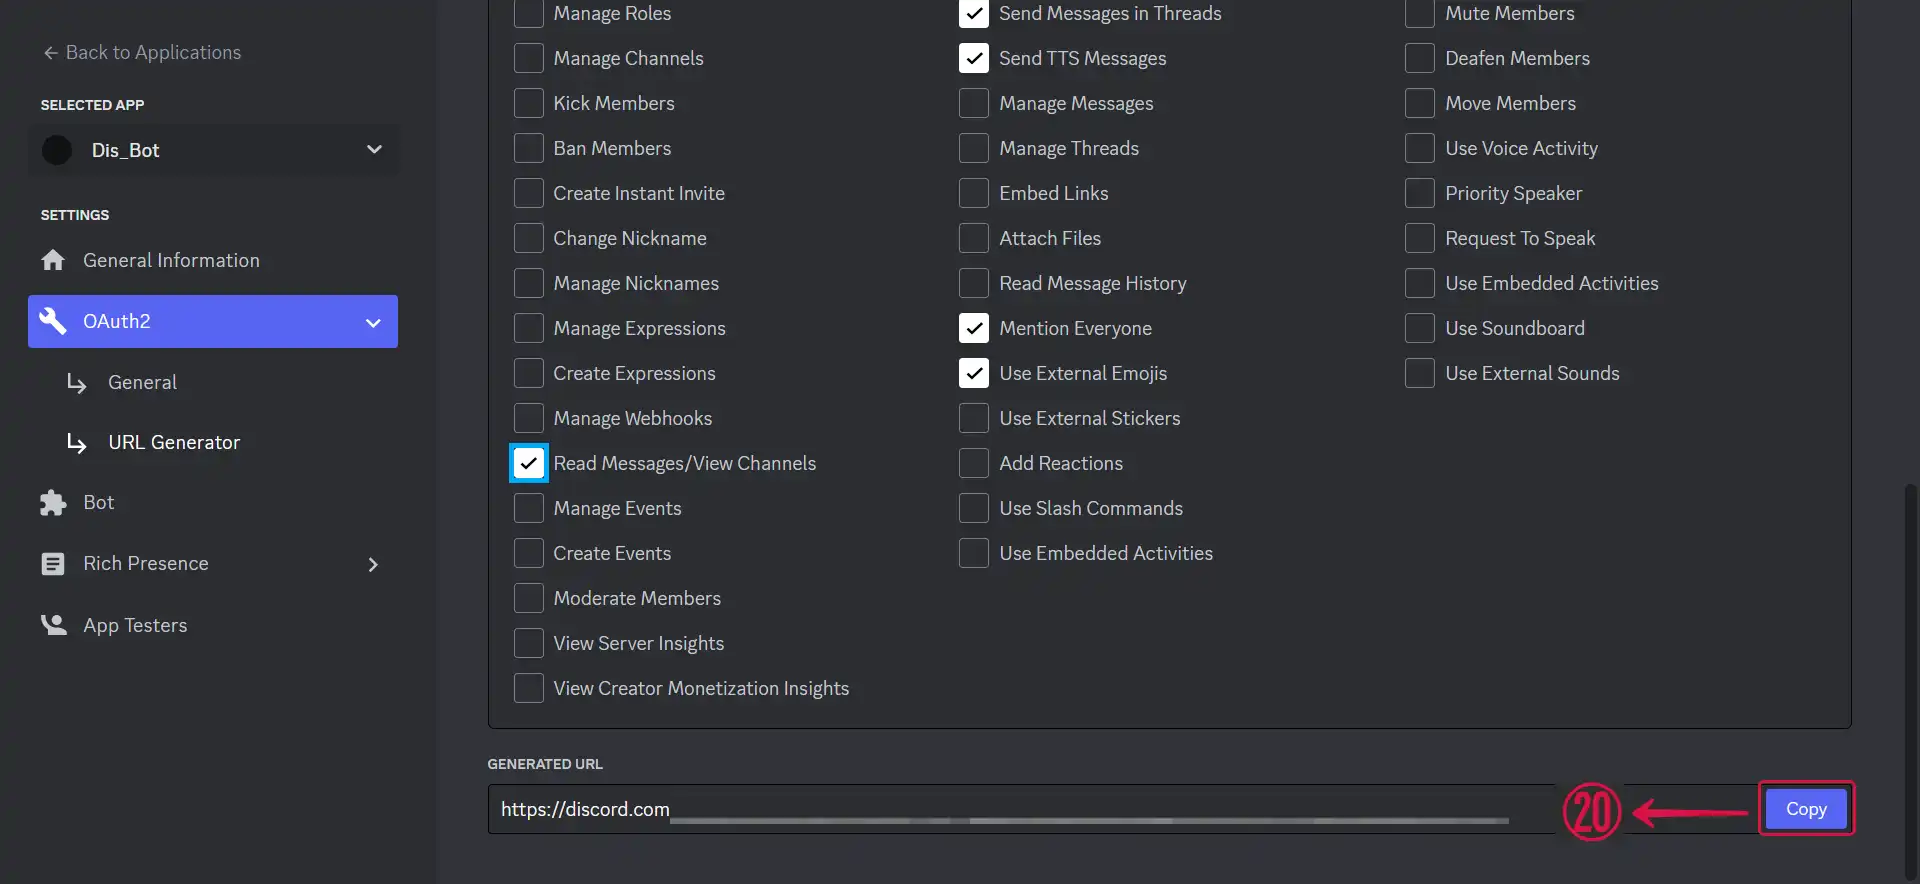
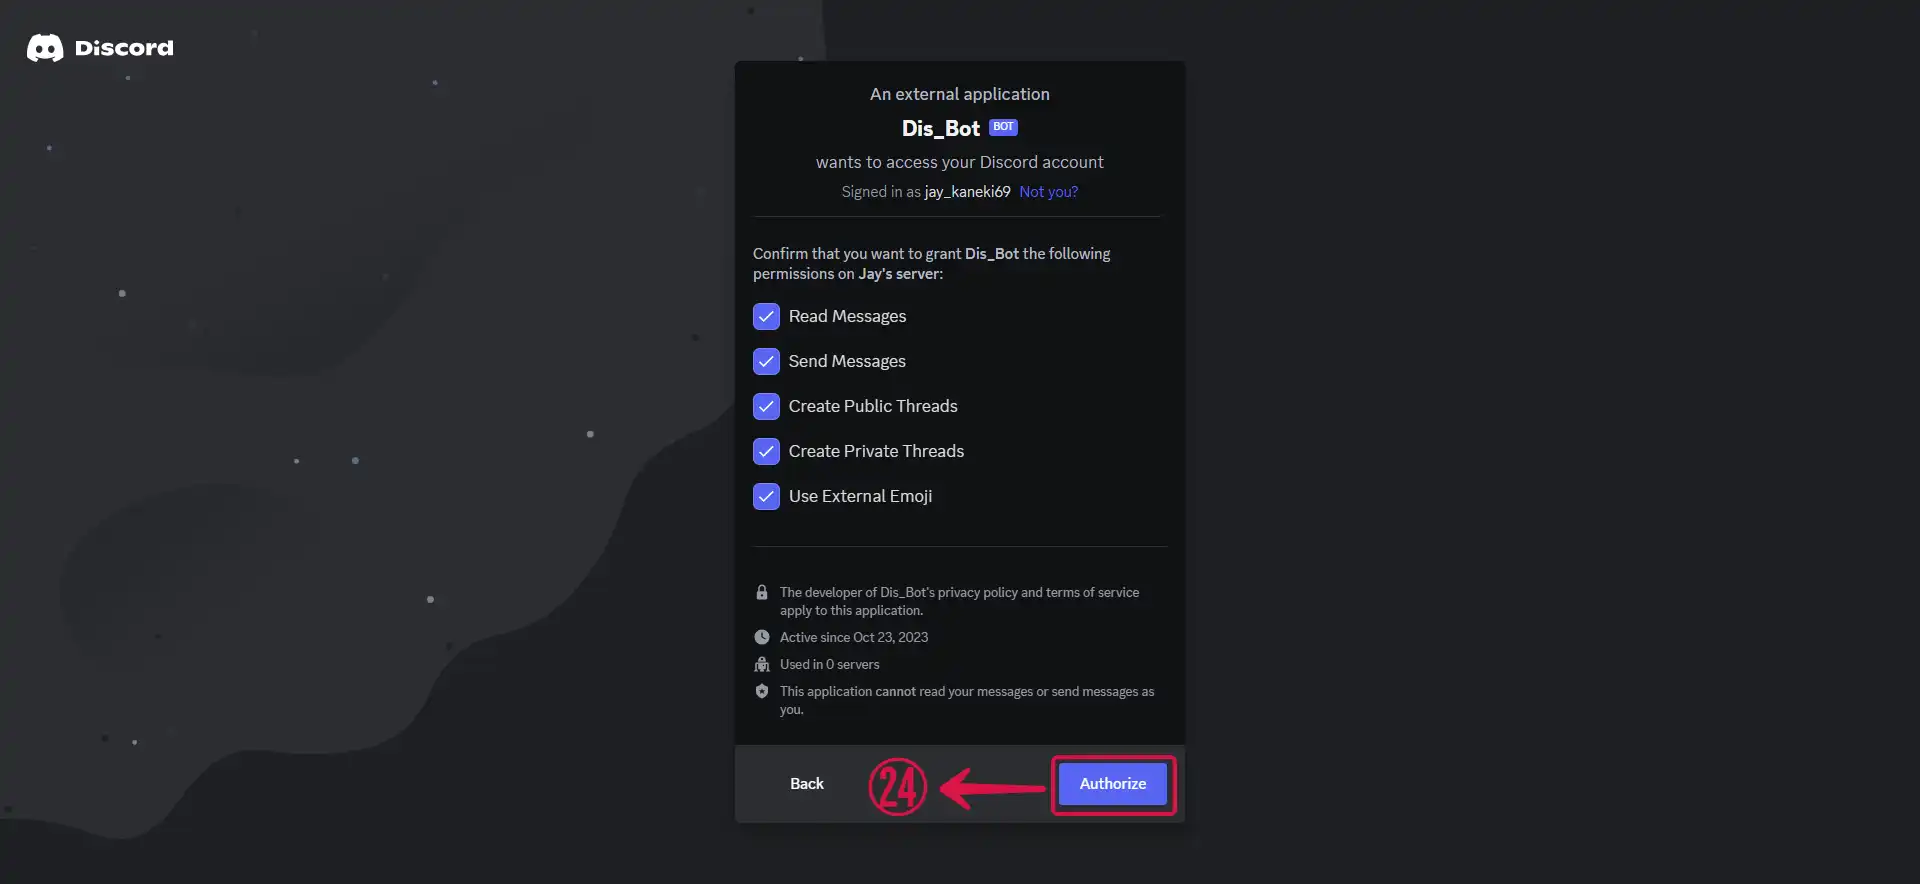
- Under BOT PERMISSION (ReadMessages/ViewChannel, Send Messages, Mention Everyone, Use External Emojis, Send TTS Messages, Send Messages In threads, Create public, threads Create private threads) or Administrator.
- Copy⑳ the URL, and then insert it into a web browser to access the authentication page.
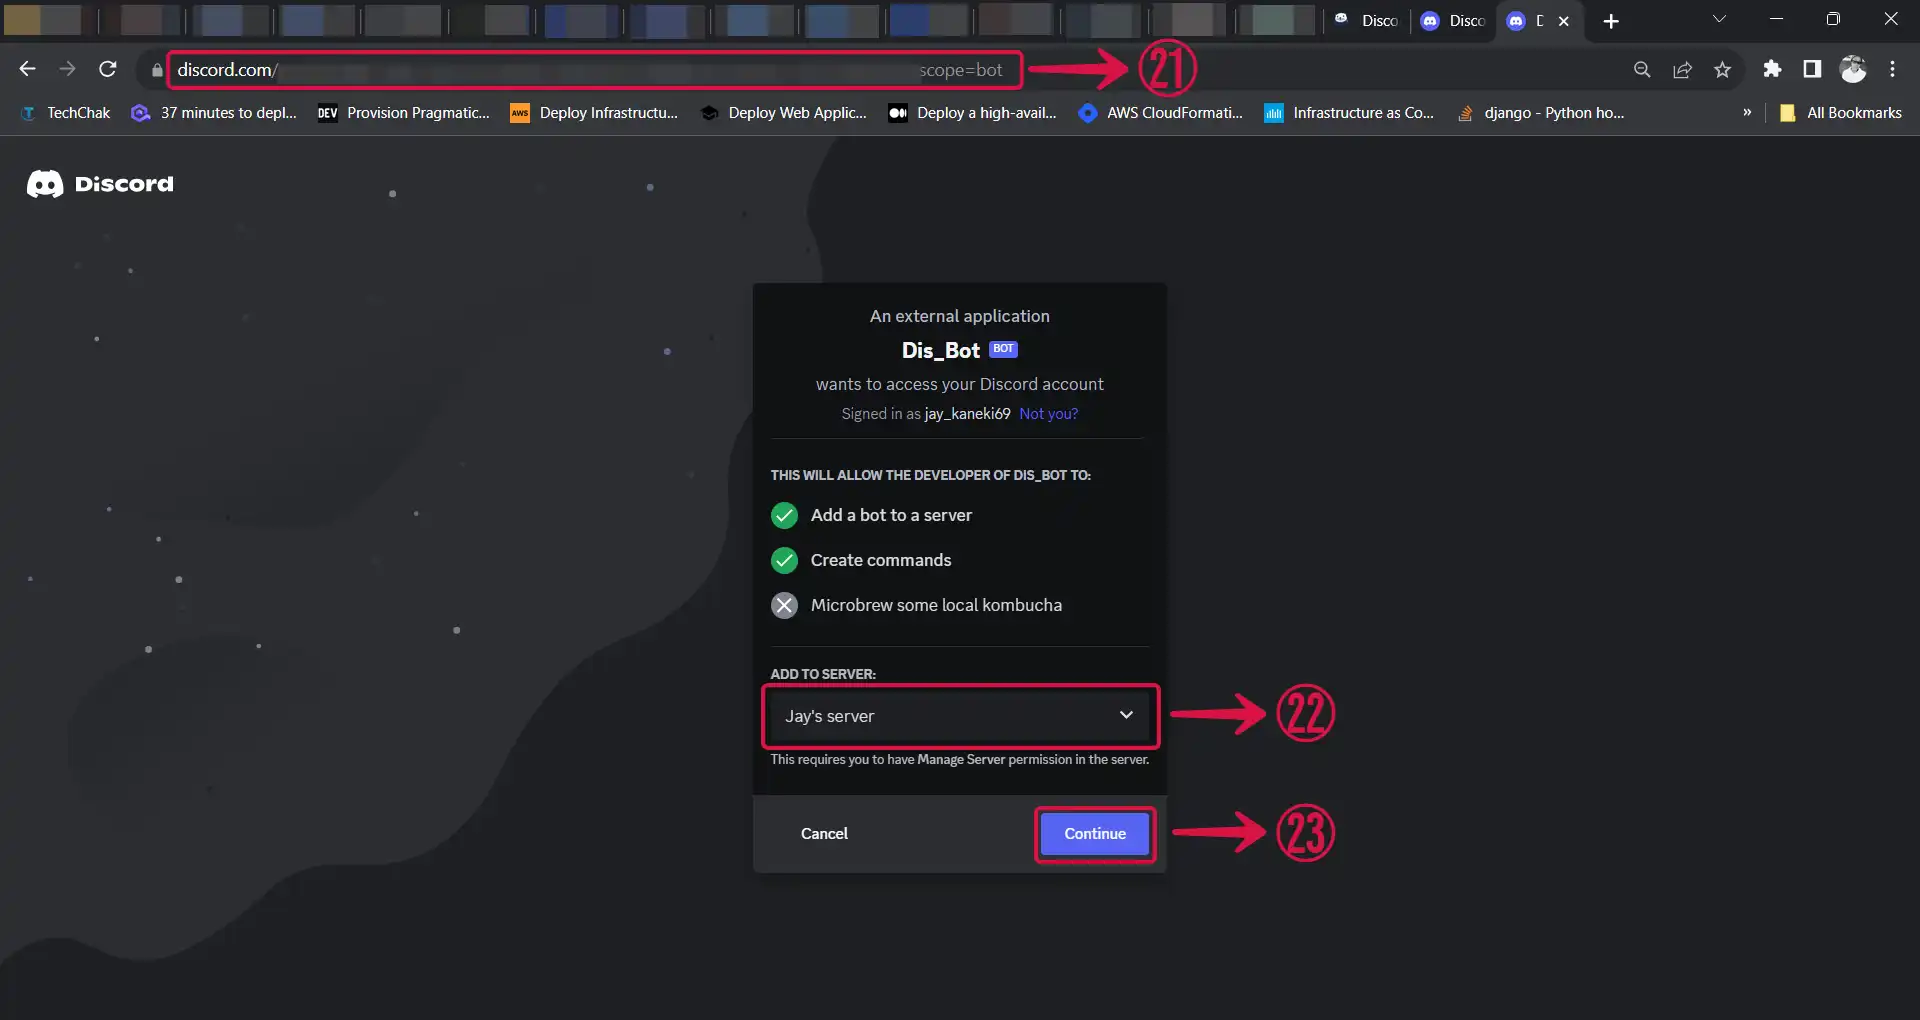
The URL㉑ is a website link that directs you to a page where you need to authorize your newly created bot to access a Discord server.
- Choose your Server㉒ and press Continue㉓.
- Click on Authorize㉔.
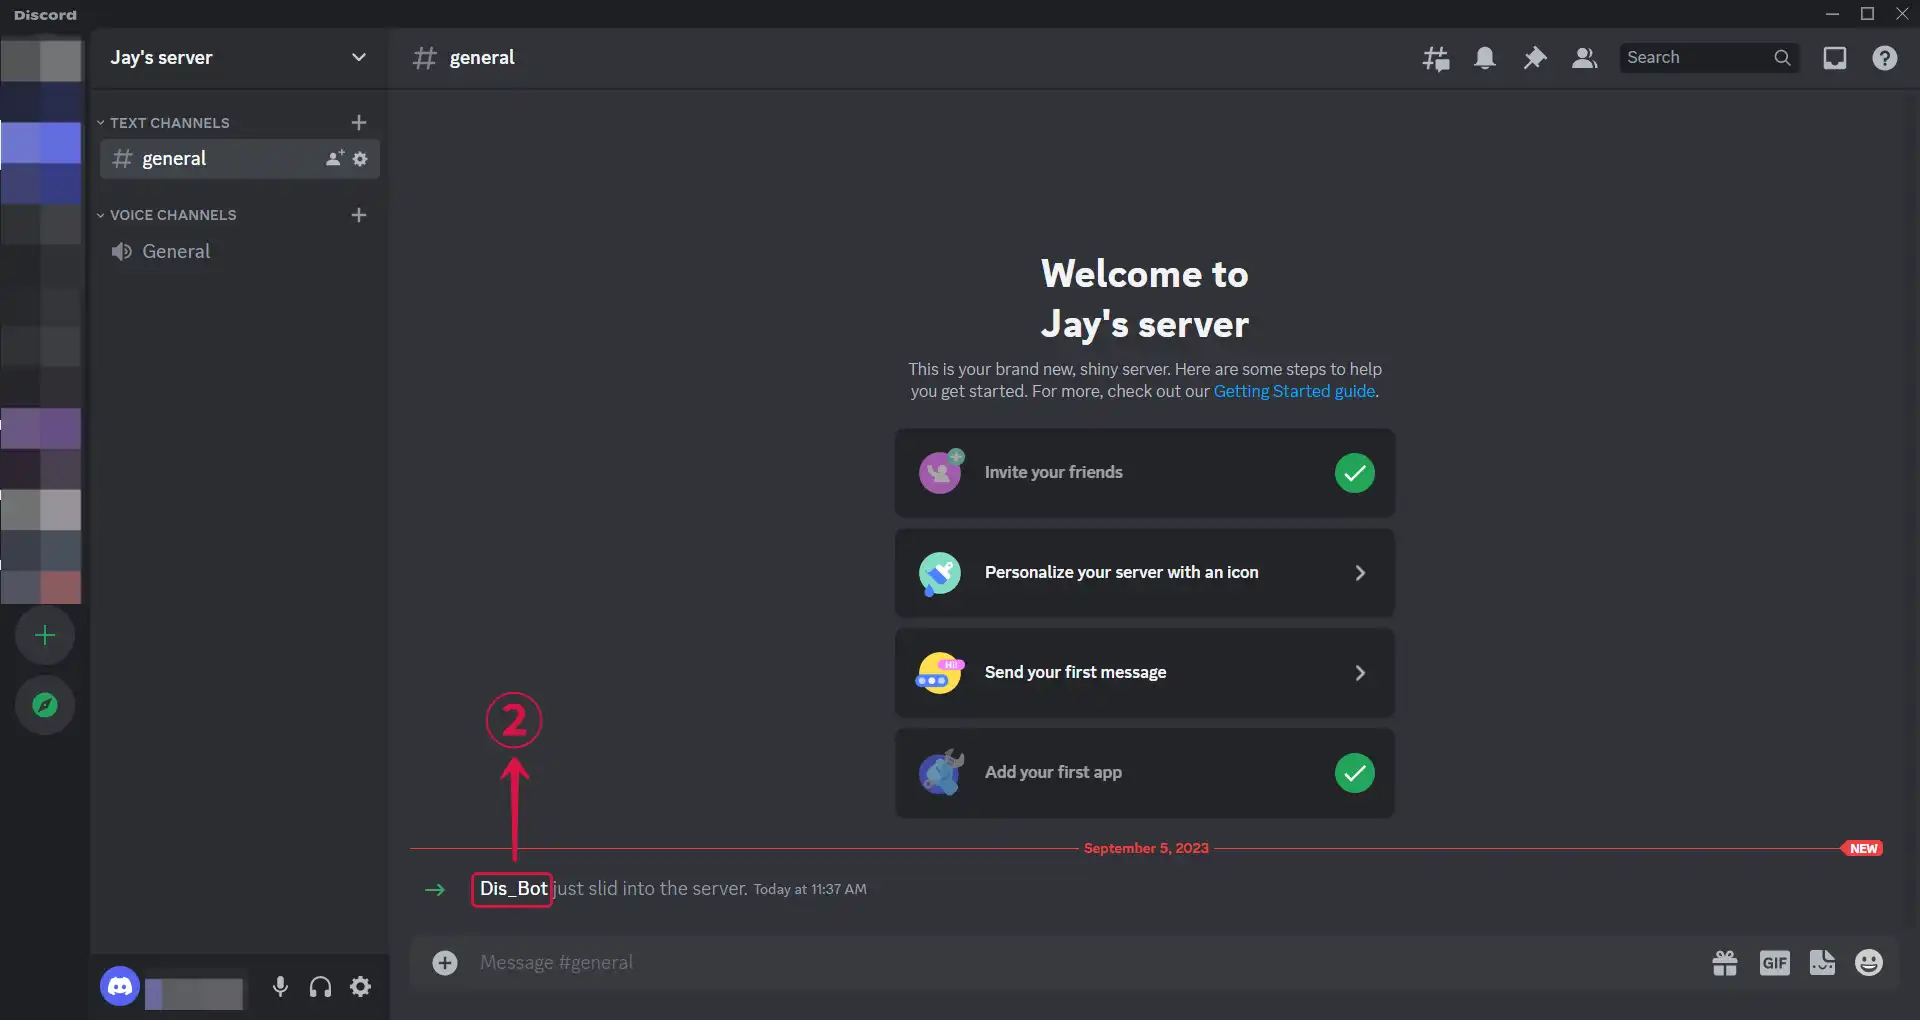
- Your Bot has been successfully authorized㉕.
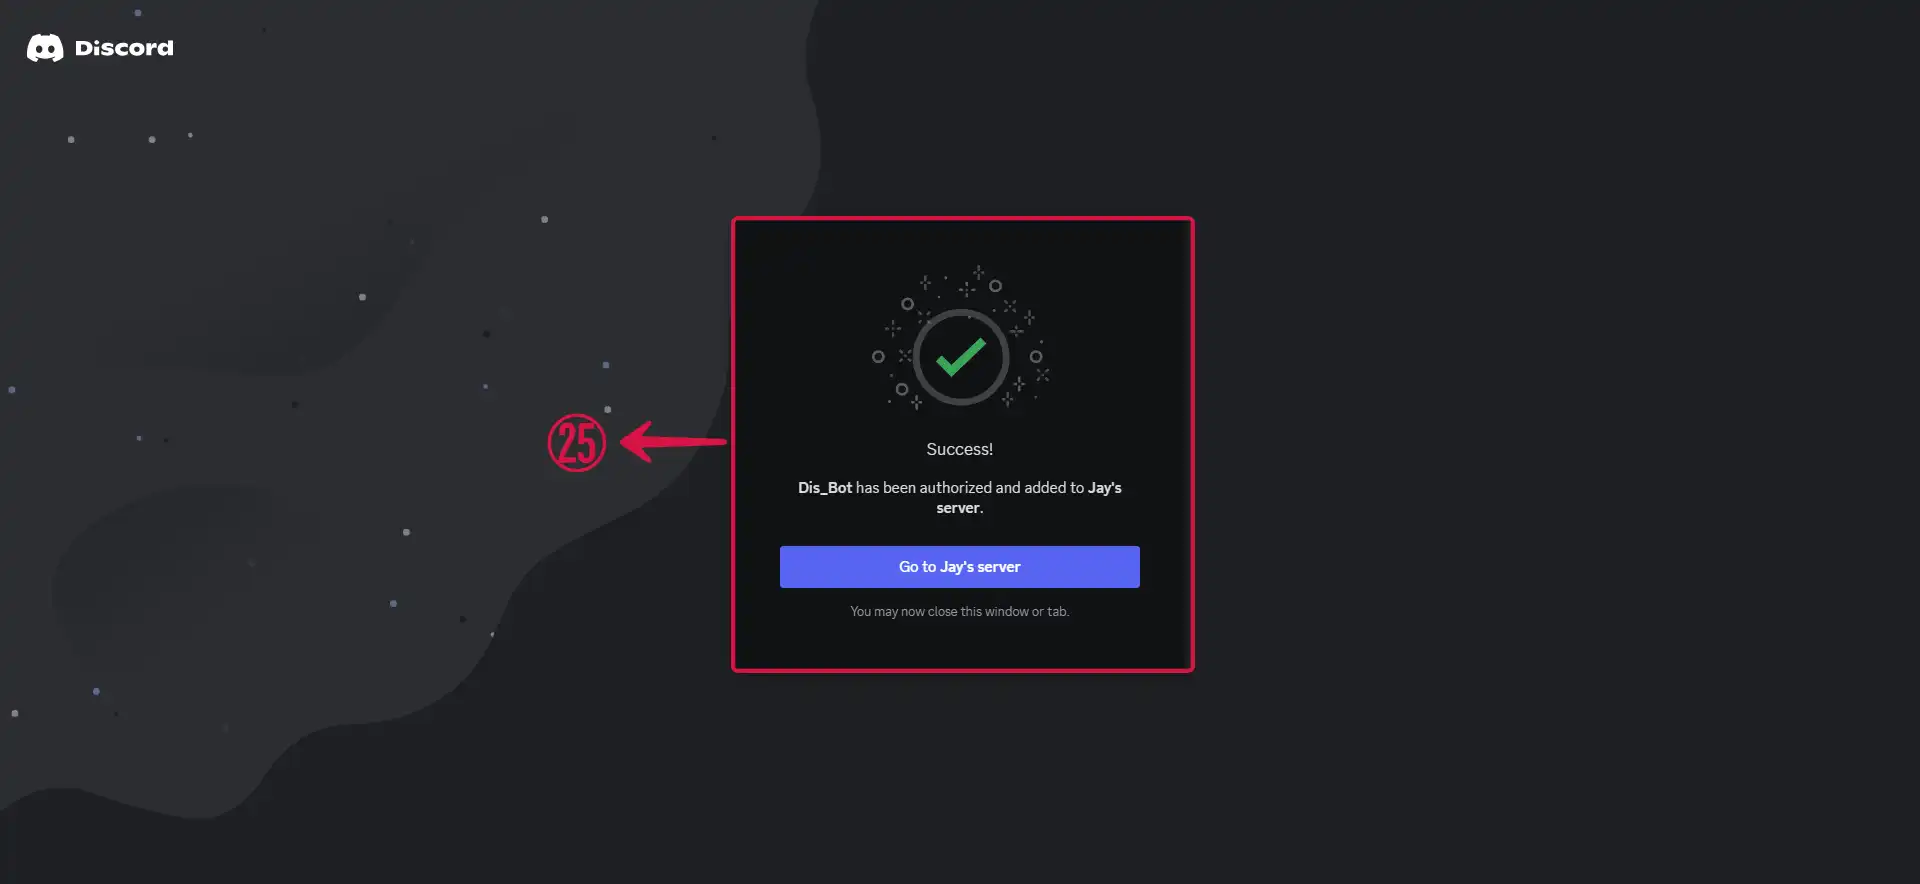
- Return to your Discord Application or website.

Communicate with the AI
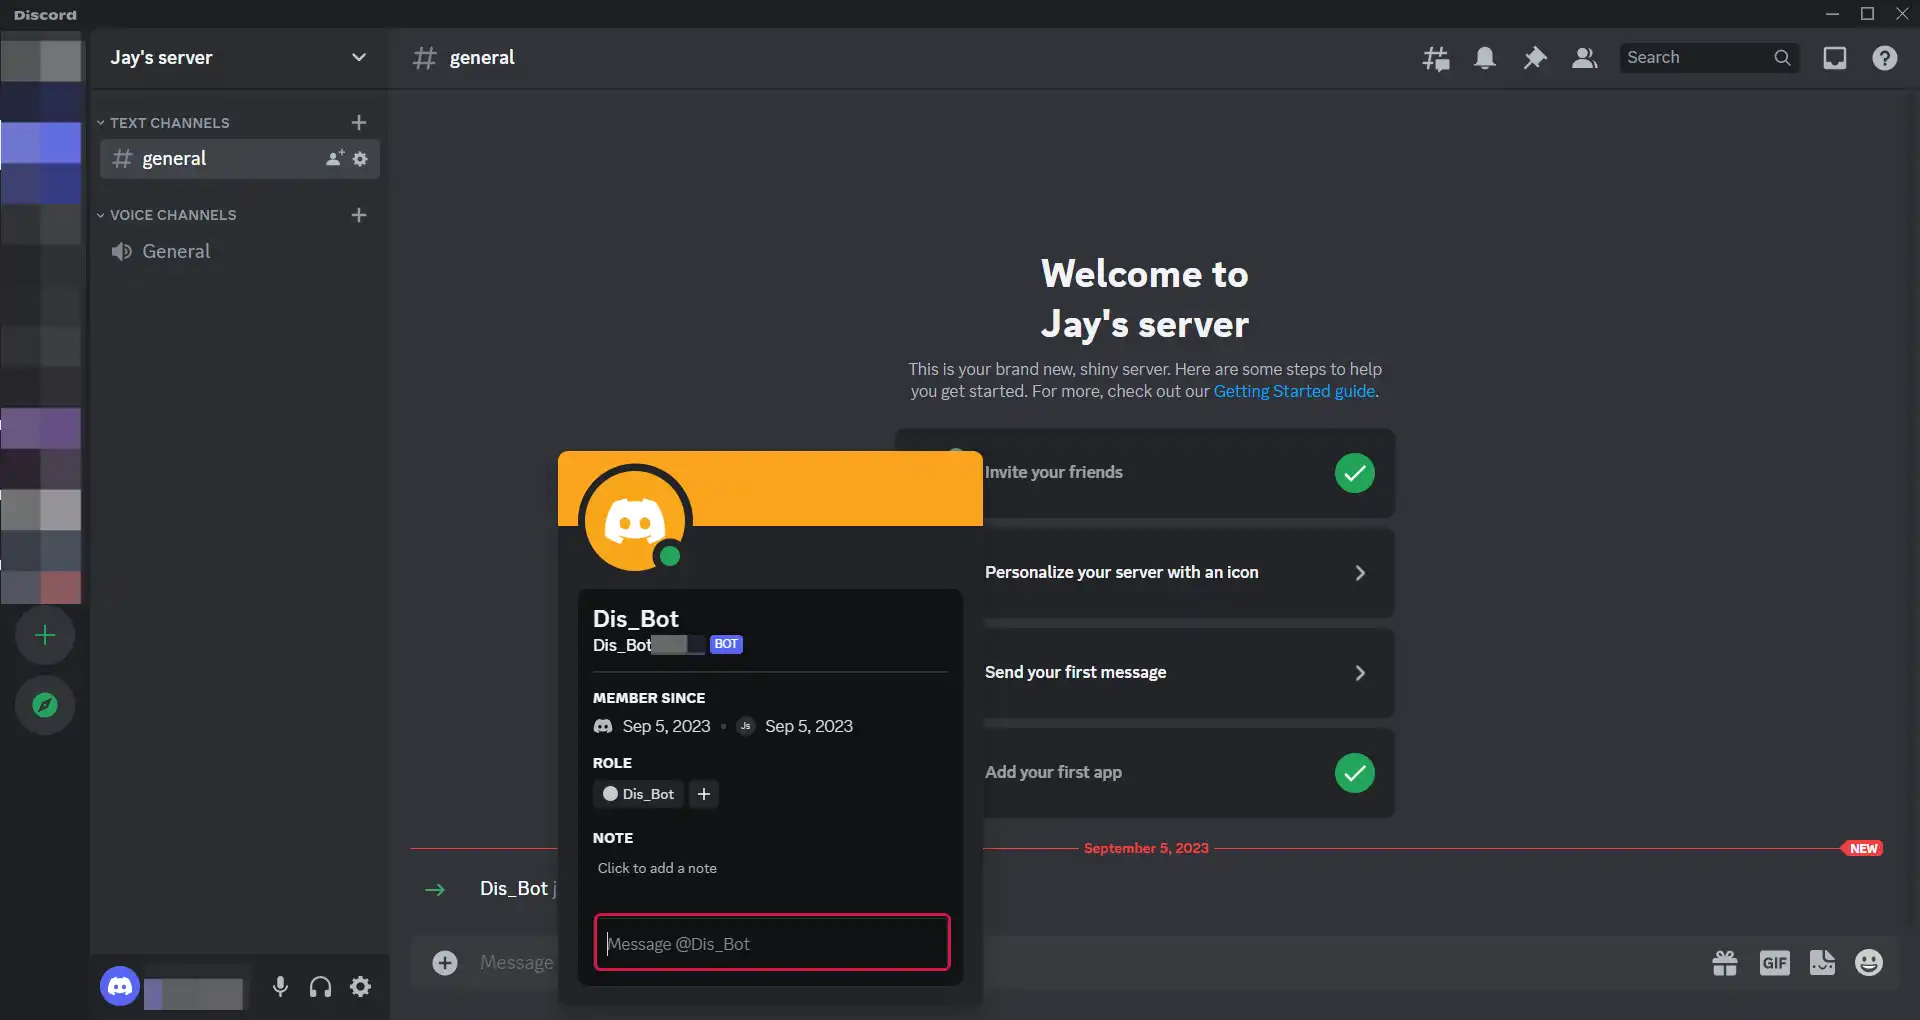
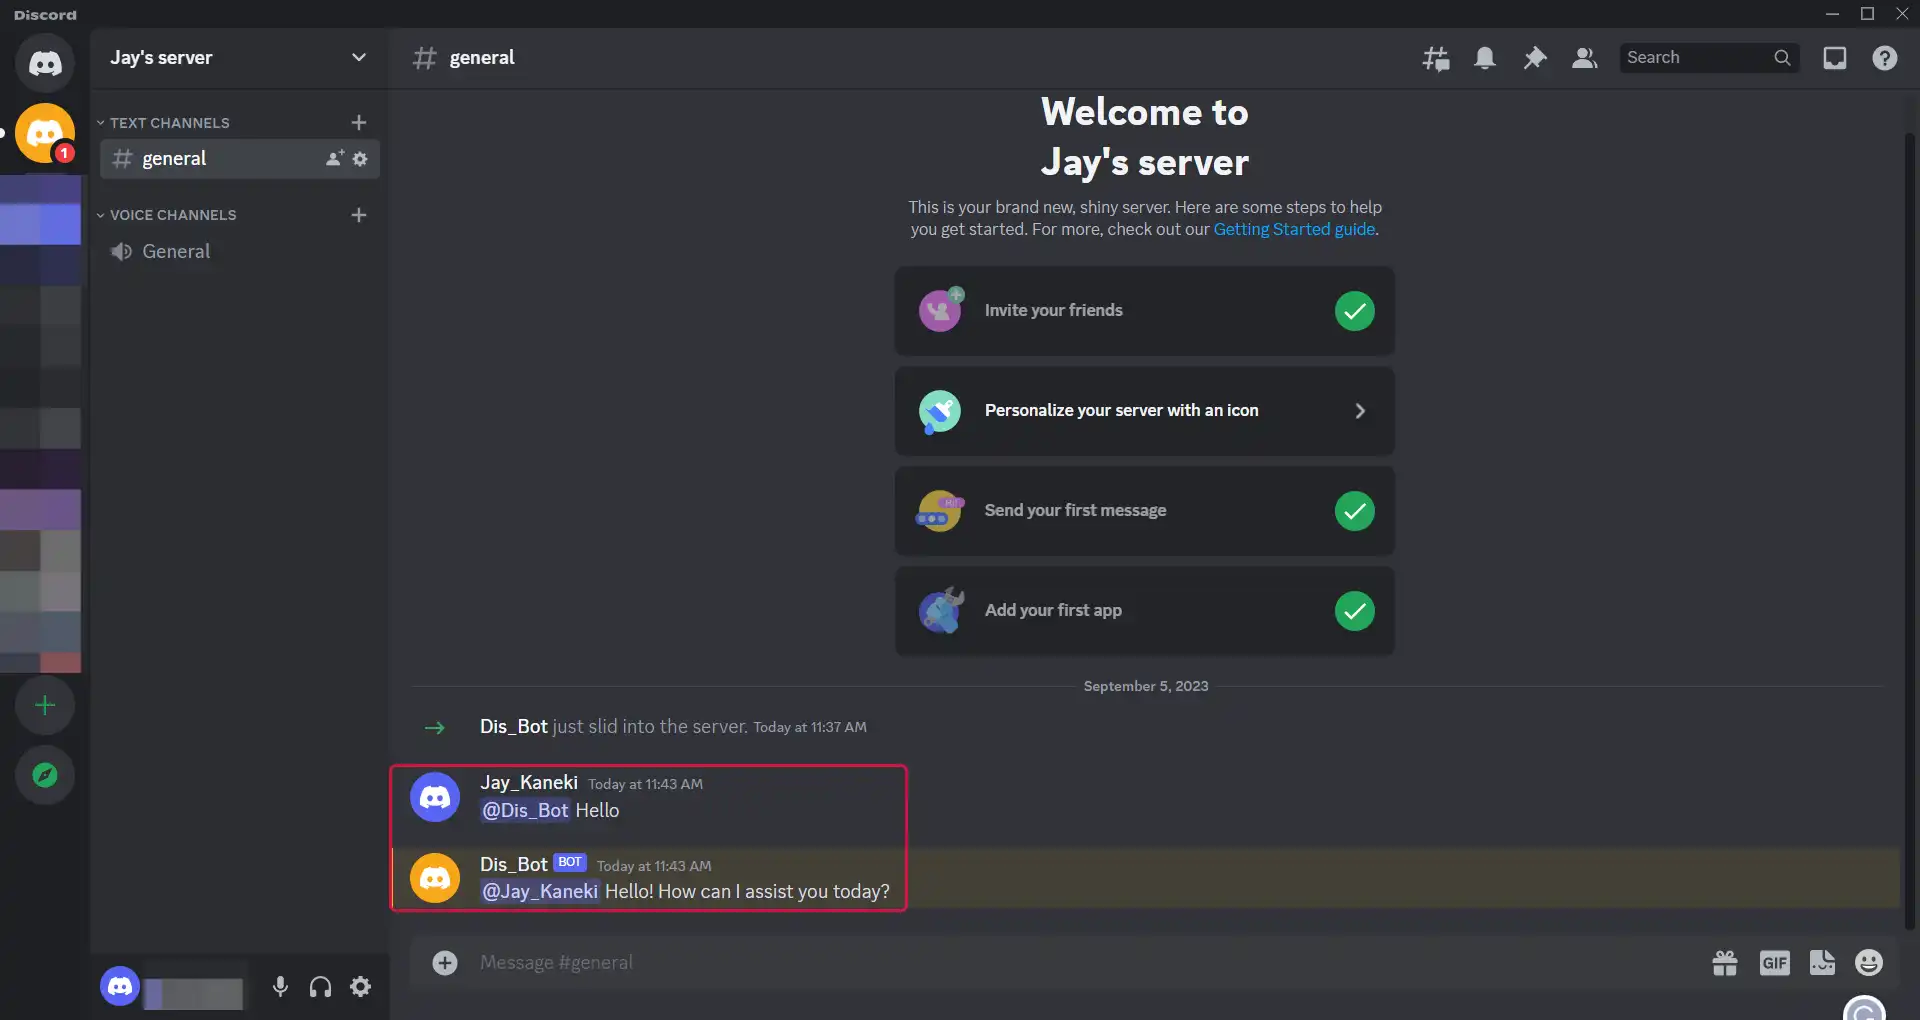
- To Send a message in a channel, you need to mention the AI①.
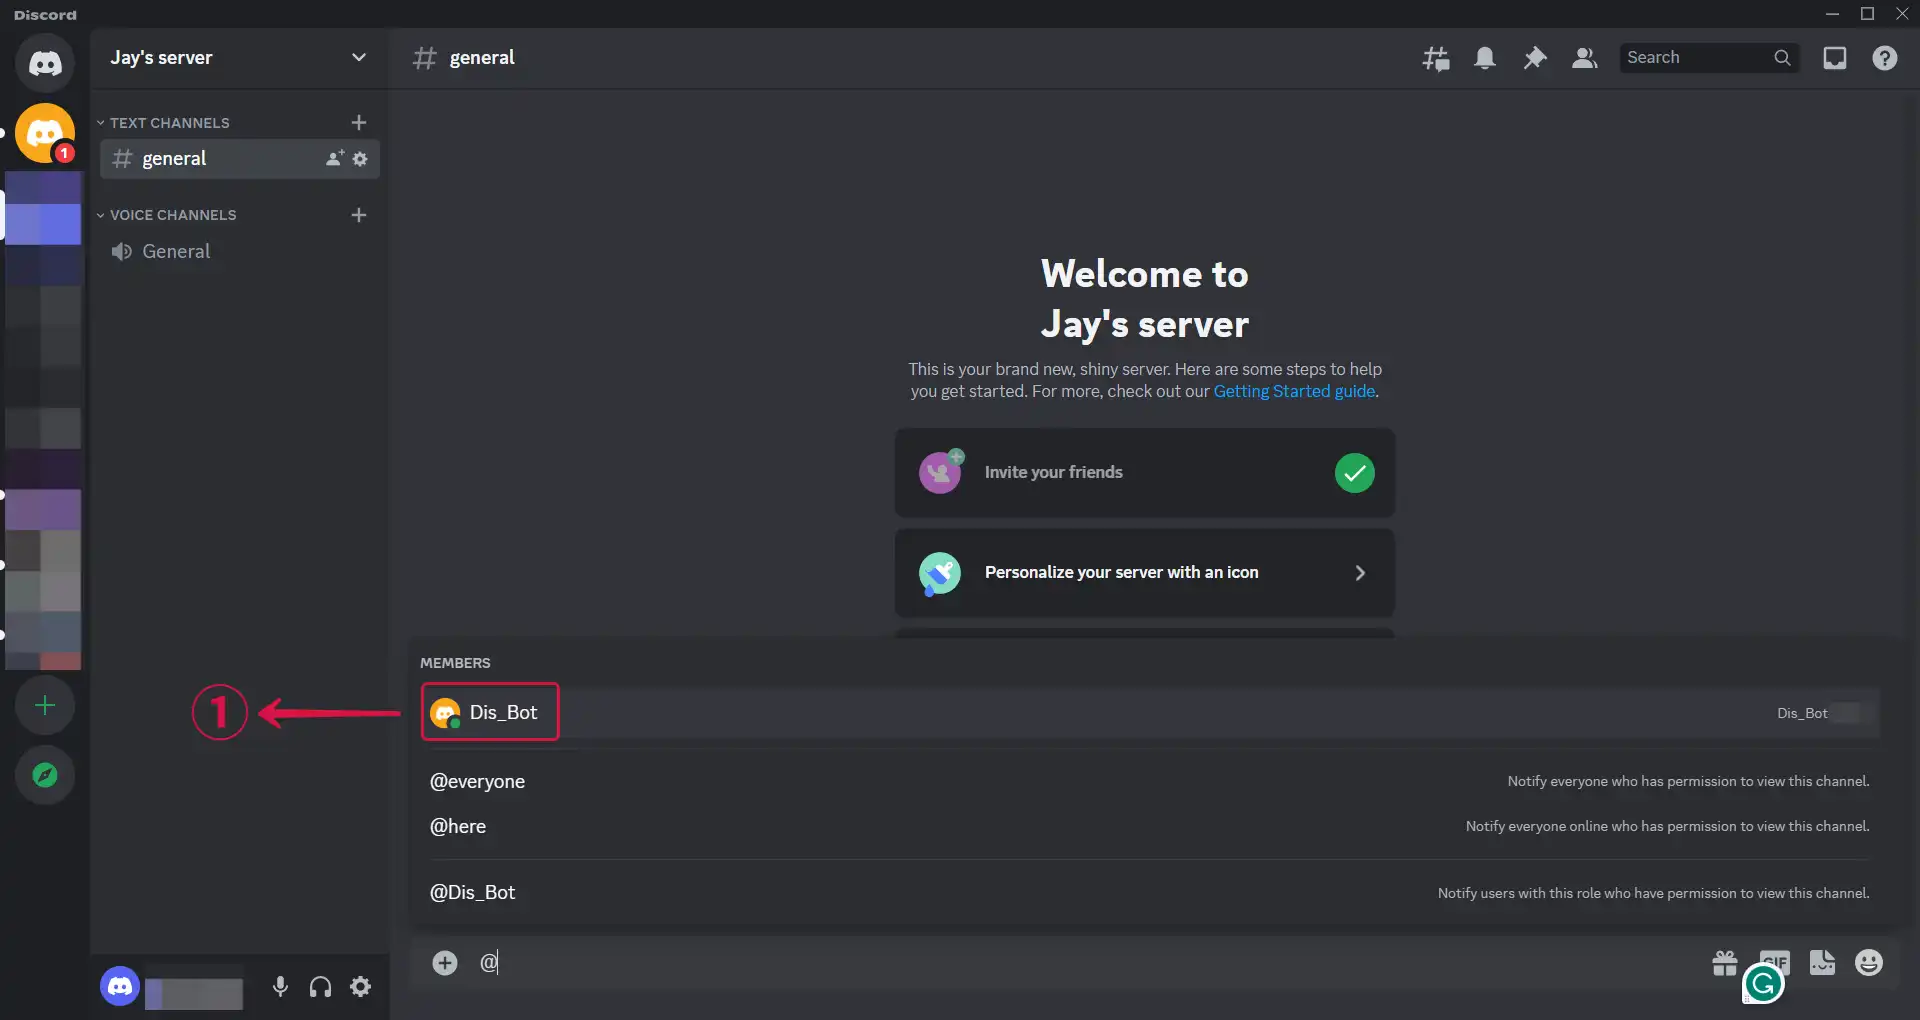
Important: Please be aware that each bot carries a role with a similar name, and trying to mention the role will not yield any results.
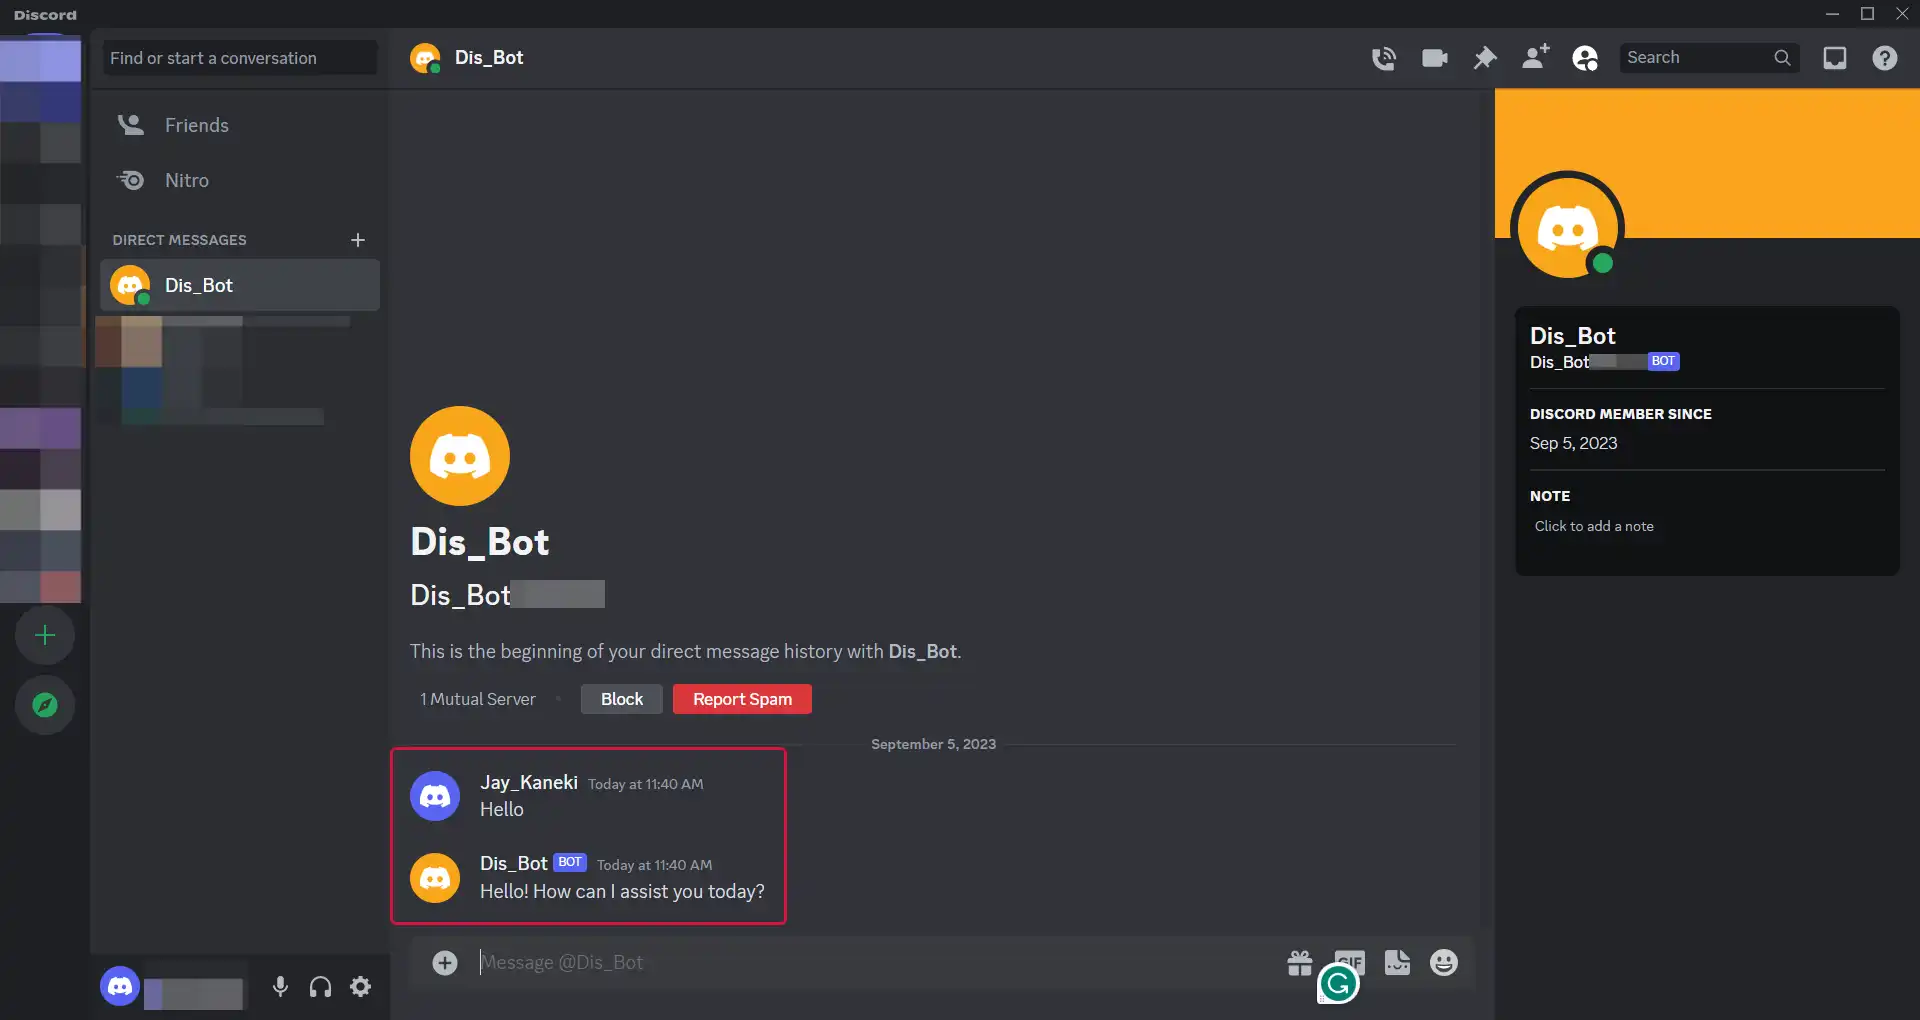
- To send a message privately, you can click on the AI bot②.
- Write and send your message.